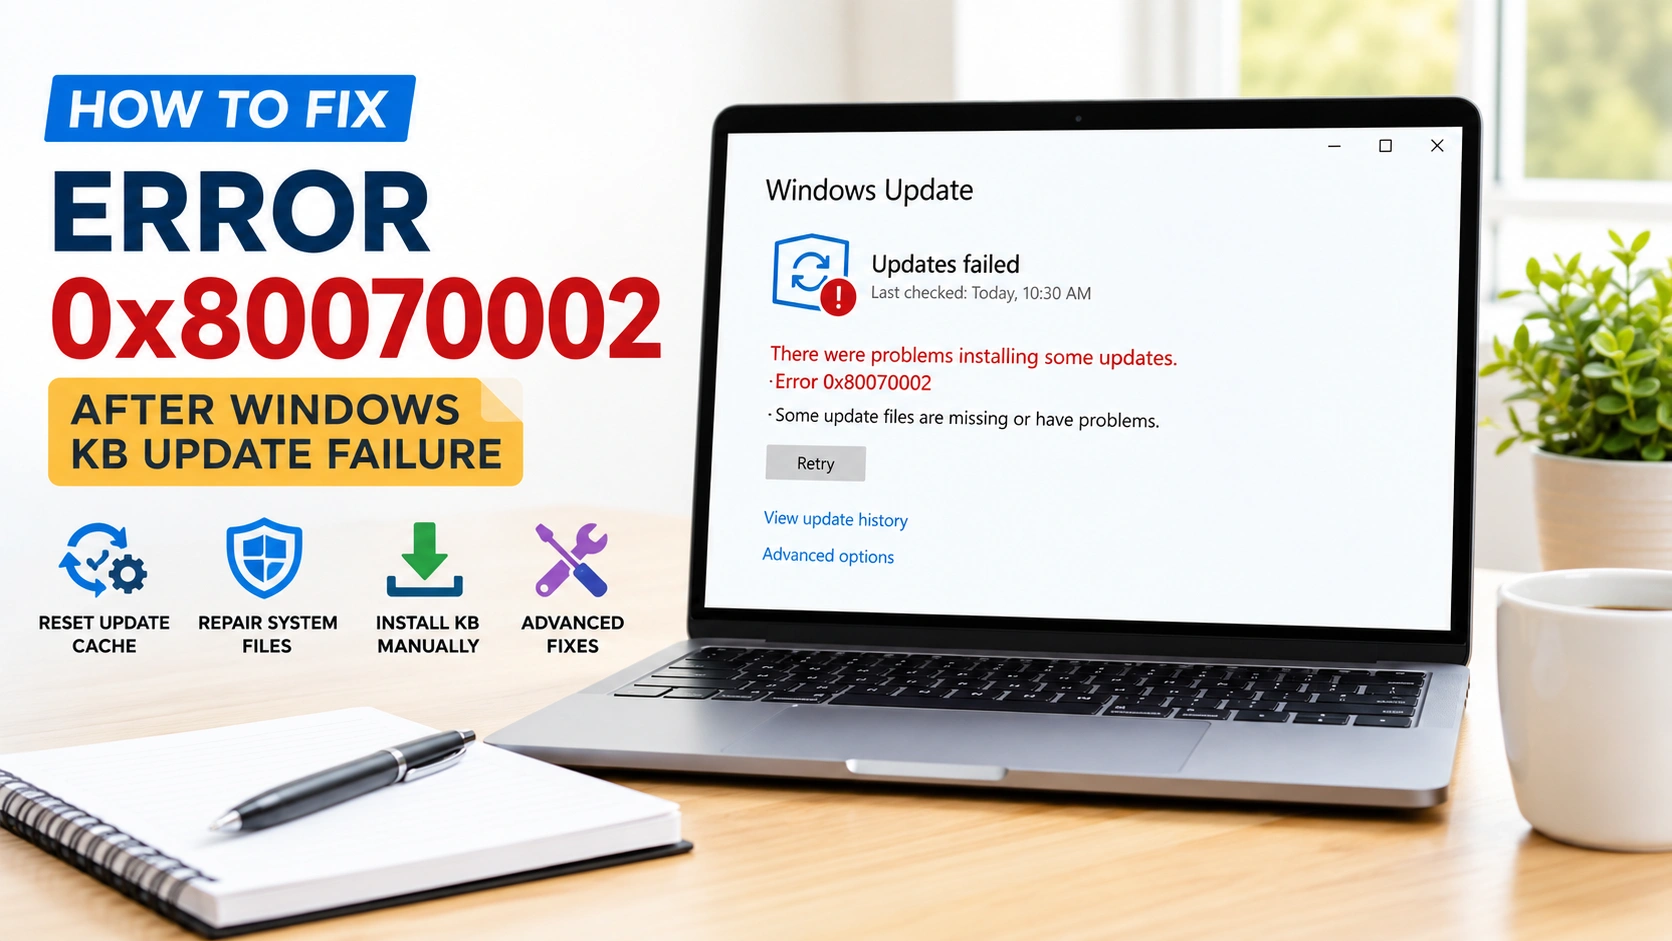
Windows Update errors are among the most frustrating problems on Windows 10 and Windows 11. One of the most common update failures is Error 0x80070002, especially after cumulative KB updates fail to install correctly. The error often appears during security updates, feature upgrades, or monthly Patch Tuesday releases.
Many users first notice the issue when Windows downloads updates normally but suddenly stops during installation. In other cases, the system restarts several times before showing the error code 0x80070002.
This problem usually indicates that Windows Update cannot locate required installation files. Corrupted update cache folders, damaged servicing components, interrupted downloads, or broken system files are the most common reasons behind the failure.
The good news is that Error 0x80070002 is usually repairable without reinstalling Windows. In this guide, you will learn multiple proven methods to repair Windows Update and successfully install failed KB updates.
What Causes Error 0x80070002 After KB Updates?
Windows Update relies on several internal services and folders to download, verify, and install updates. If one of these components becomes corrupted, Windows may fail to complete the installation process.
The most common causes include:
- Corrupted Windows Update cache
- Missing update installation files
- Damaged SoftwareDistribution folder
- Interrupted update downloads
- Broken Windows servicing stack
- Corrupted system files
- Storage drive errors
- Incorrect time synchronization
- Antivirus conflicts
- Failed previous updates
The error frequently appears after large cumulative updates because these updates modify many system components at once.
Symptoms of Error 0x80070002
Different systems display the error differently depending on the update type.
Common symptoms include:
- Windows Update stuck at specific percentages
- Endless update retry loops
- Update rollback after restart
- Slow update installation process
- “Some update files are missing”
- “Installation failed”
- “Something went wrong”
- Blue screen during update restart
- Failed feature updates
Some users also experience slower boot times after repeated failed updates.
Fix 1 — Restart Your PC Before Troubleshooting
Before applying advanced fixes, restart the system completely.
Temporary Windows Update glitches sometimes disappear after a clean reboot because background services reload properly.
To restart Windows:
- Open Start Menu
- Click Power
- Select Restart
After restarting, check Windows Update again.
If the error still appears, continue with the next methods.
Fix 2 — Clear Corrupted Windows Update Cache
The SoftwareDistribution folder stores temporary Windows Update files. When these files become corrupted, Error 0x80070002 often appears.
Resetting the update cache is one of the most effective solutions.
Stop Windows Update Services
Open Command Prompt as Administrator and run:
net stop wuauserv
net stop bits
net stop cryptsvc
Wait until all services stop completely.
Delete SoftwareDistribution Files
Open File Explorer and go to:
C:\Windows\SoftwareDistribution
Delete all files and folders inside.
Next, open:
C:\Windows\System32\catroot2
Delete everything inside this folder as well.
These folders only store temporary update files, so deleting them is safe.
Restart Windows Update Services
Return to Command Prompt and run:
net start wuauserv
net start bits
net start cryptsvc
Restart the PC afterward and try updating Windows again.
Fix 3 — Run Windows Update Troubleshooter
Windows includes a built-in troubleshooter that automatically repairs common update issues.
Steps
- Open Settings
- Go to System
- Select Troubleshoot
- Click Other troubleshooters
- Find Windows Update
- Click Run
Allow the tool to scan the system and apply recommended fixes automatically.
Although the troubleshooter does not solve every issue, it often repairs broken update services and registry entries.
Fix 4 — Repair Corrupted System Files Using SFC
Damaged system files can block update installation processes.
The System File Checker tool scans Windows for corrupted files and restores missing system components.
Run SFC Scan
Open Command Prompt as Administrator:
sfc /scannow
The scan may take several minutes.
Do not close the Command Prompt window until verification reaches 100%.
Restart the system after the scan completes.
Fix 5 — Repair Windows Image With DISM
If SFC cannot repair the system fully, use DISM.
Deployment Image Servicing and Management repairs the Windows component store used during updates.
Run DISM Command
Open Command Prompt as Administrator and run:
DISM /Online /Cleanup-Image /RestoreHealth
The repair process may take 10–30 minutes depending on storage speed and system condition.
After DISM finishes, restart the PC.
Then run SFC again for best results.
Fix 6 — Install the Failed KB Update Manually
Sometimes Windows Update itself fails while the standalone installer works correctly.
Manual installation is often faster than repeatedly troubleshooting failed updates.
Find the Failed KB Number
To identify the failed update:
- Open Settings
- Go to Windows Update
- Select Update History
Look for update numbers such as:
- KB5039212
- KB5039302
- KB5040442
Download the Standalone Installer
Visit the Microsoft Update Catalog website and search for the KB number.
Download the correct version based on your system architecture:
- x64
- ARM64
- Windows 10
- Windows 11
Run the .msu installer and restart the PC after installation.
Fix 7 — Verify Date and Time Settings
Incorrect time synchronization can cause update authentication failures.
Sync Windows Clock
- Open Settings
- Go to Time & Language
- Select Date & Time
- Enable:
- Set time automatically
- Set time zone automatically
Click Sync now afterward.
Incorrect BIOS time settings can also cause Windows Update problems.
Fix 8 — Disable Third-Party Antivirus Temporarily
Some antivirus programs interfere with Windows Update extraction processes.
Temporarily disable:
- Real-time protection
- Firewall filtering
- Web protection modules
Then retry Windows Update.
After testing, re-enable antivirus protection immediately.
Windows Security alone is usually sufficient temporarily during troubleshooting.
Fix 9 — Check SSD or HDD for File System Errors
Storage corruption can prevent update files from being written correctly.
Run CHKDSK
Open Command Prompt as Administrator:
chkdsk C: /f /r
If prompted to schedule the scan after restart, type:
Y
Restart the computer to begin disk scanning.
The process may take a long time on large drives.
Fix 10 — Reset All Windows Update Components
If Error 0x80070002 still appears, reset all Windows Update services completely.
Stop Update Services
net stop wuauserv
net stop bits
net stop cryptsvc
net stop msiserver
Rename Update Folders
ren C:\Windows\SoftwareDistribution SoftwareDistribution.old
ren C:\Windows\System32\catroot2 catroot2.old
Restart Services
net start wuauserv
net start bits
net start cryptsvc
net start msiserver
Restart the PC afterward.
Windows will recreate fresh update components automatically.
Why Error 0x80070002 Happens Frequently on Windows 11
Windows 11 updates are larger and more complex than older Windows versions.
Feature updates like:
- 22H2
- 23H2
- 24H2
modify many system components simultaneously.
Systems with outdated SSD firmware, older chipset drivers, or low free storage are more likely to experience update failures.
TPM validation problems can also contribute to update installation issues on Windows 11.
Advanced Solution — Use Windows Installation Assistant
If cumulative updates continue failing, upgrading Windows using the Installation Assistant may bypass corrupted update components.
This method performs an in-place repair upgrade while keeping:
- Personal files
- Installed apps
- Settings
The tool downloads fresh Windows installation files directly from Microsoft servers.
This solution is especially useful for persistent Windows 11 update failures.
How to Prevent Error 0x80070002 in the Future
Preventive maintenance helps reduce update-related problems significantly.
Recommended practices include:
- Keep at least 25GB of free storage
- Restart Windows regularly
- Avoid forced shutdowns during updates
- Update SSD firmware
- Install chipset drivers regularly
- Remove unstable overclock settings
- Run disk cleanup monthly
- Install updates consistently
Ignoring updates for long periods often causes cumulative installation problems later.
Final Thoughts
Error 0x80070002 usually appears because Windows Update cannot locate required installation files after failed KB updates. Corrupted update cache folders and damaged servicing components are the most common reasons behind the problem.
In most cases, clearing the SoftwareDistribution folder, repairing Windows with DISM and SFC, and manually installing failed KB updates successfully resolve the issue.
If the problem continues after applying every fix, performing an in-place repair upgrade may be the fastest way to restore normal Windows Update functionality without reinstalling the entire operating system.


