

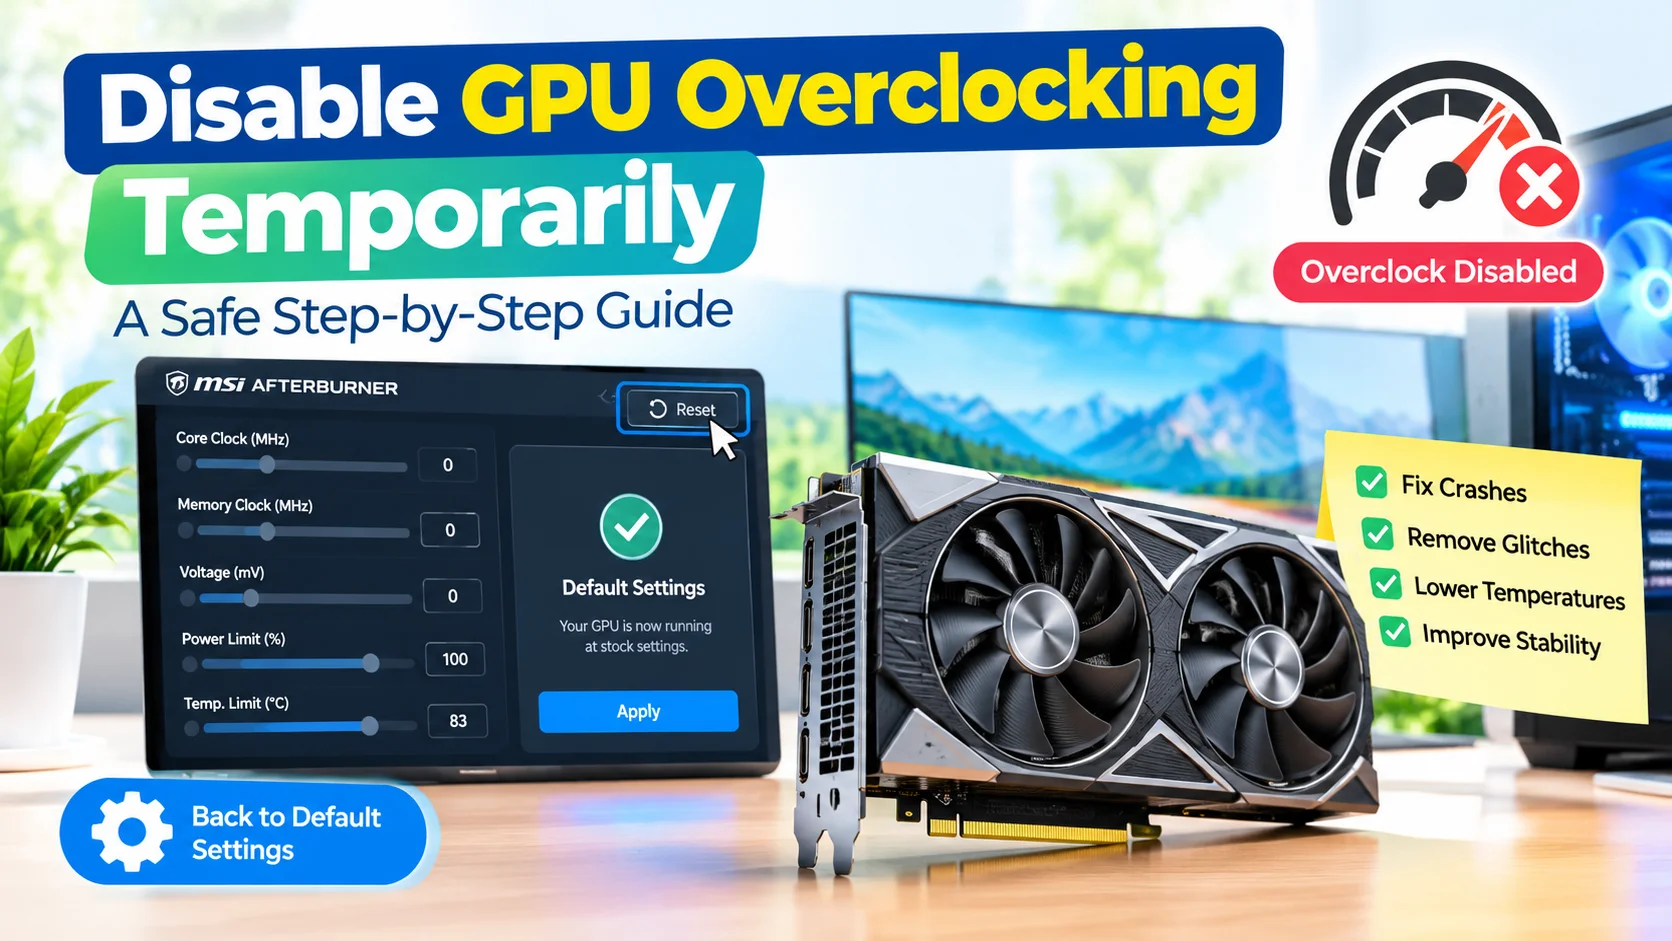
Disable GPU Overclocking Temporarily when you need to troubleshoot crashes, graphical glitches, overheating, or system instability. Returning your graphics card to its default settings provides a stable baseline for testing and can help determine whether an overclock is contributing to the problem.
This guide explains how to Disable GPU Overclocking Temporarily without permanently removing your overclocking setup.
What Does Disabling GPU Overclocking Mean?
Disabling GPU overclocking means returning your graphics card to its manufacturer-defined clock speeds, voltage settings, and power behavior.
If you normally use an application such as MSI Afterburner or another GPU tuning utility, you can usually reset the applied settings without uninstalling the software. This allows you to restore your previous overclock later if needed.
Temporary disabling is particularly useful when diagnosing:
- Game crashes or freezes
- Driver crashes
- Black screens
- Visual artifacts
- Excessive GPU temperatures
- Application instability
- Unexpected system restarts
- Performance problems after changing GPU settings
Why Disable an Overclock Temporarily?
An overclock is not necessarily the cause of every GPU problem, but returning the card to stock settings can help determine whether the overclock is contributing to instability.
For example, if a game repeatedly crashes while your GPU is overclocked but becomes stable at default settings, the overclock may need to be adjusted or removed.
Running the GPU at stock settings can also make troubleshooting easier because there are fewer variables affecting system behavior.
How to Disable GPU Overclocking Temporarily
1. Open Your GPU Overclocking Software
Launch the application you normally use to configure your graphics card.
Common examples include GPU tuning utilities that provide controls for:
- Core clock
- Memory clock
- GPU voltage
- Power limit
- Temperature limit
- Fan speed
Before changing anything, note your current settings if you plan to restore the overclock later.
2. Reset the GPU Settings
Look for an option such as Reset, Default, or Restore Defaults.
Selecting the reset option should return the currently applied GPU settings to their default values.
If you manually adjusted the core clock, memory clock, voltage, or power limit, make sure those changes are no longer being applied.
3. Apply the Default Settings
Some GPU utilities require you to click Apply after resetting the values.
After applying the defaults, check that the software shows the manufacturer’s standard settings rather than your previous overclock.
4. Disable Automatic Overclocking at Startup
If your overclocking software automatically applies a profile when Windows starts, temporarily disable that behavior.
Otherwise, the overclock may return after restarting the computer.
Look for settings related to:
- Start with Windows
- Apply settings at startup
- Automatically load profile
- Startup profile
Disable the automatic profile temporarily if you want the GPU to remain at stock settings after a reboot.
5. Restart the Computer
A restart is a useful final step when troubleshooting GPU instability. It ensures that software-based tuning settings are no longer being applied and gives you a clean baseline for testing.
What If the GPU Overclock Was Configured in the BIOS?
Some graphics cards can have firmware-level performance profiles or factory-provided performance modes.
If the overclock is configured outside Windows, simply closing your overclocking utility may not be enough. Check the graphics card manufacturer’s documentation for instructions on switching back to the standard performance mode.
Avoid changing GPU firmware or flashing a different BIOS unless you understand the procedure and have a specific reason to do so. Firmware changes can introduce additional risks and generally aren’t necessary for simply testing whether an overclock is causing instability.
How to Confirm That the Overclock Is Disabled
After resetting the GPU, you can monitor its operating behavior using a hardware monitoring or graphics utility.
Compare the current core and memory clocks with the card’s normal specifications. Keep in mind that modern GPUs dynamically adjust clock speeds depending on temperature, workload, power limits, and other conditions, so the displayed clock will not necessarily remain at one fixed number.
The important point is that your manually configured overclock should no longer be forcing higher-than-default settings.
Test Your GPU at Stock Settings
Once the overclock is disabled, reproduce the problem that originally caused you to troubleshoot the system.
For example, you might:
- Launch the game or application that was crashing.
- Use the same graphics settings.
- Run the same workload for a reasonable period.
- Monitor temperatures and system stability.
- Check whether crashes, artifacts, or driver errors return.
If the problem disappears at stock settings, you have useful evidence that your previous GPU configuration may have been contributing to the issue.
If the problem continues, the cause could instead involve graphics drivers, temperatures, power delivery, the application itself, RAM, Windows, or another component.
Can You Re-enable the Overclock Later?
Yes. If you saved your previous overclock as a profile, you can generally reload it after completing your troubleshooting.
However, if the original overclock was causing crashes, artifacts, or excessive temperatures, consider returning gradually to higher settings rather than immediately applying the previous configuration.
A stable GPU configuration is more important than achieving a small performance increase.
Temporary Disable vs. Permanent Removal
These approaches are different:
| Method | Purpose |
|---|---|
| Reset to default | Temporarily test the GPU at stock settings |
| Disable startup profile | Prevent an overclock from automatically returning |
| Delete overclock profile | Permanently remove a saved configuration |
| Uninstall tuning software | Remove the software entirely |
| Restore GPU firmware | Advanced procedure; generally unnecessary for basic troubleshooting |
For most troubleshooting situations, resetting the GPU to default settings and disabling automatic startup application is enough.
Frequently Asked Questions
Does disabling GPU overclocking reduce performance?
It can. Returning to default settings may reduce performance compared with a stable overclock, although the actual difference varies depending on the GPU, workload, and original overclock.
Will resetting the GPU damage it?
Resetting an overclock to default settings is generally a normal configuration change. It does not require physically modifying the graphics card.
Do I need to uninstall my overclocking software?
Usually not. If you only want to temporarily disable the overclock, resetting the settings and preventing automatic application at startup is typically sufficient.
Should I disable GPU overclocking when troubleshooting crashes?
It is a useful troubleshooting step. Running the GPU at stock settings removes the overclock as one possible source of instability.
Can I overclock the GPU again later?
Yes, provided the hardware and software remain suitable for overclocking. If the original configuration caused instability, consider using more conservative settings when re-enabling it.
Final Thoughts
Disabling GPU overclocking temporarily is a straightforward way to establish a stable baseline when troubleshooting graphics problems. Reset the GPU to its default configuration, prevent the overclocking utility from automatically restoring the profile, restart the computer, and test the system again.
If stability improves at stock settings, the overclock deserves further investigation. If problems persist, you can continue troubleshooting other potential causes without the overclock complicating the diagnosis.