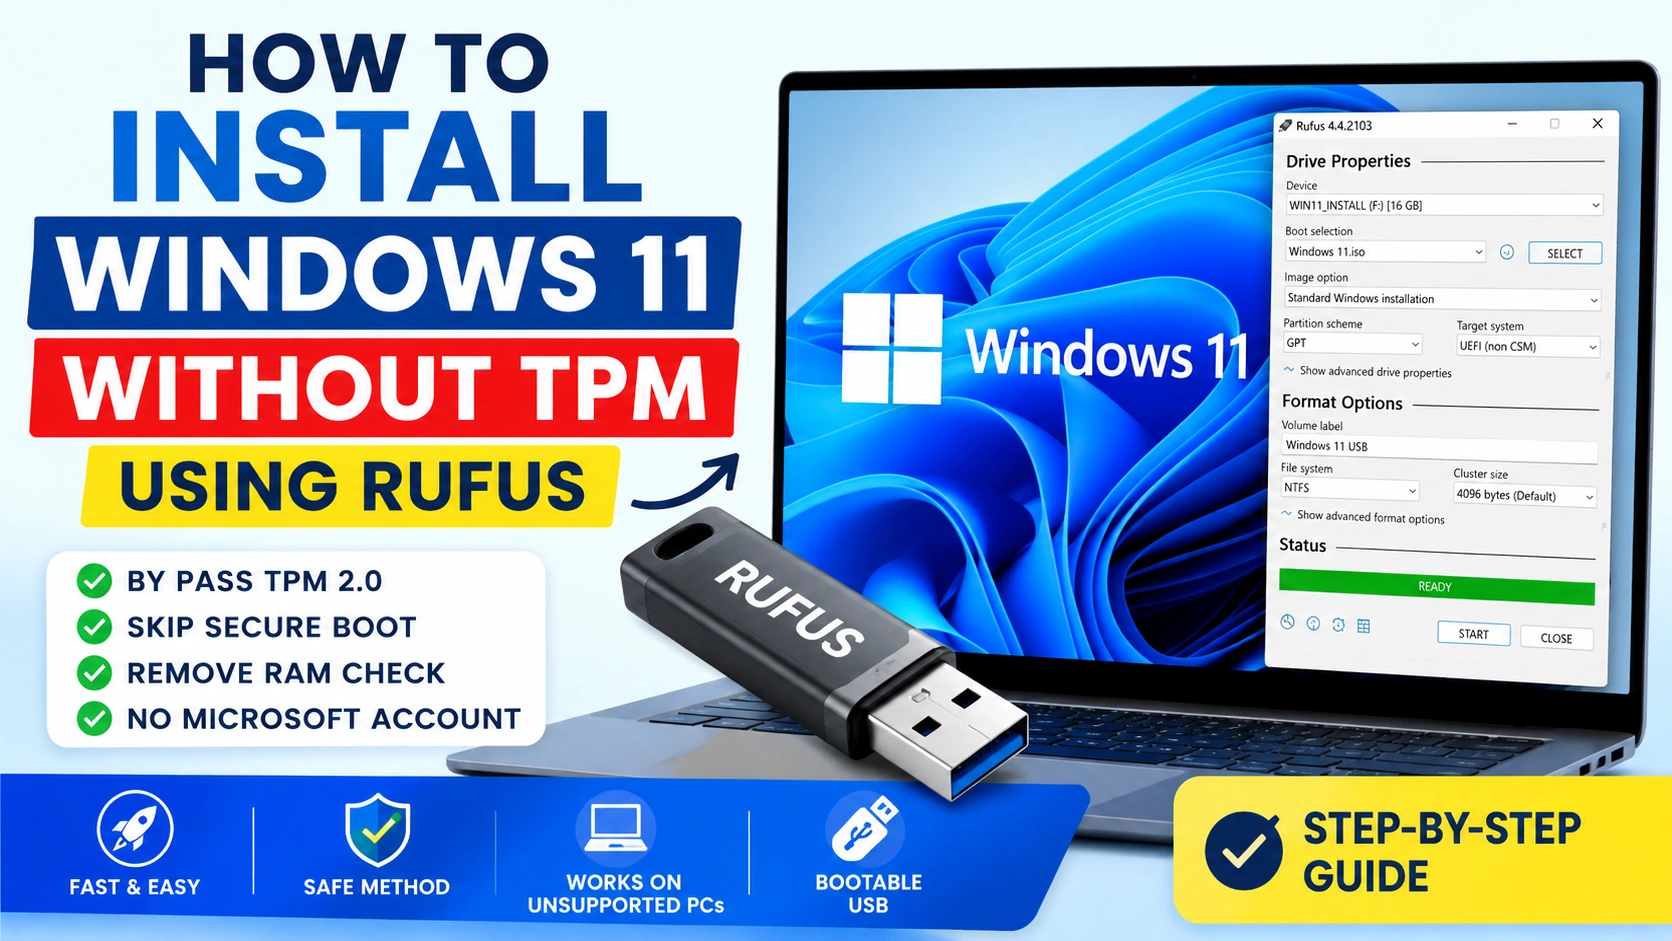
Many users want to upgrade to Windows 11 but discover that their computer does not meet Microsoft’s TPM 2.0 requirement. The error message usually says:
“This PC can’t run Windows 11.”
Fortunately, there are several safe and effective ways to install Windows 11 without TPM. Many older computers still have enough power to run Windows 11 smoothly even though they do not officially support the operating system.
In this complete tutorial, you will learn multiple methods to bypass TPM, Secure Boot, CPU, and RAM restrictions so you can install Windows 11 on unsupported hardware.
This guide works for:
- Desktop PCs
- Older laptops
- Virtual machines
- Custom-built gaming PCs
- Legacy systems without TPM 2.0
What Is TPM in Windows 11?
TPM stands for Trusted Platform Module. It is a hardware security chip designed to store encryption keys and protect sensitive data.
Microsoft introduced TPM 2.0 as a mandatory requirement for Windows 11 because it improves:
- BitLocker encryption
- Windows Hello security
- Credential protection
- Malware resistance
- Secure Boot integration
Unfortunately, millions of perfectly functional computers only support:
- TPM 1.2
- Disabled TPM
- No TPM hardware at all
Because of this, users often search for ways to install Windows 11 without TPM restrictions.
Why Microsoft Requires TPM 2.0
Microsoft says TPM improves operating system security by reducing vulnerabilities and protecting against advanced cyber threats.
Windows 11 focuses heavily on:
- Hardware-level security
- Virtualization-based protection
- Secure identity authentication
- Ransomware prevention
However, many users argue that the TPM requirement blocks older but still capable hardware unnecessarily.
Can You Install Windows 11 Without TPM?
Yes, absolutely.
Windows 11 installation restrictions can be bypassed using several methods, including:
- Registry modifications
- Rufus bootable USB customization
- Replacing installer files
- Using modified setup commands
- Creating custom ISOs
These methods are widely used and generally safe when performed correctly.
Things to Know Before Installing Windows 11 Without TPM
Before proceeding, understand the potential risks.
Possible Risks
Unsupported devices may experience:
- Missing future updates
- Driver compatibility issues
- Reduced security features
- Random system instability
- Unexpected crashes
Recommended Precautions
Before you install Windows 11 without TPM:
- Back up important files
- Create a system image
- Save activation keys
- Download drivers in advance
- Use a reliable USB flash drive
It is always safer to prepare recovery options before modifying your operating system.
Read Also: How to Create Windows 11 Bootable USB: 7 Easy Steps
Method 1: Install Windows 11 Without TPM Using Rufus
Rufus is currently the easiest and most reliable method.
What Is Rufus?
Rufus is a lightweight utility that creates bootable USB drives. Newer versions include built-in Windows 11 bypass options.
Official website:
Requirements
You need:
- USB flash drive (8 GB or larger)
- Windows 11 ISO
- Rufus software
- Stable internet connection
Step 1: Download Windows 11 ISO
Download the official ISO directly from Microsoft:
Step 2: Open Rufus
Insert your USB drive and launch Rufus.
Rufus automatically detects your USB device.
Step 3: Select the Windows 11 ISO
Click:
SELECT
Choose the downloaded Windows 11 ISO file.
Step 4: Enable TPM Bypass Options
After selecting the ISO, Rufus shows Windows customization settings.
Enable:
- Remove requirement for TPM 2.0
- Remove requirement for Secure Boot
- Remove requirement for 4GB RAM
- Remove requirement for online Microsoft account
These options allow you to install Windows 11 without TPM easily.
Step 5: Create Bootable USB
Click:
START
Wait for Rufus to finish creating the installer.
Step 6: Boot From USB
Restart your PC and open the boot menu.
Common boot keys:
- F12
- ESC
- F9
- DEL
Select the USB drive.
Step 7: Install Windows 11
Proceed with installation normally.
The TPM checks will already be bypassed automatically.
Method 2: Install Windows 11 Without TPM Using Registry Editor
This method modifies Windows Setup during installation.
Step 1: Start Windows 11 Setup
Mount the Windows 11 ISO and run:
setup.exe
Continue until the compatibility warning appears.
Step 2: Open Command Prompt
Press:
Shift + F10
Step 3: Launch Registry Editor
Type:
regedit
Press Enter.
Step 4: Navigate to Setup Key
Go to:
HKEY_LOCAL_MACHINE\SYSTEM\Setup
Step 5: Create LabConfig
Right-click Setup and create:
LabConfig
Step 6: Create DWORD Values
Inside LabConfig, create these DWORD entries:
BypassTPMCheck = 1
BypassSecureBootCheck = 1
BypassRAMCheck = 1
BypassCPUCheck = 1
Step 7: Continue Setup
Close Registry Editor and continue installation.
Windows 11 should now install without TPM validation.
Method 3: Replace appraiserres.dll File
This older method still works in many cases.
Step 1: Download Windows 10 ISO
Get Windows 10 ISO from Microsoft’s official website:
Microsoft Software Download Center
Step 2: Extract appraiserres.dll
From the Windows 10 ISO, locate:
sources\appraiserres.dll
Step 3: Replace Windows 11 File
Open the Windows 11 ISO and replace its appraiserres.dll file with the Windows 10 version.
Step 4: Run Setup
Launch installation again.
The compatibility checks may now be bypassed successfully.
Method 4: Install Windows 11 Without TPM Using Command Prompt
This method uses a setup trick.
Step 1: Open Setup
Start Windows 11 installation.
Step 2: Open Command Prompt
Press:
Shift + F10
Step 3: Run Setup Command
Type:
setup.exe /product server
Press Enter.
This command launches a modified installer that ignores many hardware restrictions.
Step 4: Continue Installation
Proceed normally until installation completes.
Method 5: Create a Custom Windows 11 ISO
Advanced users may prefer creating a custom installer.
Tools You Can Use
Popular tools include:
- NTLite
- AnyBurn
- DISM
- PowerISO
Benefits of Custom ISOs
Custom Windows ISOs allow you to:
- Remove TPM checks permanently
- Disable telemetry
- Remove unwanted apps
- Create unattended installations
- Integrate drivers and updates
This method is popular among IT professionals and advanced users.
Method 6: Install Windows 11 on Legacy BIOS Systems
Some older systems use Legacy BIOS instead of UEFI.
Common Problems
Legacy BIOS systems may experience:
- Secure Boot errors
- GPT partition issues
- Boot failures
Possible Solutions
You may need to:
- Convert MBR to GPT
- Enable UEFI mode
- Disable CSM
- Recreate the bootable USB
These settings are available inside BIOS or UEFI firmware menus.
Method 7: Upgrade From Windows 10 Without TPM
If your PC already runs Windows 10, you can upgrade directly.
Steps
- Download Windows 11 ISO
- Mount the ISO
- Use registry bypass
- Run setup.exe
- Choose “Keep personal files and apps”
This method preserves:
- Installed programs
- Documents
- Settings
- User accounts
How to Check If Your PC Has TPM
You can verify TPM status quickly.
Method 1: TPM Management Tool
Press:
Windows + R
Type:
tpm.msc
If TPM exists, Windows displays its version.
Method 2: Device Manager
Open Device Manager and look for:
Security Devices
You may see:
Trusted Platform Module 2.0
How to Enable TPM in BIOS
Some computers already include TPM but keep it disabled.
Common TPM Names in BIOS
Depending on your motherboard brand, TPM may appear as:
- Intel PTT
- AMD fTPM
- TPM Device
- Security Device Support
How to Access BIOS
Restart your computer and press:
- DEL
- F2
- F10
- ESC
Enable TPM if available.
Secure Boot Explained
Secure Boot prevents unauthorized software from loading during startup.
Windows 11 officially requires Secure Boot alongside TPM.
Can Windows 11 Run Without Secure Boot?
Yes.
Many bypass methods disable Secure Boot checks completely.
Is Installing Windows 11 Without TPM Legal?
Yes.
You are still using Microsoft’s official installation files.
However, Microsoft does not officially support unsupported hardware.
Will Windows Update Work?
Usually yes.
Many unsupported PCs continue receiving updates normally.
However, Microsoft warns that unsupported devices may eventually lose access to:
- Feature updates
- Security patches
- Technical support
Performance on Unsupported Hardware
Windows 11 often runs surprisingly well on older hardware.
Best Hardware for Unsupported Installs
Recommended:
- SSD storage
- 8 GB RAM or higher
- Modern dual-core CPU
- Updated graphics drivers
Hardware That May Struggle
Older systems with:
- HDD storage
- 4 GB RAM
- First-generation Intel CPUs
- Weak integrated graphics
may experience slower performance.
Troubleshooting Windows 11 TPM Bypass Problems
“This PC Can’t Run Windows 11”
Try:
- Recreating the USB installer
- Using newer Rufus versions
- Updating BIOS firmware
- Disabling compatibility checks again
Boot Loop After Installation
Possible fixes:
- Enable UEFI mode
- Repair boot files
- Reinstall graphics drivers
- Disable Fast Boot
Missing Drivers
Install drivers from your PC manufacturer’s website.
Best Practices After Installing Windows 11
Once installation finishes:
- Run Windows Update
- Install chipset drivers
- Create restore points
- Enable antivirus protection
- Remove unnecessary startup apps
These steps improve stability and performance significantly.
Should You Install Windows 11 Without TPM?
It depends on your hardware.
If your computer still performs well, installing Windows 11 without TPM can extend its lifespan for several more years.
However, very old systems may perform better with Windows 10.
Final Thoughts
Learning how to install Windows 11 without TPM allows users to bypass unnecessary hardware restrictions and continue using older but capable computers.
Methods like Rufus, registry modifications, custom ISOs, and setup tricks make the installation process simple and accessible for most users.
Always back up your data before upgrading, and understand that unsupported systems may face limitations in the future. Despite this, many users successfully run Windows 11 daily on unsupported hardware with excellent stability and performance.
If your PC still meets basic modern performance standards, installing Windows 11 without TPM can be a practical and cost-effective upgrade.


