

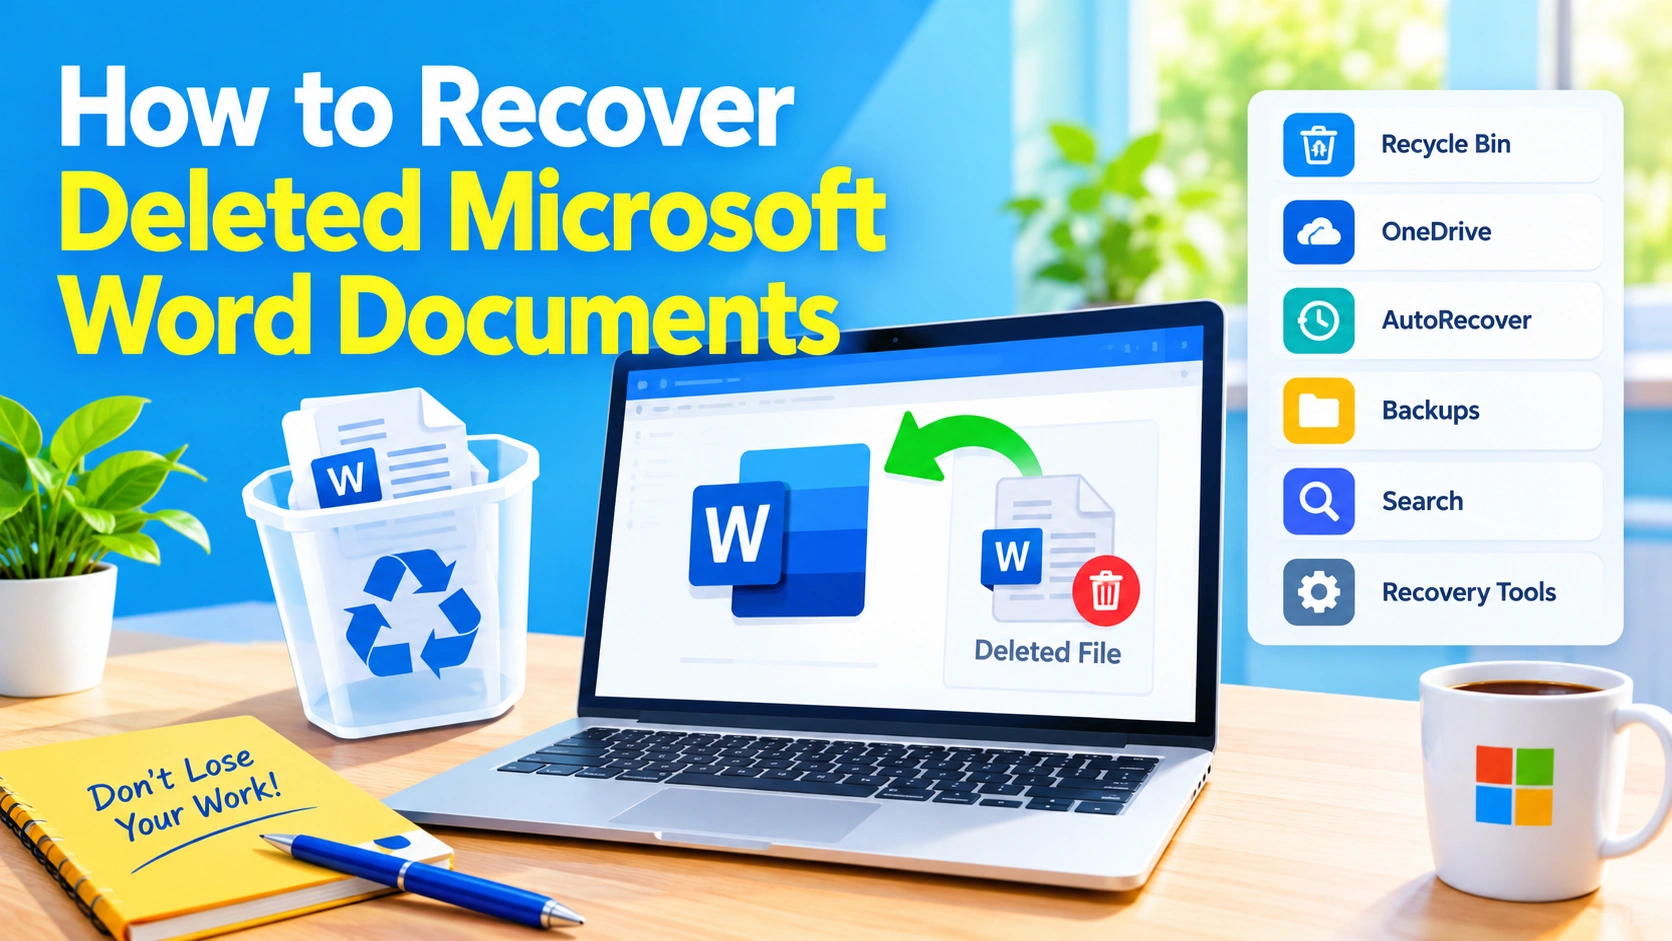
Accidentally deleting an important Microsoft Word document can be stressful, especially when the file contains work, school assignments, business information, or personal notes. Fortunately, a deleted Word document is not always gone permanently. Windows and Microsoft Word provide several recovery options that may help you restore it.
In this guide, you’ll learn how to recover deleted Microsoft Word documents using the Recycle Bin, Word’s built-in recovery features, OneDrive, Windows backups, temporary files, and other practical methods.
Can You Recover a Deleted Word Document?
Yes, in many situations you can recover a deleted Word document. Your chances depend on how the document was deleted and whether new data has overwritten its previous storage location.
If you recently deleted the file, start with simple recovery methods before trying more advanced solutions. Avoid creating or downloading large amounts of data on the drive where the deleted document was stored, particularly if the file was permanently deleted.
1. Check the Windows Recycle Bin
The first place to look for a deleted Word document is the Windows Recycle Bin.
When you normally delete a file from your computer, Windows often moves it to the Recycle Bin rather than removing it immediately.
To restore a Word document from the Recycle Bin:
- Open the Recycle Bin from the Windows desktop.
- Browse the list or use the search option to locate the document.
- Look for the
.docxor.docfile. - Right-click the document.
- Select Restore.
Windows will return the file to its original folder.
If you cannot find the document, it may have been permanently deleted, removed using Shift+Delete, or deleted from a location that does not use the Recycle Bin.
2. Use Word’s Recover Unsaved Documents Feature
Microsoft Word can sometimes recover documents that were never properly saved. This is particularly useful after a crash, power failure, forced restart, or accidental closure.
Try Word’s built-in recovery option:
- Open Microsoft Word.
- Select File.
- Choose Info.
- Select Manage Document or Manage Versions, depending on your Word version.
- Choose Recover Unsaved Documents.
- Look through the available files.
- Open the document you need.
- Immediately select Save As and save it to a safe location.
Recovered files may contain only part of your most recent work, so check the document carefully after opening it.
3. Check Word’s AutoRecover Files
Microsoft Word uses AutoRecover to periodically save recovery information while you work.
If Word closes unexpectedly, these files may help you retrieve recent changes or an unsaved document.
Open Word and check the Document Recovery pane if it appears after restarting the application.
You can also review Word’s AutoRecover settings by going to:
File > Options > Save
Look for the AutoRecover file location. The exact location can vary depending on your Microsoft Office installation and Windows configuration.
If an AutoRecover file is available, open it and save the recovered content as a normal Word document.
4. Search Your Computer for the Document
Sometimes a Word document isn’t actually deleted. It may have been moved, renamed, or saved in a different folder.
Use Windows Search to look for common Word file extensions.
Search for:
*.docx*.doc*.asd*.wbk*.tmp
You can also search using part of the original filename if you remember it.
Check common locations such as:
- Documents
- Desktop
- Downloads
- OneDrive
- Shared folders
- External drives
If you find a file with an unfamiliar name or extension, don’t delete it. It may be associated with the document you’re trying to recover.
5. Check OneDrive
If your Word document was saved in OneDrive, you may be able to restore it from the cloud.
Sign in to your Microsoft account and open OneDrive. Search for the missing document or browse the folder where it was stored.
Also check the OneDrive Recycle Bin. Deleted files can remain there for a limited period before they are permanently removed.
To restore a file from OneDrive:
- Open OneDrive.
- Go to the Recycle Bin.
- Locate the deleted Word document.
- Select the file.
- Choose Restore.
The document should return to its previous OneDrive location.
6. Restore an Earlier Version of the Document
If the file still exists but important content was deleted, Windows or OneDrive may have an earlier version available.
Right-click the document or its containing folder and look for Properties or available version-history options.
If previous versions are available, review the dates carefully before restoring anything.
For OneDrive files, use the document’s Version history feature when available. This can allow you to restore an earlier copy without replacing the current version immediately.
7. Check Windows File History
If you previously enabled Windows File History, it may contain an older copy of your deleted Word document.
File History can back up files from commonly used folders, including Documents.
To check for available backups:
- Open Control Panel.
- Search for File History.
- Select Restore your files with File History.
- Browse through the available backup versions.
- Locate your Word document.
- Select Restore.
The availability of this option depends on whether File History was configured before the document was deleted.
8. Check Windows Backup Options
Depending on your Windows configuration, additional backup methods may be available.
If you regularly back up your computer, check the backup destination for an earlier copy of the missing document.
This could include:
- An external hard drive
- A network location
- Cloud storage
- Windows backup services
- A system backup solution
The important thing is to look for a backup created before the document disappeared.
9. Look for Temporary Word Files
Microsoft Word can create temporary files while you are working. In some situations, these files may contain recoverable information.
Search your computer for files with extensions such as:
.tmp.asd.wbk
You may also find temporary files in Windows temporary folders.
However, temporary files are not guaranteed to contain a complete copy of your document. Avoid randomly renaming or deleting files until you’ve determined what they contain.
10. Check Your Recent Documents List
If you remember opening the document recently, Word’s Recent Documents list can provide useful clues.
Open Microsoft Word and select File > Open > Recent.
If the document appears in the list, select it. If Word cannot find the original file, it may show its previous location, helping you determine where the document was stored.
This method is especially useful when you accidentally moved or renamed a document instead of deleting it.
11. Use a Data Recovery Tool
If the document was permanently deleted and isn’t available through the Recycle Bin, OneDrive, backups, or Word’s recovery features, data recovery software may be an option.
Recovery tools scan storage devices for deleted files whose data has not yet been overwritten.
For the best chance of recovery:
- Stop saving new files to the affected drive.
- Avoid installing recovery software on that same drive if possible.
- Use another storage device for recovered files.
- Scan the drive for deleted Word documents.
- Preview recoverable files when the software supports it.
- Save recovered files to a different drive.
There is no guarantee that a deleted file can be recovered. The longer you continue using the affected storage device, the greater the possibility that new data will overwrite the deleted document.
12. Recover a Word Document After a Computer Crash
If Word crashed while you were working, don’t immediately assume the document is lost.
Restart Word and look for the Document Recovery pane. Microsoft Word may automatically display recovered versions.
If nothing appears, check:
File > Info > Manage Document > Recover Unsaved Documents
Also check Word’s AutoRecover location for available recovery files.
If you recover the document, save it immediately under a new filename.
13. Recover a Deleted Word Document From an External Drive
If the document was stored on a USB flash drive, external hard drive, or memory card, recovery works slightly differently.
First, stop using the storage device. Continued use can overwrite deleted data.
Then:
- Connect the storage device to your computer.
- Check whether the document was moved to the Recycle Bin.
- Search for
.docxand.docfiles. - Check any backup copies.
- If necessary, use a reputable data recovery application.
For an external drive that is making unusual noises, disconnecting repeatedly, or showing signs of hardware failure, avoid repeated scans. Professional data recovery may be more appropriate for valuable files.
14. Check Email Attachments and Shared Copies
If you previously sent the Word document to someone, you may already have another copy.
Search your email for:
- The document’s filename
.docx.doc- The subject of the email
- The name of the person you sent it to
Also check messaging apps, shared cloud folders, collaboration platforms, and other places where you may have uploaded the document.
This is often overlooked but can be one of the easiest ways to recover an important file.
What to Do If a Recovered Word Document Won’t Open
Sometimes you successfully recover a Word file but Microsoft Word reports that the document is corrupted.
Try these steps:
Use Open and Repair
In Word:
- Select File > Open.
- Browse to the damaged document.
- Select the file.
- Click the arrow next to Open.
- Select Open and Repair.
Word will attempt to repair the document.
Try Another Copy
If you have an older version, backup, email attachment, or cloud copy, compare it with the recovered file.
Try Opening the File in Another Application
A damaged Word document may sometimes open partially in another compatible office application. If you can access the text, save the recovered content into a new document.
Why Deleted Word Documents Sometimes Cannot Be Recovered
A deleted file is not necessarily recoverable forever.
When a file is deleted, the operating system may mark the storage space as available for new data. If new information is written to that location, parts of the original document can be overwritten.
Recovery becomes more difficult when:
- The file was permanently deleted.
- The storage device has been heavily used afterward.
- The drive has been formatted.
- The storage device is failing.
- The document was never saved.
- No backup or recovery copy exists.
- Cloud storage has permanently removed the file.
For this reason, act quickly when an important document disappears.
How to Prevent Losing Word Documents in the Future
Recovering a deleted Word document is much easier when you have backups.
Turn on cloud synchronization
Saving important documents to OneDrive or another trusted cloud-storage service can provide additional protection and version history.
Keep regular backups
Use Windows backup features or an external backup solution to maintain copies of important documents.
Save important files in multiple locations
For particularly important documents, consider keeping copies in more than one location.
For example:
Computer → Cloud storage → External backup
Enable AutoRecover
In Word, go to:
File > Options > Save
Make sure AutoRecover is enabled and set to save recovery information regularly.
Use descriptive filenames
Clear filenames make it easier to locate documents later.
Instead of:
Document1.docx
consider:
2026_Project_Report.docx
Don’t rely on a single copy
A single copy of an important document creates a single point of failure. Multiple copies significantly reduce the risk of permanent data loss.
Frequently Asked Questions
Can I recover a Word document I permanently deleted?
Possibly. Check backups, OneDrive, Word’s recovery files, Windows File History, and other copies first. If none are available, data recovery software may be able to locate deleted data that has not been overwritten.
Where does Word save unsaved documents?
Microsoft Word uses an AutoRecover location configured in its settings. You can view this location under File > Options > Save.
Can I recover a Word document after emptying the Recycle Bin?
Potentially, but recovery is less straightforward. Check cloud backups, File History, other backups, and previous copies. Specialized data recovery software may also find files that have not yet been overwritten.
How do I recover an unsaved Word document?
Open Word and go to File > Info > Manage Document > Recover Unsaved Documents. You can also check Word’s AutoRecover settings and recovery folder.
Can OneDrive recover a deleted Word document?
Yes, if the file is still available in the OneDrive Recycle Bin or through version history. Availability depends on the account and retention settings.
Does Windows permanently delete a file immediately?
Normally, deleting a file from a local drive moves it to the Recycle Bin first. However, files can bypass the Recycle Bin through actions such as permanent deletion or deletion from certain locations.
What should I do immediately after accidentally deleting a Word document?
Stop unnecessary activity on the affected drive, check the Recycle Bin, look in OneDrive, and check Word’s recovery features and backups. If the file was permanently deleted, minimizing further disk activity can improve the chances of recovery.
Final Thoughts
Knowing how to recover deleted Microsoft Word documents can save hours of lost work. Start with the simplest options: check the Recycle Bin, Word’s recovery features, OneDrive, and your backups. If those methods don’t work, look for temporary files or consider a reputable data recovery solution.
The best protection, however, is prevention. Keeping important Word documents synchronized with cloud storage and backed up to another location can make future file loss much easier to handle.