

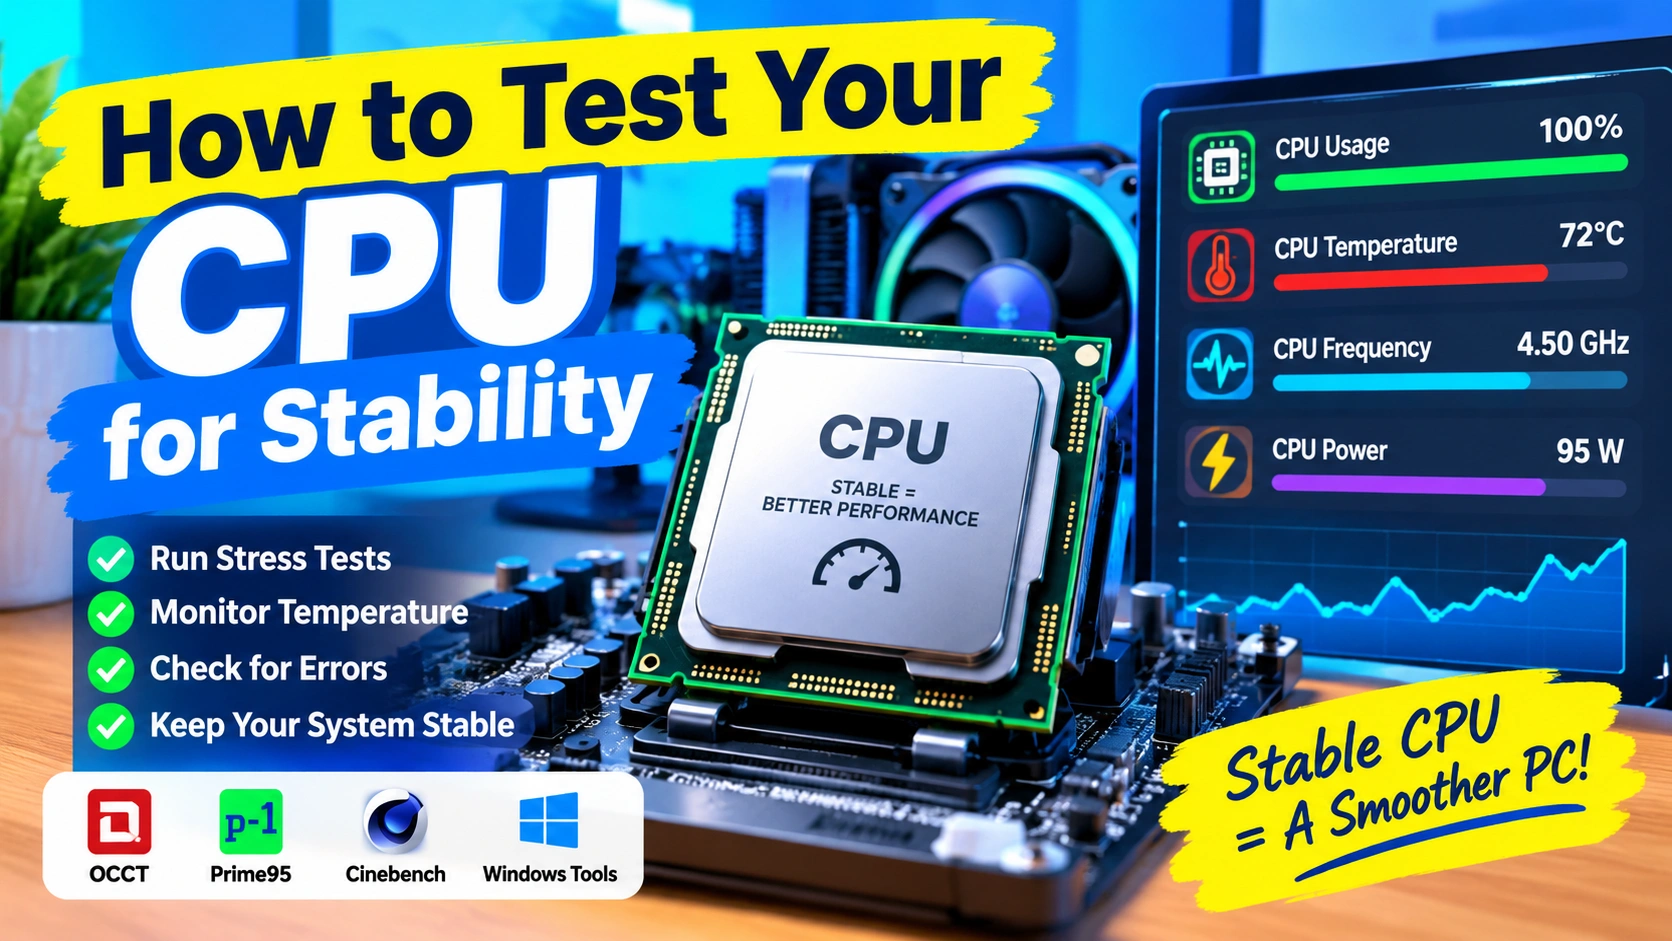
A computer can appear perfectly normal during everyday use while still having an unstable CPU. Random restarts, application crashes, blue screens, freezes, corrupted files, and unexpected shutdowns can sometimes indicate that the processor is struggling under sustained workloads.
Testing your CPU for stability is especially important after installing a new processor, changing BIOS settings, enabling overclocking, adjusting undervolting settings, upgrading cooling, or troubleshooting unexplained system crashes.
The good news is that you can perform a reliable CPU stability test using tools already available in Windows, along with several trusted stress-testing applications.
This guide explains how to test your CPU for stability safely, what temperatures to watch, how long to run a stress test, and how to determine whether your processor is genuinely stable.
What Does CPU Stability Mean?
CPU stability means that your processor can consistently perform calculations correctly under different workloads without causing errors, crashes, freezes, or system instability.
A stable CPU should be able to handle:
- Light everyday workloads
- Web browsing
- Office applications
- Gaming
- Multitasking
- Long-duration CPU-intensive workloads
- High temperatures within its normal operating limits
- Sudden changes in CPU load
A processor that passes a short benchmark is not necessarily stable. Some problems only appear after the CPU has been under heavy load for an extended period.
Why Should You Test CPU Stability?
CPU stability testing can help identify problems that are difficult to reproduce during normal computer use.
Common reasons to test include:
1. After Installing a New CPU
A new processor should be tested to make sure the system is functioning correctly after installation.
2. After Overclocking
Overclocking increases CPU frequency and can require additional voltage. Even if Windows starts normally, the system may still be unstable under heavy workloads.
3. After Undervolting
Undervolting can reduce power consumption and temperatures, but setting the voltage too low may cause calculation errors or crashes.
4. After Changing BIOS Settings
Changes to CPU power limits, voltage, memory settings, or boost behavior can affect system stability.
5. When Windows Randomly Crashes
If your PC experiences unexplained freezes, restarts, or blue screens, CPU testing can help determine whether the processor or its configuration is contributing to the problem.
6. After Upgrading the Cooling System
A better cooler should help maintain lower temperatures during sustained CPU workloads. Stress testing allows you to verify the improvement.
Signs of an Unstable CPU
CPU instability does not always produce an obvious error message.
Watch for symptoms such as:
- Random Windows restarts
- Blue screen errors
- System freezes
- Applications suddenly closing
- Games crashing to the desktop
- WHEA hardware errors
- Unexpected shutdowns
- Failure to boot after BIOS changes
- File compression or rendering errors
- Installation failures
- System lockups during heavy workloads
One important clue is whether the problem occurs primarily when CPU usage becomes high.
Prepare Your PC Before Testing
Before starting a CPU stress test, prepare the system.
Save Your Work
Stress tests can cause an unstable computer to crash. Save documents and close applications that you do not need.
Check Your Cooling
Make sure the CPU cooler is properly installed and that the fans are working.
For desktop computers, also check that:
- The heatsink is firmly attached.
- The CPU fan is connected.
- The case has adequate airflow.
- Dust is not blocking the heatsink.
- Thermal paste has been applied correctly.
Return Extreme BIOS Settings to Normal
If your system is already unstable, consider returning CPU frequency and voltage settings to their default values before testing.
If you specifically want to test an overclock or undervolt, keep a record of your settings so you can identify which configuration causes instability.
Method 1: Check CPU Information in Windows
Before performing a stress test, identify your processor and observe its normal behavior.
Press:
Windows + R
Type:
msinfo32
Press Enter.
Windows will display basic processor information under System Summary.
You can also open Task Manager by pressing:
Ctrl + Shift + Esc
Select Performance > CPU.
Here you can monitor:
- CPU utilization
- Current speed
- Base speed
- Number of cores
- Number of logical processors
- CPU uptime
This does not test stability by itself, but it provides useful baseline information.
Method 2: Use Windows Built-In Diagnostics
Windows includes several diagnostic tools that can help identify hardware-related problems.
Check Event Viewer
Press Windows + X and select Event Viewer.
Navigate to:
Windows Logs > System
Look for critical or error events around the time your computer experienced a crash.
Pay particular attention to WHEA-Logger events. Windows Hardware Error Architecture can report hardware-related problems, although a WHEA error does not automatically prove that the CPU itself is defective.
Other components, including memory, motherboard firmware, power delivery, and PCIe devices, can also cause hardware errors.
Method 3: Use Windows Memory Diagnostic Alongside CPU Testing
CPU stability can sometimes be confused with memory instability.
If you recently changed RAM settings, enabled XMP, EXPO, or another memory profile, test the memory separately.
Press:
Windows + R
Enter:
mdsched.exe
Select:
Restart now and check for problems
Memory errors can cause symptoms that look very similar to CPU instability.
For more demanding troubleshooting, dedicated memory-testing software can provide a more thorough test.
Method 4: Use a CPU Stress-Testing Application
A dedicated CPU stress-testing application is one of the most effective ways to evaluate processor stability.
Popular options include:
- OCCT
- Prime95
- Cinebench
- AIDA64
- Intel Processor Diagnostic Tool for supported Intel systems
- Manufacturer-specific diagnostic utilities
Different programs stress processors differently, so no single test perfectly represents every real-world workload.
OCCT
OCCT is useful because it provides several testing modes and can monitor system behavior during the test.
A typical approach is:
- Open OCCT.
- Select the CPU test.
- Start with a short test.
- Monitor CPU temperature.
- Watch for errors or crashes.
- Gradually increase the test duration.
If the test reports calculation errors, freezes, or causes the system to restart, investigate the CPU configuration, cooling, memory, motherboard, and power supply.
Method 5: Test With Prime95
Prime95 is widely used for CPU and system stability testing.
It can place a very heavy workload on modern processors.
After launching Prime95, you can select a torture-test mode.
For a basic CPU stability check, run the test while monitoring:
- CPU temperature
- CPU frequency
- System responsiveness
- Worker errors
- Hardware error messages
Prime95 can generate significantly more heat than many normal applications, so do not start with an extremely long test without monitoring temperatures.
If workers stop because of calculation errors, the system may not be stable at its current CPU configuration.
Method 6: Use Cinebench for a Practical Test
Cinebench is primarily a rendering benchmark, but it can also be useful for evaluating sustained CPU performance.
Run a multi-core test and monitor the processor.
A stable system should generally complete repeated runs without:
- Crashing
- Freezing
- Restarting
- Producing unusual performance drops
Cinebench is often more representative of common sustained workloads than an extreme synthetic stress test, although it is not a complete stability test.
How Long Should You Stress Test a CPU?
There is no single test duration that guarantees stability.
A practical testing strategy is to use multiple stages.
Quick Check: 10–15 Minutes
Use a short test first.
This can quickly reveal major problems such as:
- Excessive temperatures
- Immediate crashes
- Incorrect BIOS settings
- Severe voltage instability
- Poor cooling
Intermediate Test: 30–60 Minutes
A longer test can expose problems that do not appear immediately.
This is useful after making a small BIOS adjustment or undervolt.
Extended Test: Several Hours
For a system intended for demanding workloads, a longer test provides greater confidence.
For example, you might run a CPU stress test for several hours while monitoring the system.
However, passing several hours does not mathematically prove that a CPU will never fail. Stability testing increases confidence rather than providing an absolute guarantee.
Monitor CPU Temperature During Testing
Temperature is one of the most important things to watch during a stress test.
Modern processors are designed to protect themselves when temperatures become excessive, but repeatedly operating at very high temperatures can reduce performance through thermal throttling and may indicate inadequate cooling.
Use a hardware monitoring application to observe:
- CPU package temperature
- Individual core temperatures
- CPU frequency
- CPU utilization
- CPU power consumption
- Thermal throttling
- Fan speed
Do not rely on a single temperature number without considering the processor model and its manufacturer-defined operating limits.
What If the CPU Gets Very Hot?
Stop the test if temperatures become unexpectedly high or approach the processor’s thermal protection limit.
Then check:
- CPU cooler installation
- Thermal paste
- Fan operation
- Case airflow
- BIOS voltage settings
- CPU power limits
- Dust buildup
- Ambient room temperature
A high temperature does not necessarily mean the CPU is defective.
How to Recognize a Failed Stability Test
A CPU stability test should be considered unsuccessful if you encounter clear errors or system instability.
Examples include:
Calculation errors
The testing application reports that a worker or calculation has failed.
Blue screen
Windows crashes during the test.
System restart
The computer unexpectedly reboots.
Freeze
The entire system becomes unresponsive.
Application crash
The stress-testing program repeatedly crashes.
WHEA errors
Hardware error events appear in Windows Event Viewer during the workload.
Severe thermal throttling
The CPU repeatedly reduces its frequency because temperatures are too high.
One isolated Windows event is not always enough to diagnose the CPU. Look for patterns and reproduce the problem where possible.
What to Do If Your CPU Fails the Test
Do not immediately assume that the processor is defective.
CPU stability depends on several components.
1. Return the CPU to Default Settings
If you are overclocking or undervolting, return CPU settings to their default configuration.
Run the test again.
If the system becomes stable, your previous configuration may have been too aggressive.
2. Check CPU Temperature
If temperatures are excessive, improve cooling before continuing.
3. Test the RAM
Unstable memory can produce CPU-like crashes.
Test your RAM separately and temporarily disable aggressive memory profiles if necessary.
4. Update BIOS or UEFI
A motherboard firmware update may improve processor compatibility, power management, memory compatibility, or system stability.
Only update BIOS firmware using the motherboard manufacturer’s official instructions.
5. Check Power Delivery
An inadequate or failing power supply can cause instability under heavy loads.
Check:
- PSU capacity
- PSU quality
- CPU power connectors
- Motherboard power connections
- Signs of overheating
6. Test at Default Settings
This is one of the most useful diagnostic steps.
If the CPU fails even at completely default settings with normal temperatures, investigate other hardware and software components before concluding that the processor itself is faulty.
CPU Stability vs. CPU Temperature
These are related but different concepts.
A CPU can operate at a reasonable temperature and still be unstable because of:
- Excessive overclocking
- Insufficient voltage
- Memory instability
- BIOS configuration
- Motherboard issues
- Power delivery problems
Likewise, a CPU can reach a high temperature without immediately crashing because modern processors are designed to manage thermal conditions.
Therefore, temperature alone is not a stability test.
CPU Stress Testing After an Overclock
If you overclock your processor, use a more conservative testing process.
Start by testing the new configuration for a short period.
If it passes, extend the test.
Monitor:
- CPU temperature
- Voltage
- Clock speed
- Effective clock speed
- CPU power
- WHEA errors
- Application errors
If the system crashes or produces calculation errors, reduce the overclock or adjust the configuration according to your platform’s specifications.
Do not increase voltage blindly just to make a stress test pass. Higher voltage can significantly increase heat and power consumption.
CPU Stress Testing After an Undervolt
Undervolting can be beneficial because it may reduce:
- Power consumption
- Heat
- Fan noise
- Thermal throttling
However, too much undervolting can make the processor unstable.
An undervolt may appear stable during normal browsing but fail during a demanding workload.
After undervolting, test both:
- Heavy multi-core workloads
- Normal everyday workloads
This combination provides a better picture of real-world stability.
How to Test CPU Stability for Gaming
Gaming does not always stress every CPU core equally.
A CPU that passes a synthetic test can still experience problems in a particular game because games place different demands on the processor, GPU, memory, storage, and drivers.
After completing a synthetic stress test:
- Play a CPU-intensive game.
- Monitor temperatures.
- Monitor CPU frequency.
- Play for at least an hour or more.
- Watch for crashes, freezes, or unexpected restarts.
If only one game crashes, investigate the game, graphics driver, RAM, GPU, and software before blaming the CPU.
Create a Simple CPU Stability Testing Routine
For most users, the following routine is practical:
Step 1
Record your current BIOS settings.
Step 2
Check CPU temperature at idle.
Step 3
Run a short CPU stress test.
Step 4
Monitor temperature and CPU frequency.
Step 5
Check Event Viewer for hardware-related errors.
Step 6
Run a longer CPU test if the short test passes.
Step 7
Test memory separately if instability continues.
Step 8
Use your computer normally for several days.
This approach is more useful than relying on one benchmark score.
How to Know If Your CPU Is Stable
A CPU is more likely to be stable when it can:
- Complete repeated stress tests without errors
- Maintain normal operating temperatures
- Avoid thermal throttling caused by inadequate cooling
- Run demanding applications without crashing
- Avoid unexpected restarts
- Avoid freezes and blue screens
- Produce no recurring hardware errors under load
- Remain reliable during normal everyday use
Remember that no stress test can guarantee perfect stability forever.
Different workloads exercise different parts of the processor and platform.
Frequently Asked Questions
How can I test my CPU stability in Windows?
You can use a dedicated stress-testing application such as OCCT or Prime95 while monitoring CPU temperature, clock speed, errors, and system behavior.
How long should I test my CPU?
A 10–15 minute test is useful for detecting obvious problems. A 30–60 minute test provides a stronger initial check, while several hours can provide greater confidence for demanding or overclocked systems.
Is 100% CPU usage during a stress test dangerous?
High CPU usage is expected during a stress test. The important factors are temperature, voltage, cooling, and whether the processor remains within its specified operating limits.
Can a CPU be unstable without crashing?
Yes. Some instability appears as calculation errors, application crashes, WHEA hardware errors, or corrupted operations rather than an immediate system crash.
Does a CPU stress test damage the processor?
A properly configured processor has built-in protections against excessive temperature and power. However, you should stop testing if temperatures become excessive or the system behaves abnormally.
Can RAM cause a CPU stability test to fail?
Yes. Memory instability can cause errors that look like CPU instability. If CPU tests fail, test the RAM separately, especially if XMP, EXPO, or manual memory settings are enabled.
Should I stress test a new CPU?
Yes. A short stability and temperature check after installing a new CPU is a sensible way to confirm that the processor, cooler, motherboard, and BIOS configuration are working correctly.
Final Thoughts
Testing your CPU for stability is an important troubleshooting and maintenance step, particularly after changing BIOS settings, overclocking, undervolting, upgrading your processor, or experiencing random crashes.
Start with a short stress test and carefully monitor temperatures and system behavior. If the system passes, gradually increase the testing duration. For more reliable results, combine synthetic CPU testing with memory testing and normal real-world workloads.
If a test fails, do not immediately replace the CPU. Check cooling, RAM, BIOS settings, power delivery, and motherboard stability first. A systematic approach can help you identify the actual cause without unnecessarily replacing working hardware.