

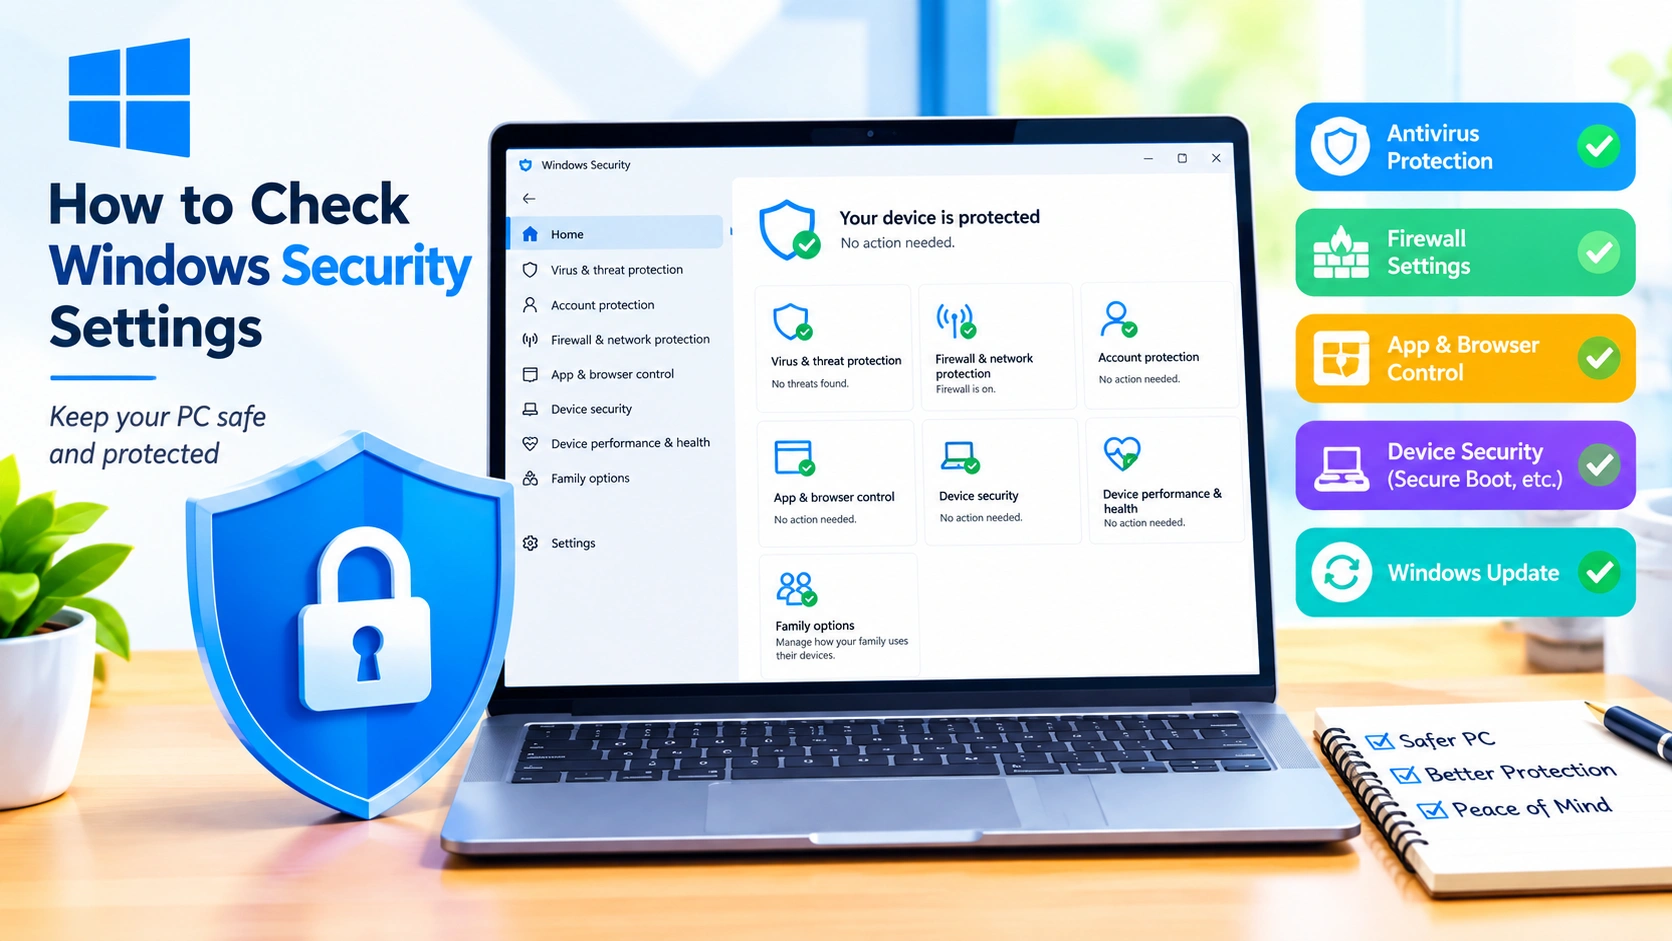
Keeping your Windows security settings properly configured is one of the simplest ways to protect your computer from malware, unauthorized access, suspicious applications, and other online threats. Windows includes several built-in security features, but many users rarely check whether those protections are enabled and working correctly.
Knowing how to check Windows Security settings can help you identify problems before they become serious. You can review antivirus protection, firewall status, account security, device security, app protection, and other important controls directly from Windows.
This guide explains the most important Windows Security settings to check and how to verify them step by step.
Why You Should Check Windows Security Settings
Windows Security is designed to protect your PC automatically, but its status can change after software installations, system updates, configuration changes, or third-party security software installations.
Regularly checking your security settings can help you:
- Confirm Microsoft Defender Antivirus is active.
- Make sure the Windows Firewall is enabled.
- Check whether real-time protection is working.
- Review recent security threats.
- Verify ransomware protection settings.
- Check Windows Hello and account security options.
- Review potentially unwanted application protection.
- Confirm important security features are enabled.
- Identify warnings that require attention.
A quick security check can therefore provide an early warning when something is misconfigured.
How to Open Windows Security
The easiest way to check Windows Security settings is through the Windows Security application.
Method 1: Use Windows Search
- Press Windows + S.
- Type Windows Security.
- Select Windows Security from the search results.
- The main security dashboard will appear.
From here, you can access the major protection categories available on your Windows installation.
Method 2: Use Windows Settings
You can also open Windows Security through Settings:
- Press Windows + I.
- Select Privacy & security.
- Click Windows Security.
- Select Open Windows Security.
The exact wording or available options can vary slightly between Windows versions and editions.
Check Virus & Threat Protection
The first area you should inspect is Virus & threat protection.
Open Windows Security and select Virus & threat protection. Look for the current protection status and any warnings.
Pay particular attention to Real-time protection. When enabled, Windows can continuously monitor files and applications for potential threats.
You can select Virus & threat protection settings and choose Manage settings to review options such as:
- Real-time protection
- Cloud-delivered protection
- Automatic sample submission
- Tamper Protection
For everyday users, leaving these protections enabled is generally recommended unless you have a specific reason to change them.
Check for Security Threats
Windows Security also lets you review recent scans and detected threats.
Under Virus & threat protection, check the protection history and scan information. If Windows has detected a suspicious file, you may see details about the threat and the action taken.
You can also run a manual scan.
Run a Quick Scan
- Open Windows Security.
- Select Virus & threat protection.
- Click Quick scan.
- Wait for Windows to complete the scan.
A quick scan is useful for routine checks. If you suspect a serious infection, Windows also provides more extensive scanning options.
Check Windows Firewall Settings
The firewall helps control network connections between your PC and other devices or networks.
To check it:
- Open Windows Security.
- Select Firewall & network protection.
- Review the available network profiles.
Windows commonly displays profiles such as:
- Domain network
- Private network
- Public network
Check that the firewall is enabled for the networks you use.
Why Firewall Settings Matter
A disabled firewall can reduce your computer’s protection against unwanted network connections. However, avoid randomly changing firewall rules because incorrectly configured rules can interfere with applications or expose services unnecessarily.
If Windows reports that the firewall requires attention, investigate the specific warning rather than simply dismissing it.
Check Network Profile Settings
Windows treats different network types differently.
A Private network is generally intended for trusted networks such as your home network, while a Public network is intended for less-trusted environments such as cafes, airports, or hotels.
To review your network configuration:
- Open Settings.
- Select Network & internet.
- Select your active connection.
- Review the network profile.
For networks you do not trust, using a public network profile can provide a more restrictive configuration.
Check App & Browser Control
Another important area is App & browser control.
This section contains protections designed to help defend against malicious applications, files, websites, and downloads.
Open:
Windows Security → App & browser control
Review the available reputation-based protection settings.
Depending on your Windows version, you may see options related to:
- Checking apps and files
- SmartScreen protection
- Potentially unwanted applications
- Protection against malicious websites and downloads
These features can help prevent users from accidentally opening suspicious content.
Check Ransomware Protection
Ransomware can encrypt files and demand payment to restore access. Windows includes additional protection options that can help protect important folders.
Open:
Windows Security → Virus & threat protection → Manage ransomware protection
You may find Controlled folder access among the available options.
Controlled folder access can restrict untrusted applications from changing files in protected folders.
Before enabling stricter controls, make sure you understand how they work. Legitimate applications may sometimes require permission to modify protected files.
Check Device Security
The Device security section provides information about hardware-based security features supported by your computer.
Open:
Windows Security → Device security
Depending on your hardware and Windows configuration, you may see features such as:
- Core isolation
- Memory integrity
- Security processor
- Secure Boot
Check Secure Boot
Secure Boot helps ensure that trusted software is used during the Windows startup process.
You can check its status through the Device security section or by using Windows system information.
To inspect additional system information:
- Press Windows + R.
- Type
msinfo32. - Press Enter.
- Find Secure Boot State.
If your hardware supports Secure Boot, it is generally beneficial to keep it enabled.
Check Core Isolation and Memory Integrity
Core isolation uses virtualization-based security features to help protect important parts of Windows.
Within Windows Security → Device security, look for Core isolation details.
One important option is Memory integrity.
If it is enabled, Windows uses additional security mechanisms to help prevent certain types of malicious code from interfering with protected system processes.
If Windows reports that Memory integrity cannot be enabled because of an incompatible driver, investigate the driver rather than immediately disabling other security features.
Check Account Protection
Select Account protection in Windows Security.
This area can provide information about Windows sign-in and account-related security features.
Depending on your configuration, you may see options involving:
- Windows Hello
- Microsoft account
- Dynamic lock
- Sign-in security
Using a strong sign-in method is especially important if your computer contains personal, financial, or work-related information.
Check Device Performance & Health
Windows Security also includes Device performance & health.
This section can provide an overview of certain system health areas, including:
- Windows Update
- Storage capacity
- Battery-related information on supported devices
- Applications and software
- Windows Time service
A warning in this section does not necessarily mean that your computer has malware. It may indicate a maintenance or configuration issue that should be addressed.
Check Family Options
The Family options section provides access to family-related safety features.
This can be useful if a Windows PC is shared with children or other family members.
Depending on your Microsoft account and Windows configuration, family safety features can help with areas such as:
- Screen time
- Content filtering
- Application restrictions
- Family activity
For a personal computer that is not part of a family setup, this section may not require regular attention.
Check Windows Update Security
Keeping Windows updated is an important part of maintaining security.
To check for updates:
- Press Windows + I.
- Select Windows Update.
- Click Check for updates.
- Install available updates when appropriate.
- Restart the PC if Windows requests it.
Security updates can address vulnerabilities discovered after a Windows version was released, so regularly checking Windows Update is an important part of your overall security routine.
Review Windows Security Notifications
Windows Security can display warnings when it detects a configuration or protection issue.
Do not ignore persistent notifications.
For example, Windows may warn you when:
- Antivirus protection is disabled.
- Real-time protection has been turned off.
- Firewall protection needs attention.
- Security updates are missing.
- A potentially unwanted application was detected.
- A security feature requires configuration.
Open Windows Security and investigate the specific recommendation instead of assuming every notification is harmless.
How to Check Windows Security Settings Using PowerShell
Advanced users can also inspect some security information using PowerShell.
Open PowerShell as an administrator and use appropriate Windows security commands to review Defender status.
For example:
Get-MpComputerStatusThis command can display information about Microsoft Defender Antivirus, including protection and update-related status.
You can also review Defender preferences with:
Get-MpPreferencePowerShell provides more detailed information than the graphical Windows Security interface, but beginners should avoid changing security settings through commands unless they understand the consequences.
In this guide, you’ll learn how to Check Windows Security Settings Using PowerShell to verify Microsoft Defender, Firewall, real-time protection, security services, and other important Windows security features.
How to Check if Microsoft Defender Is Working
A simple way to verify Defender’s status is to open:
Windows Security → Virus & threat protection
Look for the protection status and review the available settings.
For a more detailed check, PowerShell can provide Defender status information:
Get-MpComputerStatusLook for properties related to antivirus availability, real-time protection, and security intelligence updates.
If another antivirus program is installed, the security configuration may be different because Windows can change which security provider handles certain protections.
What to Do If Windows Security Shows a Warning
Do not immediately assume that a warning means your PC is infected.
First, identify what Windows is reporting.
For example:
Real-time protection is off
Open Virus & threat protection settings and determine why it is disabled.
Firewall is off
Open Firewall & network protection and check the affected network profile.
Memory integrity cannot be enabled
Check whether Windows identifies an incompatible driver.
Security intelligence is outdated
Check for Microsoft Defender updates and Windows Updates.
Potentially unwanted application detected
Review Protection history and determine whether the detected application is legitimate before taking further action.
Windows Security Settings Checklist
Use this checklist when performing a routine security review:
| Security Area | What to Check |
|---|---|
| Virus & threat protection | Antivirus and real-time protection |
| Protection history | Recent detections and actions |
| Firewall & network protection | Firewall status for network profiles |
| App & browser control | SmartScreen and reputation protection |
| Ransomware protection | Controlled folder access |
| Device security | Secure Boot and hardware security |
| Core isolation | Memory integrity status |
| Account protection | Windows Hello and sign-in security |
| Windows Update | Pending security updates |
| Device performance & health | Important system warnings |
How Often Should You Check Windows Security?
You do not need to inspect every Windows Security option every day.
For most users, a quick review once every few weeks is reasonable. You should also check the dashboard whenever Windows displays a security warning.
Perform an additional check after:
- Installing major Windows updates
- Installing or removing antivirus software
- Installing unfamiliar software
- Changing firewall rules
- Replacing major hardware
- Recovering from malware
- Experiencing unusual system behavior
Regular checks are particularly useful because security problems are often easier to fix when detected early.
Common Mistakes to Avoid
When checking Windows security settings, avoid making unnecessary changes.
Disabling Antivirus Without a Reason
Temporarily disabling antivirus protection may sometimes be necessary for troubleshooting, but leaving it disabled unnecessarily creates additional risk.
Turning Off the Firewall to Fix Everything
If an application cannot connect to the internet, disabling the firewall should not be the first solution. Check the application’s configuration and firewall rules instead.
Ignoring Security Warnings
Repeatedly dismissing Windows Security notifications can allow genuine problems to remain unresolved.
Installing Multiple Security Programs
Running several security products with overlapping real-time protection can create conflicts or unnecessary system overhead. Understand which security provider Windows is currently using.
Downloading Security Software From Untrusted Websites
If you need additional security software, obtain it from a reputable source. Avoid suspicious websites offering “one-click” security scanners that generate alarming warnings.
Final Thoughts
Learning how to check Windows Security settings gives you a simple way to verify that your computer’s basic defenses are functioning correctly. Start with Virus & threat protection, Firewall & network protection, App & browser control, Device security, and Windows Update.
You do not need to modify every advanced option. In most cases, the best approach is to keep Windows’ recommended protections enabled, install security updates regularly, and investigate warnings when they appear.
A few minutes spent reviewing Windows Security settings can help keep your Windows PC safer and reduce the risk of common security problems.