

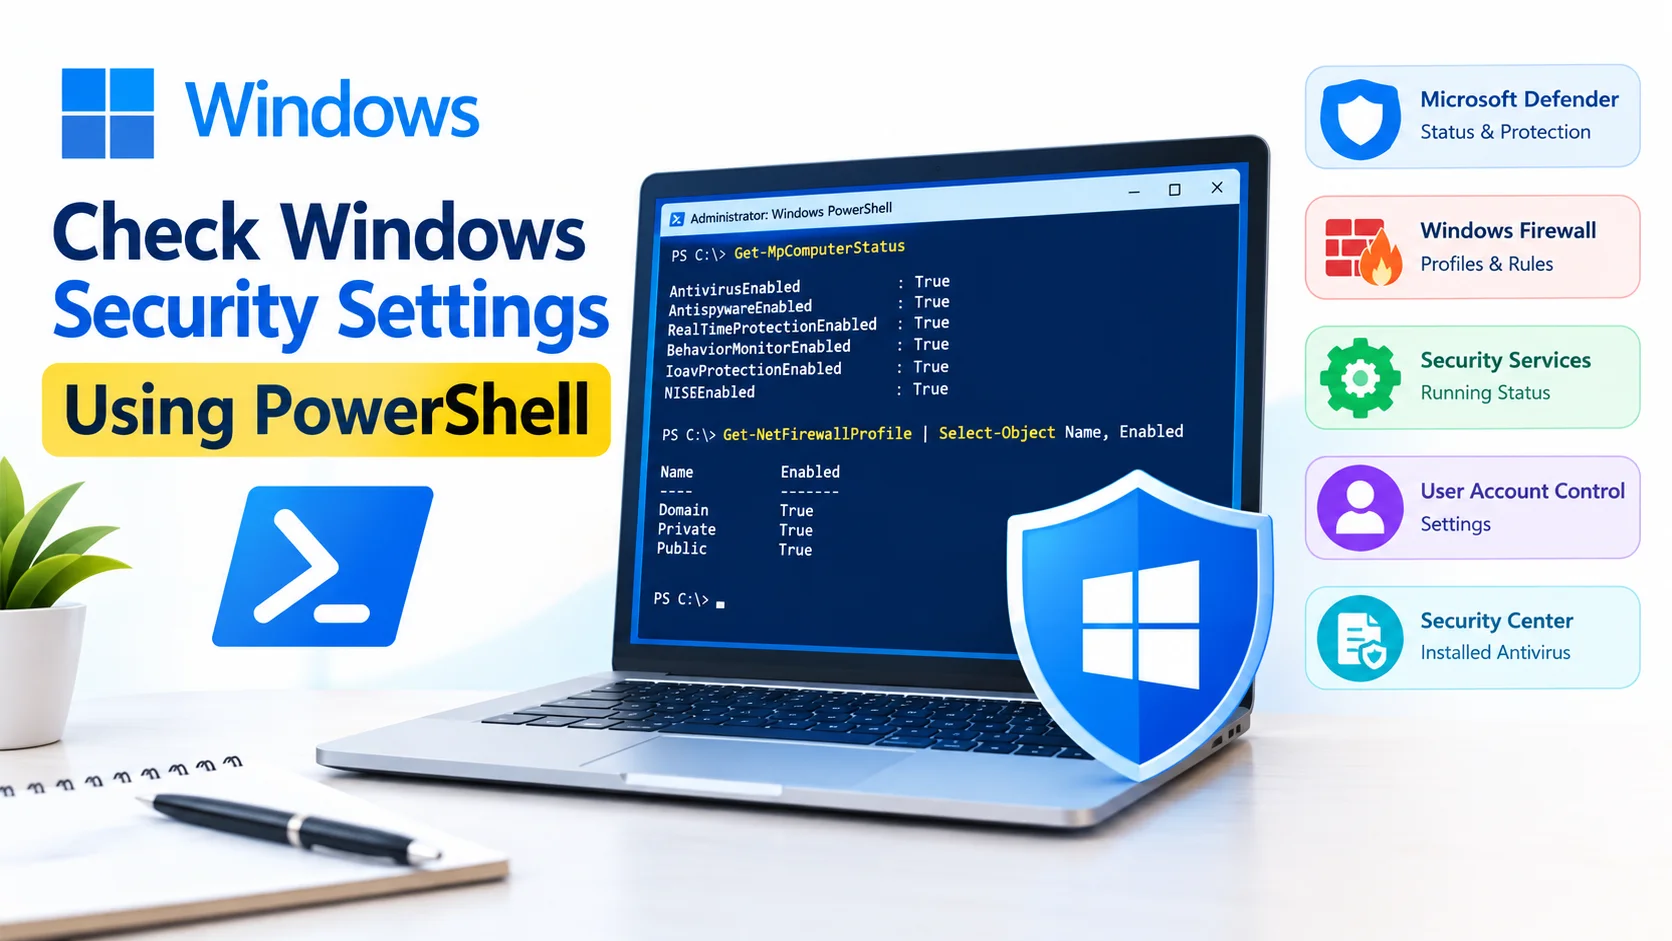
Check Windows Security Settings Using PowerShell to quickly review important security features such as Microsoft Defender, Windows Firewall, real-time protection, and security services. Instead of navigating through multiple Windows menus, PowerShell lets you inspect many security configurations using simple commands.
Windows includes several built-in security features designed to protect your computer from malware, unauthorized access, and other threats. While many settings can be viewed through the Windows Security app, PowerShell provides a convenient way to retrieve detailed security information and troubleshoot potential configuration issues.
In this guide, you’ll learn how to use PowerShell commands to check Windows security settings, verify Microsoft Defender status, inspect firewall profiles, review security services, and create a basic security status report.
Why Check Windows Security Settings With PowerShell?
PowerShell can provide security information that may not be immediately visible in the standard Windows interface. It is also useful when troubleshooting security problems or checking multiple settings quickly.
Some benefits include:
- Quickly checking Microsoft Defender status
- Viewing antivirus and antispyware protection
- Checking Windows Firewall profiles
- Reviewing Defender preferences
- Identifying security features that are disabled
- Automating security checks
- Troubleshooting Windows security configuration
Many of the commands in this guide can be used directly from PowerShell, although some require administrator privileges.
How to Open PowerShell as Administrator
Before checking security settings, it is recommended to open PowerShell with administrative privileges.
Method 1: Using Windows Search
- Press Windows + S.
- Type PowerShell.
- Right-click Windows PowerShell or PowerShell.
- Select Run as administrator.
- Select Yes if User Account Control appears.
Method 2: Using Windows Terminal
You can also open Windows Terminal as administrator and select a PowerShell tab.
Once PowerShell is open, you can start checking Windows security settings.
Check Microsoft Defender Status
Microsoft Defender Antivirus is one of the most important built-in security components in Windows.
To view its current status, run:
Get-MpComputerStatus
This command displays several Defender-related properties, including antivirus status, real-time protection, and other security components.
Pay particular attention to properties such as:
AntivirusEnabledAntispywareEnabledRealTimeProtectionEnabledBehaviorMonitorEnabledIoavProtectionEnabledNISEnabled
A value of True generally indicates that the corresponding feature is enabled.
Check Real-Time Protection
Real-time protection continuously monitors files, applications, and other activities for potential threats.
Use:
(Get-MpComputerStatus).RealTimeProtectionEnabled
If the command returns:
True
real-time protection is enabled.
If it returns False, investigate the Windows Security configuration to determine why protection is disabled.
Check Antivirus Protection
To check whether Microsoft Defender’s antivirus component is enabled, run:
(Get-MpComputerStatus).AntivirusEnabled
You can also check antispyware protection:
(Get-MpComputerStatus).AntispywareEnabled
These quick commands are useful when you only need to verify a specific security feature rather than viewing the entire Defender status report.
Check Windows Defender Preferences
To view Microsoft Defender Antivirus configuration, use:
Get-MpPreference
This command can display a large amount of information about Defender’s configuration.
Depending on your Windows version and configuration, the output can include settings related to:
- Exclusions
- Scan behavior
- Real-time monitoring
- Cloud-delivered protection
- Threat actions
- Scheduled scanning
- Downloaded file scanning
Because the output can be extensive, you may want to inspect specific properties rather than displaying everything.
Check Microsoft Defender Exclusions
Security exclusions can prevent Microsoft Defender from scanning particular files, folders, extensions, or processes.
To view configured exclusions, run:
Get-MpPreference | Select-Object ExclusionPath, ExclusionProcess, ExclusionExtension
Review these entries carefully. An unnecessary exclusion can reduce the level of protection provided by Microsoft Defender.
If you discover an exclusion you do not recognize, investigate it before removing or changing it, particularly on managed business computers.
Check Windows Firewall Status
Windows Firewall helps control network traffic entering and leaving your computer.
PowerShell can show the status of Windows Firewall profiles with:
Get-NetFirewallProfile
The command normally displays profiles such as:
- Domain
- Private
- Public
Look for the Enabled property to determine whether each firewall profile is active.
For a more compact result, use:
Get-NetFirewallProfile | Select-Object Name, Enabled
The output makes it easier to identify which firewall profiles are enabled.
Check Firewall Profiles Individually
You can also check a specific firewall profile.
For example, to check the Public profile:
Get-NetFirewallProfile -Profile Public
For the Private profile:
Get-NetFirewallProfile -Profile Private
And for the Domain profile:
Get-NetFirewallProfile -Profile Domain
This can be helpful when troubleshooting network access problems.
Check Windows Firewall Rules
Windows Firewall uses rules to determine which applications and network connections are allowed or blocked.
To list firewall rules, run:
Get-NetFirewallRule
Because Windows can contain many firewall rules, you can filter the results.
For example:
Get-NetFirewallRule | Where-Object Enabled -eq 'True'
This displays enabled firewall rules.
You can also display selected information:
Get-NetFirewallRule | Select-Object DisplayName, Enabled, Direction, Action
This provides a more manageable overview of firewall configuration.
Check Windows Security Services
Windows security features depend on various services. PowerShell can help determine whether important services are running.
For example:
Get-Service WinDefend
The WinDefend service is associated with Microsoft Defender Antivirus.
You can also check its status directly:
(Get-Service WinDefend).Status
If the result is:
Running
the service is currently running.
A stopped service does not automatically mean that your computer is compromised. Some security components can behave differently depending on Windows configuration, installed security software, organizational policies, and other factors.
Check Security-Related Services
To find services whose names or descriptions contain security-related terms, you can use:
Get-Service | Where-Object {
    $_.DisplayName -match "Security|Defender|Firewall"
}
This can provide a quick overview of potentially relevant services.
Avoid changing service startup settings simply because a service appears unfamiliar. Some Windows components have dependencies and should only be modified when you understand their purpose.
Check the Windows Firewall Service
The Windows Firewall service can be checked with:
Get-Service MpsSvc
To display only its current status:
(Get-Service MpsSvc).Status
The service is commonly associated with Windows Defender Firewall functionality.
Check User Account Control Settings
User Account Control, or UAC, helps prevent unauthorized changes to Windows.
UAC configuration is stored in the Windows Registry. You can inspect the commonly used EnableLUA setting with:
Get-ItemProperty `
-HKLM:\SOFTWARE\Microsoft\Windows\CurrentVersion\Policies\System `
-Name EnableLUA
A value of 1 indicates that UAC is enabled.
Do not modify this registry setting casually. Disabling UAC can reduce protection against unauthorized system changes.
Check Windows Security Center Information
Windows also maintains information about security products installed on the computer.
You can query the Security Center namespace using:
Get-CimInstance -Namespace root/SecurityCenter2 -ClassName AntiVirusProduct
This can show antivirus products registered with Windows Security Center.
On systems using Microsoft Defender or third-party antivirus software, this command can help determine which antivirus product Windows recognizes.
Create a Simple Security Status Report
If you regularly check a computer’s security configuration, you can combine several commands into a simple PowerShell script.
For example:
Write-Host "=== Microsoft Defender ==="
Get-MpComputerStatus |
    Select-Object AntivirusEnabled,
                  AntispywareEnabled,
                  RealTimeProtectionEnabled,
                  BehaviorMonitorEnabled

Write-Host "`n=== Windows Firewall ==="
Get-NetFirewallProfile |
    Select-Object Name, Enabled

Write-Host "`n=== Defender Service ==="
Get-Service WinDefend |
    Select-Object Status, StartType
This provides a quick overview of several important security components.
You can expand the script with additional checks if you manage multiple Windows computers.
Check Security Settings Without Changing Them
One advantage of these PowerShell commands is that most of them are designed to read configuration rather than modify it.
For example:
Get-MpComputerStatus
only retrieves Defender status.
Similarly:
Get-NetFirewallProfile
retrieves firewall profile information.
This makes these commands useful for auditing and troubleshooting.
However, commands that use verbs such as Set-, Enable-, Disable-, Add-, or Remove- may change your system configuration. Always verify a command before running it, especially in an administrator PowerShell window.
What to Do If a Security Feature Is Disabled
If PowerShell reports that a security feature is disabled, do not immediately assume that Windows is infected or compromised.
Possible reasons include:
- A third-party antivirus program is installed.
- An organization has configured security policies.
- A security feature was intentionally disabled.
- Windows configuration has changed.
- A service is not running.
- Group Policy settings are controlling the feature.
- Another security product is managing the relevant protection.
Start by identifying why the feature is disabled before making changes.
PowerShell Commands for a Quick Security Check
Here are some useful commands to keep available:
| Security Check | PowerShell Command |
|---|---|
| Defender status | Get-MpComputerStatus |
| Real-time protection | (Get-MpComputerStatus).RealTimeProtectionEnabled |
| Antivirus enabled | (Get-MpComputerStatus).AntivirusEnabled |
| Defender preferences | Get-MpPreference |
| Defender exclusions | Get-MpPreference | Select-Object ExclusionPath,ExclusionProcess,ExclusionExtension |
| Firewall profiles | Get-NetFirewallProfile |
| Firewall status | Get-NetFirewallProfile | Select Name,Enabled |
| Firewall rules | Get-NetFirewallRule |
| Defender service | Get-Service WinDefend |
| Firewall service | Get-Service MpsSvc |
| Registered antivirus | Get-CimInstance -Namespace root/SecurityCenter2 -ClassName AntiVirusProduct |
Best Practices When Using PowerShell for Security Checks
Follow these practices when auditing Windows security settings:
1. Use an Administrator Window When Necessary
Some commands require elevated permissions. If a command fails with an access-related error, reopen PowerShell as administrator.
2. Read Before Changing
Checking a setting is generally safer than changing it. Use read-only commands to understand the current configuration first.
3. Be Careful With Exclusions
Defender exclusions can reduce scanning coverage. Only trusted and necessary exclusions should be configured.
4. Keep Windows Updated
Security settings are only one part of a secure Windows installation. Keep Windows, drivers, applications, and security software updated.
5. Don’t Disable Security Features Without a Reason
Turning off Defender, Firewall, or UAC can increase security risks. If troubleshooting requires a temporary change, understand the consequences and restore the protection afterward.
Frequently Asked Questions
How can I check Windows security settings using PowerShell?
Open PowerShell as an administrator and run commands such as Get-MpComputerStatus to check Microsoft Defender, or Get-NetFirewallProfile to check Windows Firewall profiles.
How do I check if Microsoft Defender is enabled?
Run:
Get-MpComputerStatusLook for AntivirusEnabled and RealTimeProtectionEnabled. A value of True indicates that the corresponding protection is enabled.
How do I check real-time protection in PowerShell?
Use:
(Get-MpComputerStatus).RealTimeProtectionEnabledIf the result is True, Microsoft Defender real-time protection is enabled.
How do I check Windows Firewall status with PowerShell?
Run:
Get-NetFirewallProfile | Select-Object Name, EnabledThis displays the status of the Domain, Private, and Public firewall profiles.
Can PowerShell show Microsoft Defender exclusions?
Yes. Run:
Get-MpPreference | Select-Object ExclusionPath, ExclusionProcess, ExclusionExtensionThis displays configured file, folder, process, and extension exclusions.
How do I check if the Windows Defender service is running?
Use:
Get-Service WinDefendYou can check only the current status with:
(Get-Service WinDefend).StatusDo I need administrator privileges to check Windows security settings?
Some PowerShell security commands require administrator privileges, while others can run in a standard PowerShell session. Opening PowerShell as an administrator provides access to a broader range of security information.
Can PowerShell check which antivirus is installed?
Yes. You can query antivirus products registered with Windows Security Center using:
Get-CimInstance -Namespace root/SecurityCenter2 -ClassName AntiVirusProductCan checking security settings with PowerShell damage Windows?
The commands used for checking settings are generally read-only. However, PowerShell also contains commands that can change security configurations. Be careful with commands containing verbs such as Set-, Disable-, Remove-, or Add-.
Why does PowerShell show that a security feature is disabled?
A feature may be disabled because of a third-party antivirus program, organization policies, Group Policy configuration, troubleshooting changes, or other Windows settings. Investigate the cause before manually changing the configuration.
Final Thoughts
PowerShell provides a convenient way to check Windows security settings without navigating through multiple Windows menus. Commands such as Get-MpComputerStatus, Get-MpPreference, Get-NetFirewallProfile, and Get-NetFirewallRule can reveal important information about antivirus protection, real-time monitoring, firewall configuration, and other security components.
For everyday users, these commands can help verify that basic protections are active. For advanced users and administrators, PowerShell can also become part of a larger Windows security auditing workflow.
Remember that security status should be evaluated as a whole. Microsoft Defender, Windows Firewall, UAC, Windows updates, application security, account protection, and safe computing practices all contribute to a more secure Windows environment.