

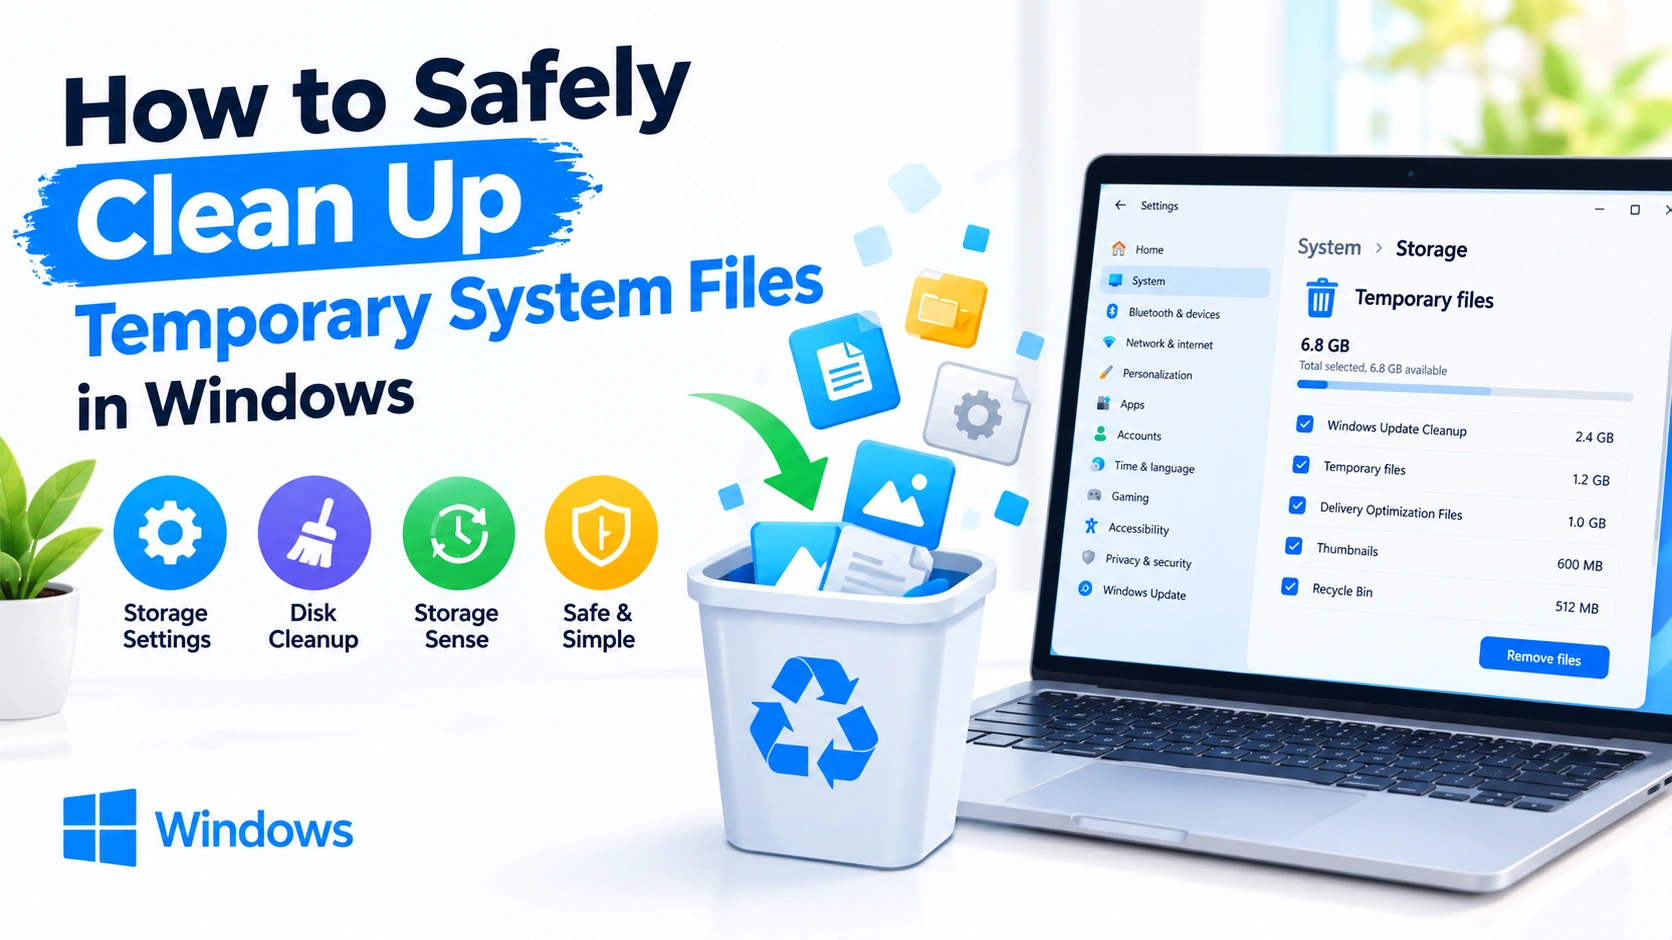
Temporary system files are created by Windows and installed applications to support updates, installations, browsing, error reporting, and everyday tasks. Over time, these files can accumulate and consume valuable storage space.
Cleaning temporary files is generally safe when you use Windows’ built-in tools and avoid deleting files manually from locations you do not recognize. This guide explains how to safely clean up temporary system files in Windows without accidentally removing important personal data or system components.
What Are Temporary System Files?
Temporary system files are files created for short-term use. Windows and applications may generate them during software installations, updates, document processing, and other operations.
Common examples include:
- Windows temporary files
- Application cache files
- Windows Update cleanup files
- Temporary installation files
- Thumbnail cache
- Delivery Optimization files
- Recycle Bin contents
- Previous Windows installation files
- Temporary internet files
- Error reporting files
Not every temporary-looking file should be deleted. Some files may still be in use, which is why Windows provides dedicated cleanup tools.
Why Should You Clean Temporary Files?
Regular cleanup can provide several benefits.
1. Free Up Disk Space
Temporary files can grow considerably over time. Removing unnecessary data can recover storage space for documents, applications, games, and other files.
2. Reduce Storage Clutter
A cleaner drive makes it easier to identify which files and folders are actually important.
3. Help Windows Updates
Old Windows Update files and installation remnants can sometimes consume a significant amount of storage.
4. Remove Unnecessary Caches
Application and system caches can become outdated. Clearing selected caches can occasionally resolve minor software problems.
However, deleting temporary files is not a guaranteed way to make a computer significantly faster. Its main benefit is recovering storage and removing unnecessary data.
Before Cleaning Temporary Files
Before deleting anything, save your work and close running applications.
It is also a good idea to:
- Save important documents.
- Close installers and Windows Settings windows that are performing updates.
- Make sure Windows is not currently installing an important update.
- Check how much free space is available.
- Back up important personal files.
If you are troubleshooting a specific application, remember that clearing its cache may remove locally stored temporary information.
Method 1: Use Windows Temporary Files Settings
The easiest method is through Windows Settings.
- Press Windows + I to open Settings.
- Select System.
- Click Storage.
- Select Temporary files.
- Wait while Windows calculates the available cleanup categories.
- Review the list carefully.
- Select the temporary file categories you want to remove.
- Click Remove files.
Windows displays different categories depending on your system configuration.
Be Careful With Downloads
The Downloads category deserves special attention.
Your Downloads folder may contain installers, documents, photos, archives, and other personal files. Do not select it unless you have reviewed its contents and are certain you no longer need them.
Method 2: Use Disk Cleanup
Windows also includes the classic Disk Cleanup utility.
To use it:
- Press Windows + S.
- Search for Disk Cleanup.
- Open the application.
- Select the Windows system drive, usually C:.
- Allow Windows to calculate the available cleanup space.
- Review the categories.
- Select appropriate items.
- Click OK.
- Confirm by selecting Delete Files.
Disk Cleanup can be particularly useful for removing certain system-related files that are not immediately obvious in File Explorer.
Method 3: Clean Up System Files
Disk Cleanup provides an additional option called Clean up system files.
This can expose additional categories, such as:
- Windows Update Cleanup
- Previous Windows installation files
- Windows upgrade log files
- System error memory dump files
- Temporary Windows installation files
- Windows Defender-related cleanup data
After selecting Clean up system files, choose the Windows drive again and wait for the scan to finish.
Think Carefully Before Removing Previous Windows Installations
Previous Windows installation files can occupy a large amount of storage. However, they may also be required if you need to return to an earlier Windows installation within the available rollback period.
If your current Windows installation is working correctly and you do not need the rollback option, removing these files may be reasonable. But understand that the cleanup can eliminate the ability to use those files for that recovery path.
Method 4: Enable Storage Sense
For ongoing maintenance, Windows’ Storage Sense feature can automatically remove certain unnecessary files.
To configure it:
- Open Settings.
- Go to System > Storage.
- Select Storage Sense.
- Turn on Storage Sense.
- Review its configuration options.
- Choose when Windows should perform automatic cleanup.
Storage Sense is useful if you regularly run low on disk space and want Windows to handle routine cleanup automatically.
Review the settings before enabling automatic deletion, especially options involving the Recycle Bin or Downloads folder.
Method 5: Delete User Temporary Files
Windows maintains temporary files associated with your user account.
You can access the user temporary folder by pressing:
Windows + R
Then enter:
%temp%Press Enter to open the folder.
You can select files that Windows allows you to remove and press Delete.
If Windows reports that a particular file is currently being used, do not force the deletion. Skip the file and continue with others.
You may also encounter temporary folders that contain files created by currently running applications. Closing those applications first can make more files available for cleanup.
Should You Delete Everything in the Temp Folder?
Not necessarily.
Although much of the content in a temporary folder can eventually be removed, some files may be actively used by Windows or applications.
A safer approach is:
- Close unnecessary applications.
- Delete files Windows allows you to delete.
- Skip files that are currently in use.
- Do not change permissions to force deletion.
- Do not delete unfamiliar system folders simply because they appear temporary.
Windows will recreate many temporary files when they are needed.
Method 6: Clean the Windows Temporary Folder
Windows also maintains system-level temporary data.
Press Windows + R and enter:
C:\Windows\TempYou may need administrator permission to access some files.
As with the user Temp folder, avoid forcing deletion of files currently in use. If Windows prevents a file from being deleted, leave it alone.
What Temporary Files Should You Avoid Deleting Manually?
Avoid manually deleting files from system locations simply because their names appear unfamiliar.
Be especially cautious with:
- Windows system folders
- Driver directories
- Program installation directories
- Registry-related files
- Boot files
- Files belonging to security software
- Application data folders
If you are unsure what a file does, use Windows’ cleanup utilities rather than manually deleting it.
How Much Storage Space Should You Free?
There is no fixed amount of temporary data that every Windows PC should contain.
The amount depends on factors such as:
- How long Windows has been installed
- How frequently you install applications
- Windows Update activity
- Number of installed programs
- Browser usage
- Available storage capacity
- Gaming and media usage
Some systems may have only a few hundred megabytes of removable temporary data, while others may have several gigabytes.
Focus on unnecessary data and available storage, rather than trying to reduce the temporary-file total to zero.
What If Temporary Files Keep Coming Back?
Temporary files are supposed to come back.
Windows and applications continuously create temporary data during normal operation. For example, opening an application, installing an update, browsing websites, or processing a file can generate new temporary files.
Therefore, seeing temporary files after a cleanup does not necessarily indicate a problem.
If storage usage grows unusually quickly, investigate the cause instead of repeatedly deleting files. Large application caches, Windows Update data, crash dumps, log files, or rapidly growing user folders may require additional troubleshooting.
Safely Clean Temporary Files With Command Prompt
Advanced users can also automate some cleanup tasks with Windows commands.
For example, the following command opens the current user’s temporary directory:
start %temp%You can then review the contents manually.
For routine maintenance, however, Windows Settings, Disk Cleanup, and Storage Sense are generally preferable because they provide clearer categories and reduce the chance of accidentally deleting unrelated files.
How Often Should You Clean Temporary Files?
There is no requirement to manually clean temporary files every day or week.
A practical approach is to check storage when:
- Your drive is running low on space.
- Windows reports insufficient storage.
- You are preparing for a major Windows update.
- A particular application has accumulated a large cache.
- You are troubleshooting storage-related problems.
Storage Sense can handle many routine cleanup tasks automatically, making frequent manual deletion unnecessary.
Common Mistakes to Avoid
Deleting Files While Windows Is Updating
Avoid aggressive cleanup during an active Windows Update. Allow updates and restarts to finish first.
Removing Downloads Without Checking Them
Downloads can contain valuable personal files. Always inspect the folder before selecting it for automatic cleanup.
Forcing Deletion of Locked Files
If Windows says a file is being used, leave it alone. A locked file is not necessarily a problem.
Using Random Third-Party Cleaners
Some third-party cleaning applications make aggressive recommendations or remove data that you may still need. Windows’ built-in tools are sufficient for most temporary-file cleanup tasks.
Expecting a Major Performance Boost
Removing temporary files primarily recovers storage space. It should not be treated as a universal performance optimization.
A Safe Temporary File Cleanup Routine
For most Windows users, this simple routine is enough:
- Check your available storage.
- Open Settings > System > Storage > Temporary files.
- Review each category.
- Avoid selecting Downloads unless you have checked it.
- Use Disk Cleanup when additional system cleanup is needed.
- Review Previous Windows installation(s) carefully before removing them.
- Enable Storage Sense for automated maintenance.
- Restart Windows if you were troubleshooting a system or application problem.
- Monitor your storage afterward.
Final Thoughts
Learning how to safely clean up temporary system files can help you recover storage and keep unnecessary data under control. The safest strategy is to rely primarily on Windows tools such as Temporary files settings, Disk Cleanup, and Storage Sense.
Avoid aggressively deleting unfamiliar files or forcing Windows to remove files that are currently in use. A controlled cleanup is safer than trying to empty every temporary folder completely.
With a regular storage check and carefully configured Storage Sense, most Windows users can maintain their drives without relying on risky manual cleanup methods.