

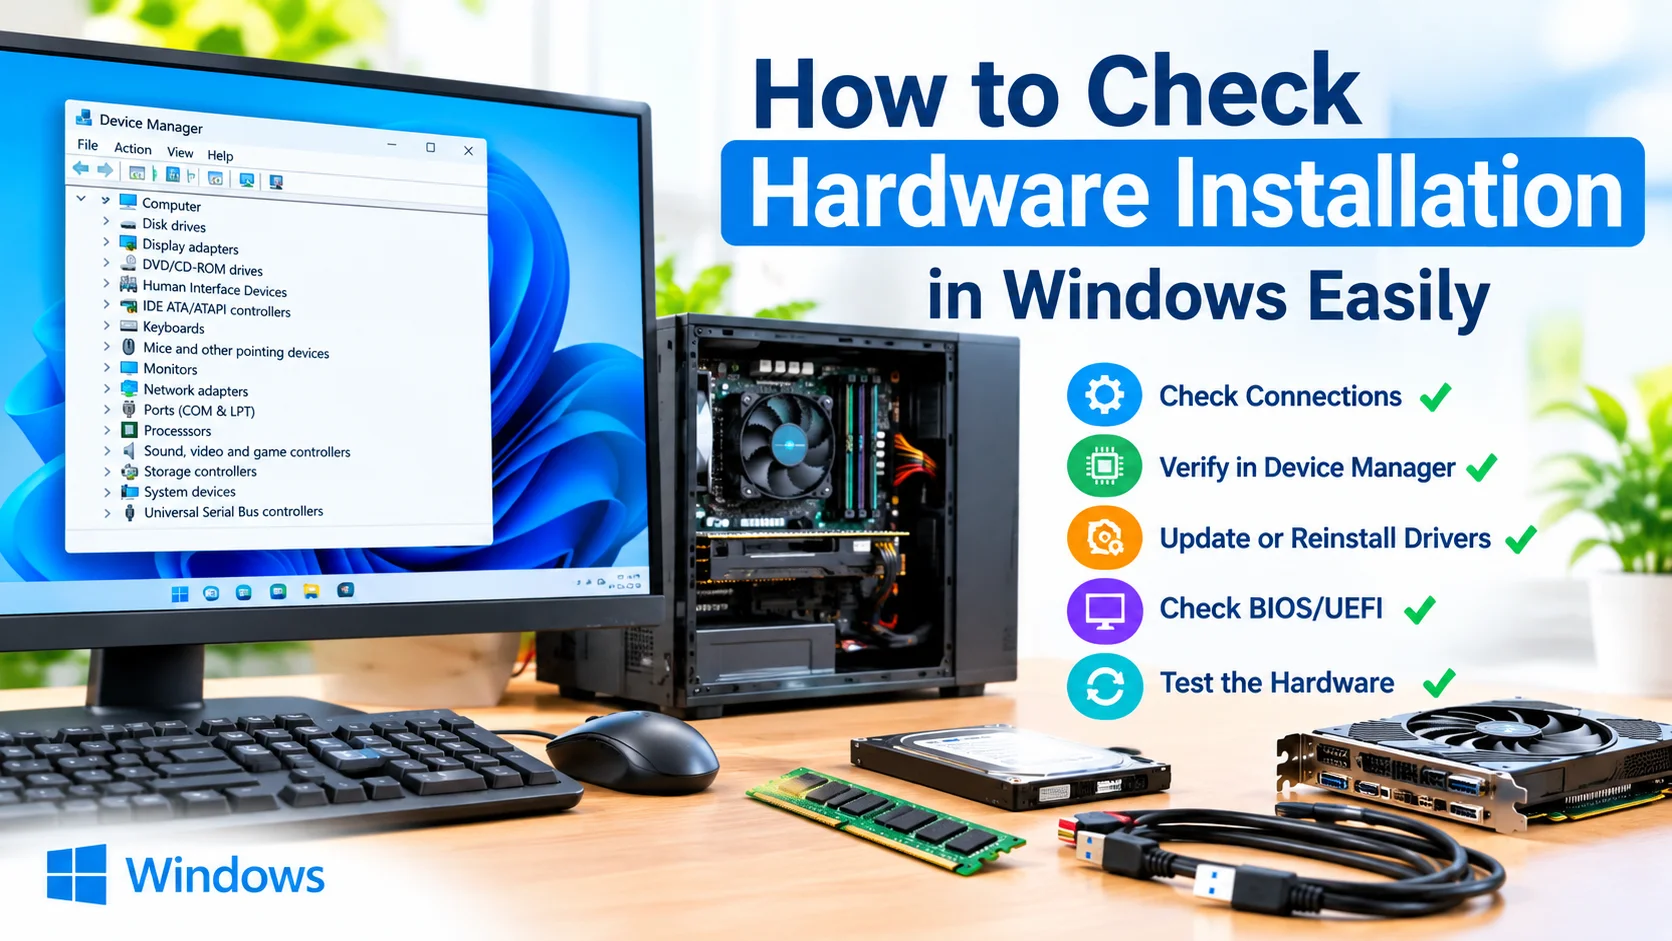
Hardware problems in Windows can sometimes occur because a device was installed incorrectly, connected improperly, or not detected by the operating system. Before replacing a component or reinstalling Windows, checking the hardware installation can help identify simple connection and configuration problems.
This guide explains how to check hardware installation in Windows, verify devices in Device Manager, inspect physical connections, and troubleshoot common hardware detection issues.
Why Check Hardware Installation?
When a newly installed device does not work correctly, several things could be responsible. The hardware may not be connected properly, Windows may not recognize it, or the required driver may be missing.
Checking the installation can help you:
- Confirm that hardware is connected correctly
- Determine whether Windows detects the device
- Identify missing or faulty drivers
- Find hardware conflicts
- Troubleshoot USB, storage, audio, network, and other devices
- Avoid replacing hardware unnecessarily
1. Turn Off the Computer Before Checking Internal Hardware
If you are checking hardware installed inside a desktop PC, shut down Windows completely before opening the case.
Disconnect the power cable and, if possible, switch off the power supply. Avoid touching components unnecessarily, and discharge static electricity before handling internal hardware.
For laptops, internal hardware access may require manufacturer-specific procedures. If the device is under warranty, check the manufacturer’s service instructions before opening it.
2. Check Physical Connections
A loose connection can prevent Windows from detecting a device.
Depending on the component, check:
- USB cables and ports
- SATA data and power cables
- RAM modules
- Graphics card seating
- Power connectors
- Wi-Fi or Bluetooth adapters
- External storage connections
- Monitor cables
For removable devices, disconnect and reconnect the hardware carefully. If possible, try another compatible port or cable to determine whether the connection is causing the problem.
3. Check the Hardware in Device Manager
Windows Device Manager provides an overview of installed hardware and its drivers.
To open Device Manager:
- Right-click the Start button.
- Select Device Manager.
- Expand the category containing the hardware.
- Locate the device you want to check.
- Double-click the device to open its properties.
Device Manager can show categories such as:
- Display adapters
- Network adapters
- Disk drives
- Keyboards
- Mice and other pointing devices
- Sound, video and game controllers
- Universal Serial Bus controllers
- Processors
If the hardware appears normally, Windows has generally detected it.
4. Look for Warning Icons
Pay attention to icons displayed beside hardware devices.
A yellow warning icon can indicate a problem with the device or its driver. A device listed as an unknown device may also indicate that Windows cannot properly identify or configure the hardware.
Open the device’s Properties window to view additional information. The Device status section may provide an error message or code that can help identify the problem.
5. Update or Reinstall the Driver
Incorrect or damaged drivers can prevent hardware from functioning properly.
In Device Manager:
- Right-click the affected device.
- Select Update driver.
- Follow the available instructions.
If updating does not resolve the issue, you can uninstall the device from Device Manager and restart Windows. Windows may detect the hardware again and reinstall an appropriate driver.
For important components, such as graphics cards, chipsets, and network adapters, it can also be useful to obtain drivers directly from the hardware or PC manufacturer’s official website.
6. Scan for Hardware Changes
If you have connected a device but Windows does not immediately detect it, Device Manager can scan for hardware changes.
Open Device Manager, select Action, and choose Scan for hardware changes.
Windows will search for newly connected or previously undetected hardware. If the device is detected, it may appear in the appropriate hardware category.
7. Check BIOS or UEFI Detection
If an internal component does not appear in Windows, check whether the computer’s BIOS or UEFI firmware detects it.
Restart the computer and enter the BIOS or UEFI setup using the key specified by your computer manufacturer. Common keys include Delete, F2, or another manufacturer-specific key.
For example, if an internal storage drive is missing from Windows, check whether the drive is visible in the firmware settings.
If the hardware is not detected by BIOS or UEFI, the problem may be related to the physical installation, power connection, compatibility, or the hardware itself.
8. Restart Windows After Hardware Changes
After installing or reconnecting hardware, restart Windows.
A restart allows Windows to reload device drivers and detect hardware changes. Some hardware installations may not work correctly until Windows has completed a restart.
9. Check Windows Update
Windows Update can provide hardware drivers and compatibility updates.
Go to:
Settings → Windows Update
Select Check for updates and install appropriate available updates. After installation, restart the computer if Windows requests it.
For specialized hardware, however, the manufacturer’s driver may be more appropriate than relying solely on Windows Update.
10. Test the Hardware Again
After checking connections, drivers, and Windows detection, test the device.
For example:
- Test a USB device with another port.
- Test a monitor with another compatible cable.
- Check whether a storage drive appears in File Explorer or Disk Management.
- Test network connectivity after checking the network adapter.
- Play audio after checking the sound device.
- Check Device Manager again after reinstalling a driver.
Testing the hardware after each troubleshooting step can help identify what resolved the problem.
Common Hardware Installation Problems
| Problem | Possible Cause | Recommended Check |
|---|---|---|
| Device not detected | Loose connection | Reconnect the hardware |
| Yellow warning icon | Driver or configuration problem | Check Device Manager |
| Unknown device | Missing driver | Install the correct driver |
| Storage drive missing | Cable, power, or firmware issue | Check BIOS/UEFI and connections |
| USB device not working | Port, cable, or driver issue | Try another port |
| Graphics card not detected | Seating, power, or driver issue | Check connections and drivers |
| Hardware works intermittently | Loose connection or defective component | Test cables and ports |
Final Thoughts
Checking the hardware installation should be one of the first troubleshooting steps when a Windows device is not working correctly. Start with the simplest checks: inspect physical connections, confirm that Windows detects the hardware, review Device Manager for warnings, and verify that the appropriate drivers are installed.
If Windows still cannot detect the component, checking BIOS or UEFI can help determine whether the problem occurs at the hardware level or within Windows. By troubleshooting systematically, you can often identify the cause without immediately replacing the hardware or reinstalling the operating system.