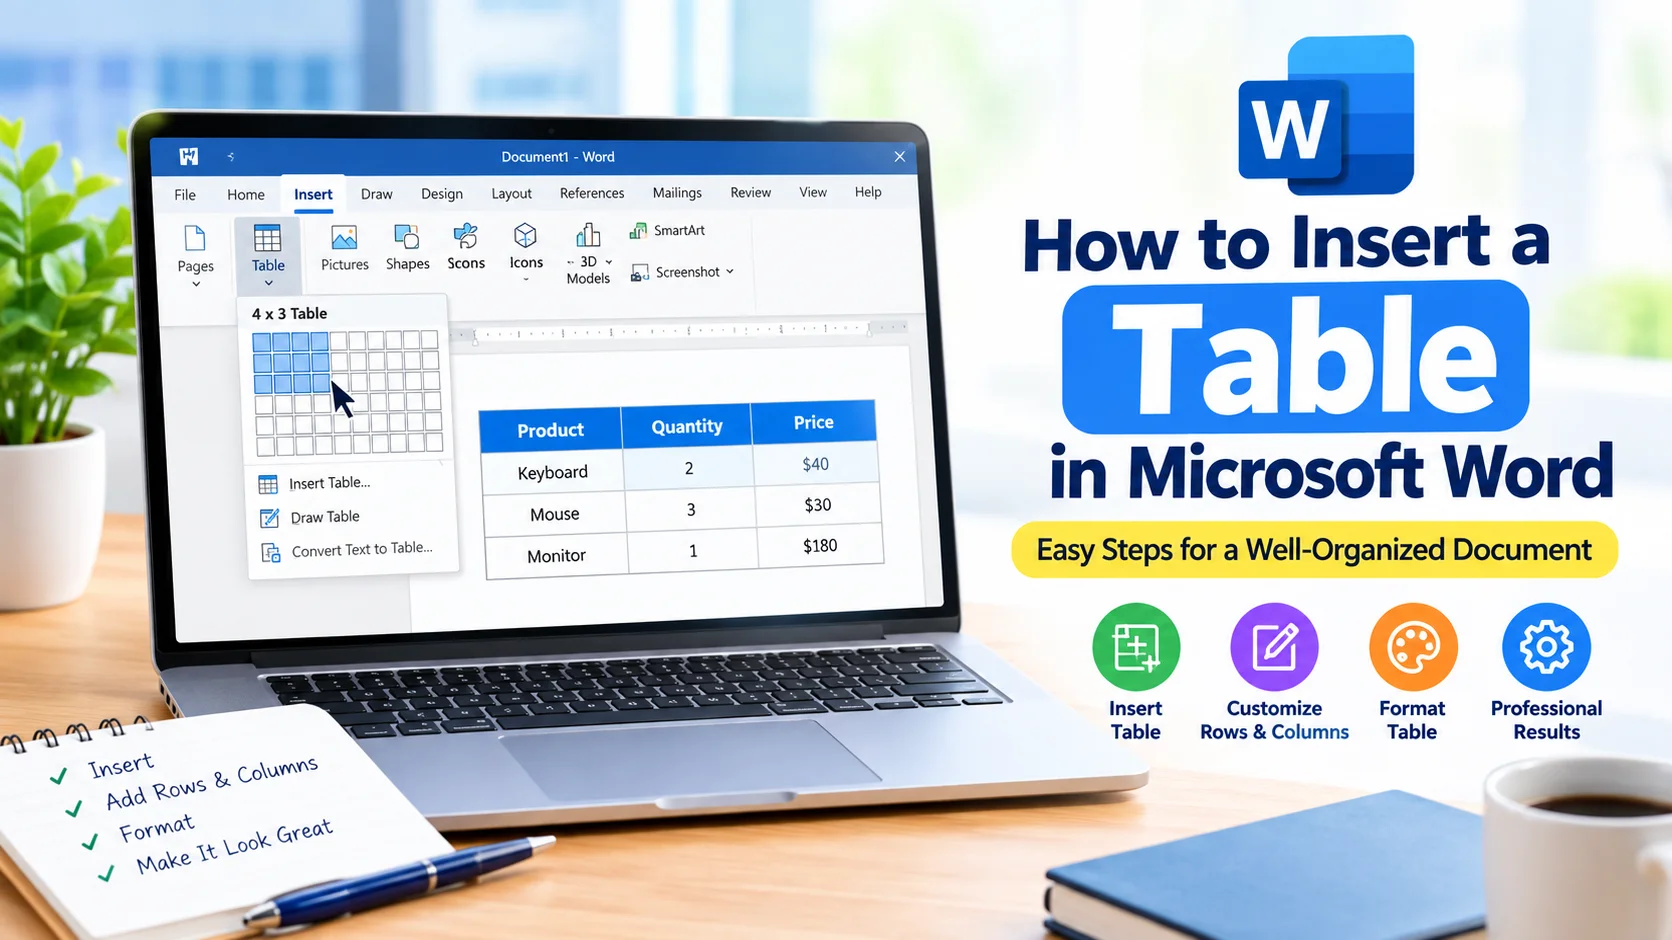
Tables make it easier to organize information in a clear, structured format. Whether you are creating a report, schedule, comparison chart, invoice, or school assignment, Microsoft Word provides several simple ways to add and customize tables.
If you are new to Word, inserting a table only takes a few clicks. This guide explains how to insert a table in Microsoft Word, adjust its size, add or remove rows and columns, and format it for a professional appearance.
What Is a Table in Microsoft Word?
A table is a grid made up of rows and columns that allows you to arrange text, numbers, and other information neatly. Each individual section of a table is called a cell.
For example, you could create a three-column table with headings such as:
| Product | Quantity | Price |
|---|---|---|
| Keyboard | 2 | $40 |
| Mouse | 3 | $30 |
| Monitor | 1 | $180 |
Using a table can make information much easier to read than using multiple lines of plain text.
How to Insert a Table in Microsoft Word
The quickest way to insert a basic table is through the Insert tab.
Step 1: Open Your Word Document
Open Microsoft Word and create a new document or open an existing document where you want to add the table.
Place your cursor at the location where you want the table to appear.
Step 2: Open the Insert Tab
At the top of the Word window, select Insert.
Look for the Table button in the Tables section.
Step 3: Choose the Table Size
Click Table to open the table selection grid.
Move your mouse across the grid to select the number of columns and rows you need. For example, selecting four columns and three rows creates a 4 × 3 table.
Click the selected area to insert the table.
Step 4: Enter Your Information
Once the table appears, click inside a cell and start typing.
Press the Tab key to move to the next cell. When you reach the final cell, pressing Tab can create a new row automatically.
Insert a Larger Table Using the Insert Table Option
If you need a table with many rows and columns, you can use Word’s Insert Table dialog box.
- Select Insert.
- Click Table.
- Choose Insert Table.
- Enter the number of columns you want.
- Enter the number of rows.
- Click OK.
This method is useful when you already know the exact table dimensions you need.
How to Add Rows or Columns to a Table
You may discover that your table needs additional information after you create it.
To add a row or column:
- Click inside the table.
- Open the Table Layout tab.
- Find the Rows & Columns section.
- Choose Insert Above, Insert Below, Insert Left, or Insert Right.
You can use these options to expand the table without creating a new one.
How to Delete Rows, Columns, or the Entire Table
Word also lets you remove unwanted sections of a table.
To delete a row or column:
- Select the row or column.
- Open Table Layout.
- Click Delete.
- Choose the appropriate option.
You can also select Delete Table if you want to remove the entire table from the document.
How to Resize a Microsoft Word Table
Sometimes the default table size does not fit your content.
You can resize a table by placing your mouse pointer over its borders and dragging them. You can also adjust individual columns and rows to provide more space for longer text.
For more consistent sizing, use the table layout options to distribute rows or columns evenly.
How to Format a Table in Word
A well-formatted table can make your document look more professional.
After selecting the table, use the Table Design tab to change its appearance. Depending on your Word version, you can modify:
- Table styles
- Borders
- Shading
- Header row formatting
- Banded rows
- Banded columns
- Text alignment
Choose a style that matches the overall design of your document. Avoid excessive colors or decorative formatting if you are creating a professional report.
How to Merge Cells in Microsoft Word
Merging cells combines two or more cells into one larger cell. This can be useful for creating a title across several columns.
To merge cells:
- Select the cells you want to combine.
- Open the Table Layout tab.
- Click Merge Cells.
The selected cells will become one cell.
How to Split a Cell
You can also divide one cell into multiple cells.
- Select the cell.
- Go to Table Layout.
- Select Split Cells.
- Choose the number of columns or rows.
- Click OK.
This is useful when you need a more customized table structure.
How to Sort Information in a Word Table
Microsoft Word can sort information in a table alphabetically or numerically.
For example, you can sort a list of products by name or arrange numbers from smallest to largest.
To sort a table:
- Click inside the table.
- Open Table Layout.
- Select Sort.
- Choose the column you want to sort.
- Select ascending or descending order.
- Click OK.
Always check the result afterward to make sure the associated information remains correctly aligned.
Tips for Creating Better Word Tables
Keep these tips in mind when creating tables:
- Use clear headings: Make column names easy to understand.
- Keep tables simple: Avoid unnecessary rows and columns.
- Align information consistently: Numbers often look better when aligned consistently.
- Use appropriate spacing: Give text enough room to remain readable.
- Choose simple formatting: Professional tables usually benefit from a clean design.
- Check the page layout: Large tables may need landscape orientation or smaller margins.
- Keep related information together: A table works best when its contents have a clear relationship.
Common Problems When Inserting Tables
The Table Is Too Wide
If the table extends beyond the page, try reducing column widths or using AutoFit options.
Text Looks Crowded
Increase the column width, adjust cell margins, or shorten the content.
The Table Splits Across Pages
For large tables, Word may automatically continue the table onto another page. You can adjust row and paragraph settings if you need more control over page breaks.
The Table Looks Unprofessional
Use a simple built-in table style, consistent fonts, and clear headings. Avoid using too many colors or different formatting styles.
Frequently Asked Questions
How do I quickly insert a table in Word?
Go to Insert > Table, then use the grid to select the number of rows and columns you need.
Can I add more rows after creating a table?
Yes. Select a cell and use the Table Layout options to insert rows above or below the selected row.
Can I change the table style?
Yes. Select the table and open the Table Design tab to choose from available styles and formatting options.
Can I convert text into a table?
Yes. Word includes a Convert Text to Table feature that can turn properly separated text into a table.
Can I delete a table without deleting the text around it?
Yes. Select the table and choose Delete Table. Text outside the table remains in the document.
Final Thoughts
Learning how to insert a table in Microsoft Word is a useful skill for creating organized documents. The basic Insert > Table option lets you quickly create a table, while Word’s layout and design tools give you control over rows, columns, borders, alignment, and appearance.
Whether you are preparing a business report, school project, schedule, or personal document, a properly formatted table can make important information easier to understand and navigate.