

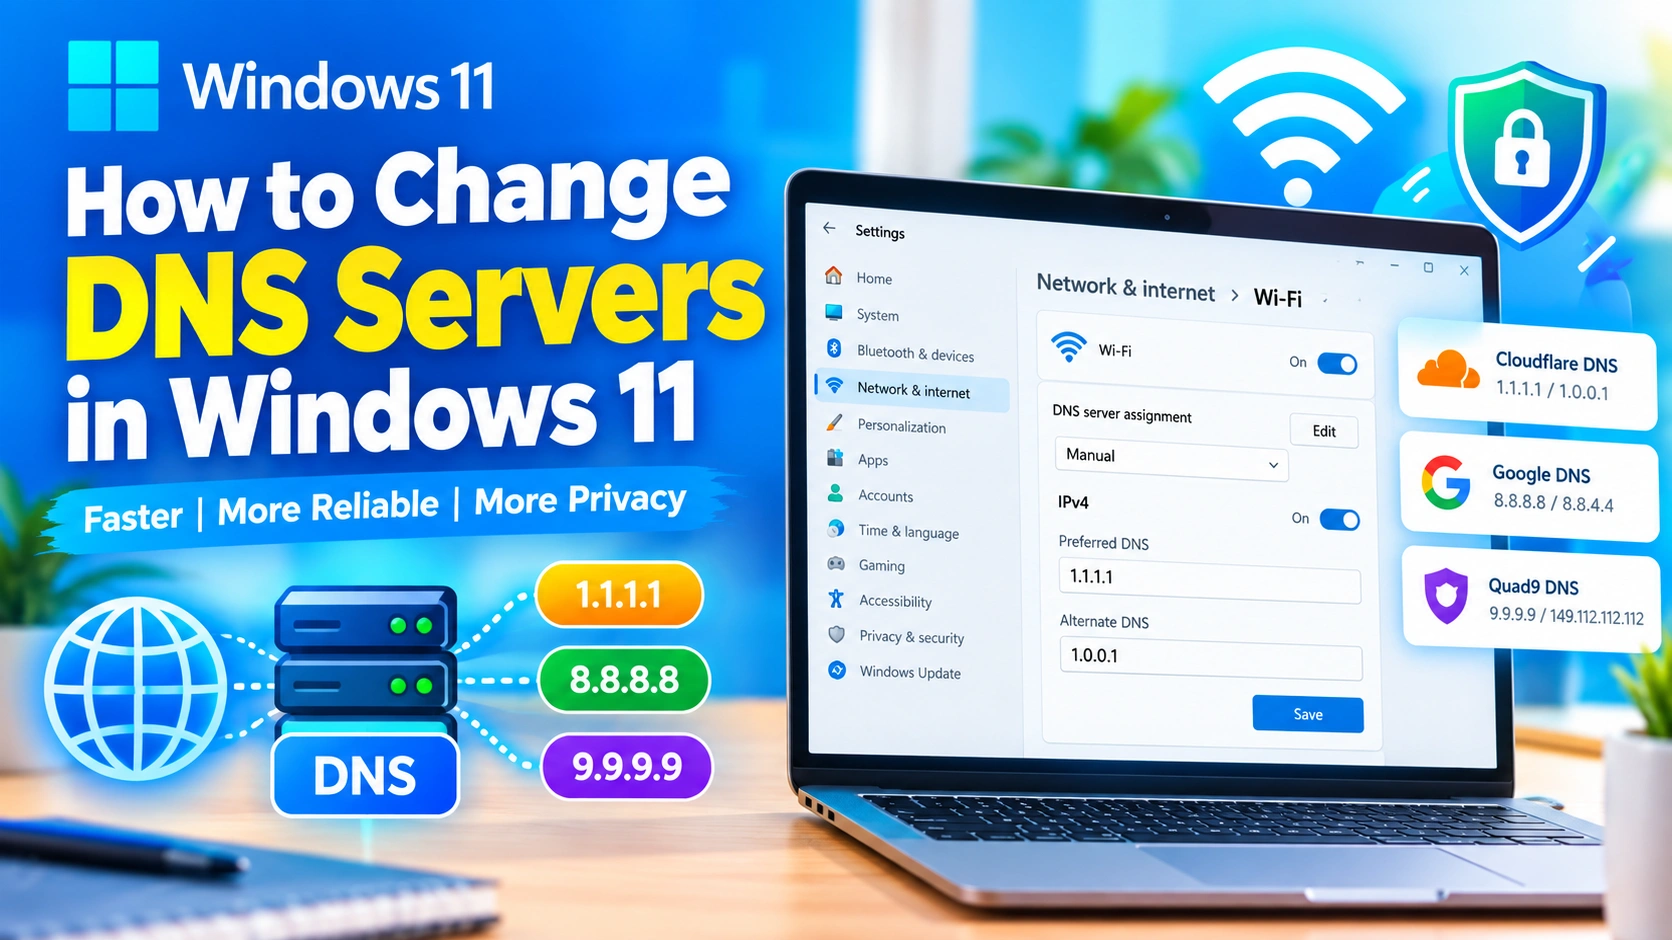
Changing your DNS server in Windows 11 can help improve browsing reliability, increase privacy, and solve certain internet connection problems. If websites load incorrectly, some domains cannot be reached, or your current DNS service is slow or unreliable, switching to a different DNS provider may help.
Windows normally receives DNS server addresses automatically from your router or internet service provider. However, Windows 11 also allows you to manually configure custom DNS servers.
In this guide, you will learn how to change DNS servers in Windows 11 using several methods, including the Settings app, Control Panel, Command Prompt, and PowerShell.
What Is DNS and Why Does It Matter?
DNS stands for Domain Name System. It works like an address directory for the internet.
When you type a website address such as example.com into your browser, your computer needs to find the numerical IP address associated with that domain. DNS performs this lookup.
For example:
website.com → DNS lookup → IP address → Website connection
Without DNS, you would need to remember numerical IP addresses instead of easy-to-read domain names.
A DNS server that is slow or unavailable can cause problems such as:
- Websites taking longer to start loading
- “DNS server not responding” errors
- Certain websites failing to open
- Intermittent connection problems
- Incorrect DNS results from a misconfigured network
Changing your DNS settings can sometimes resolve these issues.
Why Change DNS Servers in Windows 11?
There are several reasons to use a custom DNS server instead of the one automatically provided by your network.
1. Improve DNS Reliability
If your ISP’s DNS servers experience problems, switching to another provider may improve domain lookup reliability.
2. Troubleshoot Website Access Problems
Sometimes your internet connection works, but websites cannot be reached because DNS resolution is failing.
Using another DNS server can help determine whether the issue is related to your current DNS service.
3. Improve Privacy Options
Different DNS providers offer different privacy features and policies. Some also support encrypted DNS technologies.
Windows 11 supports DNS over HTTPS (DoH) for compatible DNS configurations, helping encrypt DNS requests between your computer and the DNS service.
4. Use DNS Security Features
Some DNS services provide optional security features designed to block access to known malicious domains.
Remember that DNS filtering is only one layer of protection. You should still keep Windows updated and use reliable security software.
Popular Public DNS Server Addresses
Before changing your DNS settings, you need the addresses of the DNS servers you want to use.
Here are some commonly used public DNS addresses:
| DNS Provider | Preferred DNS | Alternate DNS |
|---|---|---|
| Google Public DNS | 8.8.8.8 | 8.8.4.4 |
| Cloudflare | 1.1.1.1 | 1.0.0.1 |
| Quad9 | 9.9.9.9 | 149.112.112.112 |
For IPv6 connections, providers may also offer separate IPv6 DNS addresses.
Always check the provider’s official documentation before using advanced options or privacy features, since available services and settings can change.
How to Change DNS Servers in Windows 11 Using Settings
The easiest method is to change DNS directly from the Windows 11 Settings app.
Step 1: Open Windows Settings
Press:
Windows + I
This opens the Settings app.
Step 2: Select Network & Internet
Click Network & Internet from the left sidebar.
Choose the connection you currently use:
- Wi-Fi for wireless connections
- Ethernet for wired connections
Step 3: Open Hardware Properties
Click Hardware properties.
Look for the DNS server assignment section.
Step 4: Click Edit
Next to DNS server assignment, click Edit.
Windows will display DNS configuration options.
Step 5: Select Manual
Change the setting from Automatic (DHCP) to Manual.
You can then configure:
- IPv4
- IPv6
Enable IPv4 if you are entering standard IPv4 DNS addresses.
Step 6: Enter Your Preferred DNS Server
Enter your primary DNS address.
For example:
Preferred DNS: 1.1.1.1
Then enter the backup server:
Alternate DNS: 1.0.0.1
You can also use other DNS servers based on your preferred provider.
Step 7: Configure DNS Encryption If Available
Windows 11 may display DNS encryption options for supported DNS servers.
Depending on your configuration, you may see options such as:
- Unencrypted only
- Encrypted only
- Encrypted preferred, unencrypted allowed
Choose an option appropriate for the DNS provider and your network requirements.
Step 8: Click Save
Click Save to apply the new DNS configuration.
Your Windows 11 computer will now use the custom DNS servers for that network adapter.
How to Change DNS Servers From Control Panel
The traditional Control Panel method is also useful.
Step 1: Open Network Connections
Press:
Windows + R
Type:
ncpa.cpl
Press Enter.
This opens the Network Connections window.
Step 2: Select Your Network Adapter
Right-click your active network connection.
For example:
- Wi-Fi
- Ethernet
Select Properties.
Step 3: Open IPv4 Properties
Select:
Internet Protocol Version 4 (TCP/IPv4)
Then click Properties.
Step 4: Enter Custom DNS Addresses
Select:
Use the following DNS server addresses
Enter your DNS servers.
Example:
Preferred DNS server: 8.8.8.8
Alternate DNS server: 8.8.4.4
Click OK.
Step 5: Restart Your Connection
Disconnect and reconnect your network if necessary.
You can also restart your computer to ensure all network applications use the updated configuration.
How to Change DNS Servers Using Command Prompt
Advanced users can configure DNS using commands.
First, open Command Prompt as Administrator.
To view your network adapters, run:
netsh interface show interface
Identify the exact name of your active connection.
For example, your adapter might be named:
Wi-Fi
To set a primary DNS server, use:
netsh interface ip set dns name="Wi-Fi" static 1.1.1.1 primary
To add a secondary DNS server, use:
netsh interface ip add dns name="Wi-Fi" 1.0.0.1 index=2
Replace Wi-Fi with your actual adapter name.
You can verify your configuration afterward.
How to Change DNS Servers Using PowerShell
PowerShell provides another method for managing network settings.
Open Windows PowerShell as Administrator.
First, view available network adapters:
Get-NetAdapter
Then check the interface index for your active connection.
You can configure DNS using:
Set-DnsClientServerAddress -InterfaceIndex 12 -ServerAddresses ("1.1.1.1","1.0.0.1")
Replace 12 with your actual interface index.
This command sets both the primary and secondary DNS servers.
How to Reset DNS Settings to Automatic
If the custom DNS configuration causes problems, you can return to automatic DNS settings.
Using Windows Settings
- Open Settings
- Go to Network & Internet
- Select your Wi-Fi or Ethernet connection
- Find DNS server assignment
- Click Edit
- Select Automatic (DHCP)
- Click Save
Windows will again obtain DNS server information automatically from your router or network.
Using Command Prompt
You can also reset DNS to automatic using:
netsh interface ip set dns name="Wi-Fi" source=dhcp
Replace Wi-Fi with your adapter name.
Flush the DNS Cache After Changing DNS Servers
Windows stores recently resolved domain names in a local DNS cache.
After changing DNS servers, you may want to clear the cache.
Open Command Prompt and run:
ipconfig /flushdns
If successful, Windows displays a message confirming that the DNS Resolver Cache was flushed.
You can also renew your network configuration if needed:
ipconfig /release
ipconfig /renew
These commands are particularly useful when troubleshooting network-related problems.
How to Check Which DNS Server You Are Using
After changing DNS settings, you can verify the configuration.
Open Command Prompt and run:
ipconfig /all
Look for your active network adapter and find the DNS Servers section.
You can also test DNS resolution with:
nslookup google.com
The command displays information about the DNS server used for the lookup and the resulting address information.
If the lookup succeeds, your DNS configuration is generally working correctly.
What If Websites Still Do Not Open?
Changing DNS servers will not solve every internet problem.
If websites still fail to load, try the following steps.
Restart Your Router
Turn off your router, wait briefly, and turn it back on.
This can resolve temporary network issues.
Restart Windows 11
Restarting your computer can reload network services and clear temporary connection problems.
Flush the DNS Cache
Run:
ipconfig /flushdns
Then try accessing the website again.
Check Your Proxy or VPN
A VPN or proxy configuration may interfere with website connections.
Temporarily disconnect it and test your internet connection.
Reset the Network Stack
You can reset Windows network components with:
netsh winsock reset
Restart your computer after running the command.
Check Firewall and Security Software
Security applications can sometimes block websites or network traffic.
Review your firewall settings before disabling security protections.
Does Changing DNS Make the Internet Faster?
Changing DNS can improve the speed of DNS lookups, especially if your previous DNS server was slow or unreliable.
However, DNS does not directly increase your internet connection speed.
For example, changing DNS will not automatically turn a 20 Mbps internet connection into a 100 Mbps connection.
DNS mainly affects how quickly your computer finds the address of a website. Once the connection to the website begins, other factors determine loading speed, including:
- Internet bandwidth
- Server performance
- Website optimization
- Distance and network routing
- Browser cache
- Content delivery networks
Therefore, changing DNS may make the beginning of a website connection feel faster, but results vary.
Should You Use IPv4 or IPv6 DNS?
If your network supports IPv6, you can configure IPv6 DNS addresses as well.
However, IPv4 DNS is still commonly used and is sufficient for many networks.
You do not need to enable IPv6 DNS unless your network and chosen DNS provider support it and you want to use it.
If you are unsure, changing only the IPv4 DNS configuration is usually the simplest approach.
DNS Security Tips for Windows 11
When changing DNS servers, follow these basic security practices:
- Use a reputable DNS provider
- Keep Windows 11 updated
- Avoid unknown DNS addresses from untrusted websites
- Use encrypted DNS when supported and appropriate
- Keep your browser and security software updated
- Do not assume DNS filtering provides complete malware protection
- Use strong passwords and multi-factor authentication where available
Your DNS provider can potentially handle information related to your DNS requests, so reviewing its privacy and logging policies is also a good idea.
Frequently Asked Questions
Is it safe to change DNS servers in Windows 11?
Yes. Windows 11 allows you to manually configure DNS servers. Use addresses from reputable providers and enter them correctly.
Will changing DNS improve gaming performance?
DNS can affect how quickly domain names are resolved, but it usually does not significantly reduce in-game latency or ping after a game connection has been established.
Can I change DNS for Wi-Fi and Ethernet separately?
Yes. Windows treats network adapters separately, so you can configure different DNS settings for your Wi-Fi and Ethernet connections.
Why is my custom DNS not working?
The address may be entered incorrectly, the DNS provider may be temporarily unavailable, or your network configuration may have another issue. Check the adapter settings and test DNS resolution using nslookup.
Do I need to restart Windows after changing DNS?
Usually, no. The changes can take effect immediately. However, flushing the DNS cache or reconnecting your network can help ensure applications use the updated configuration.
Can I return to my old DNS settings?
Yes. Change DNS server assignment back to Automatic (DHCP), or re-enter your previous DNS server addresses.
Final Thoughts
Changing DNS servers in Windows 11 is a simple way to troubleshoot DNS-related problems and choose how your computer resolves domain names. You can configure DNS through the Settings app, the traditional Control Panel, Command Prompt, or PowerShell.
For most users, the easiest option is:
Settings → Network & Internet → Your Connection → DNS Server Assignment → Edit → Manual
Enter a trusted DNS server, save the configuration, and flush the DNS cache if necessary.
If your internet problems continue after changing DNS, the cause may be related to your router, ISP connection, VPN, firewall, or another Windows network configuration. In that situation, continue troubleshooting the connection instead of repeatedly switching between DNS providers.
By understanding how DNS works and knowing how to configure it correctly, you can troubleshoot many common Windows 11 website and domain resolution problems more effectively.