

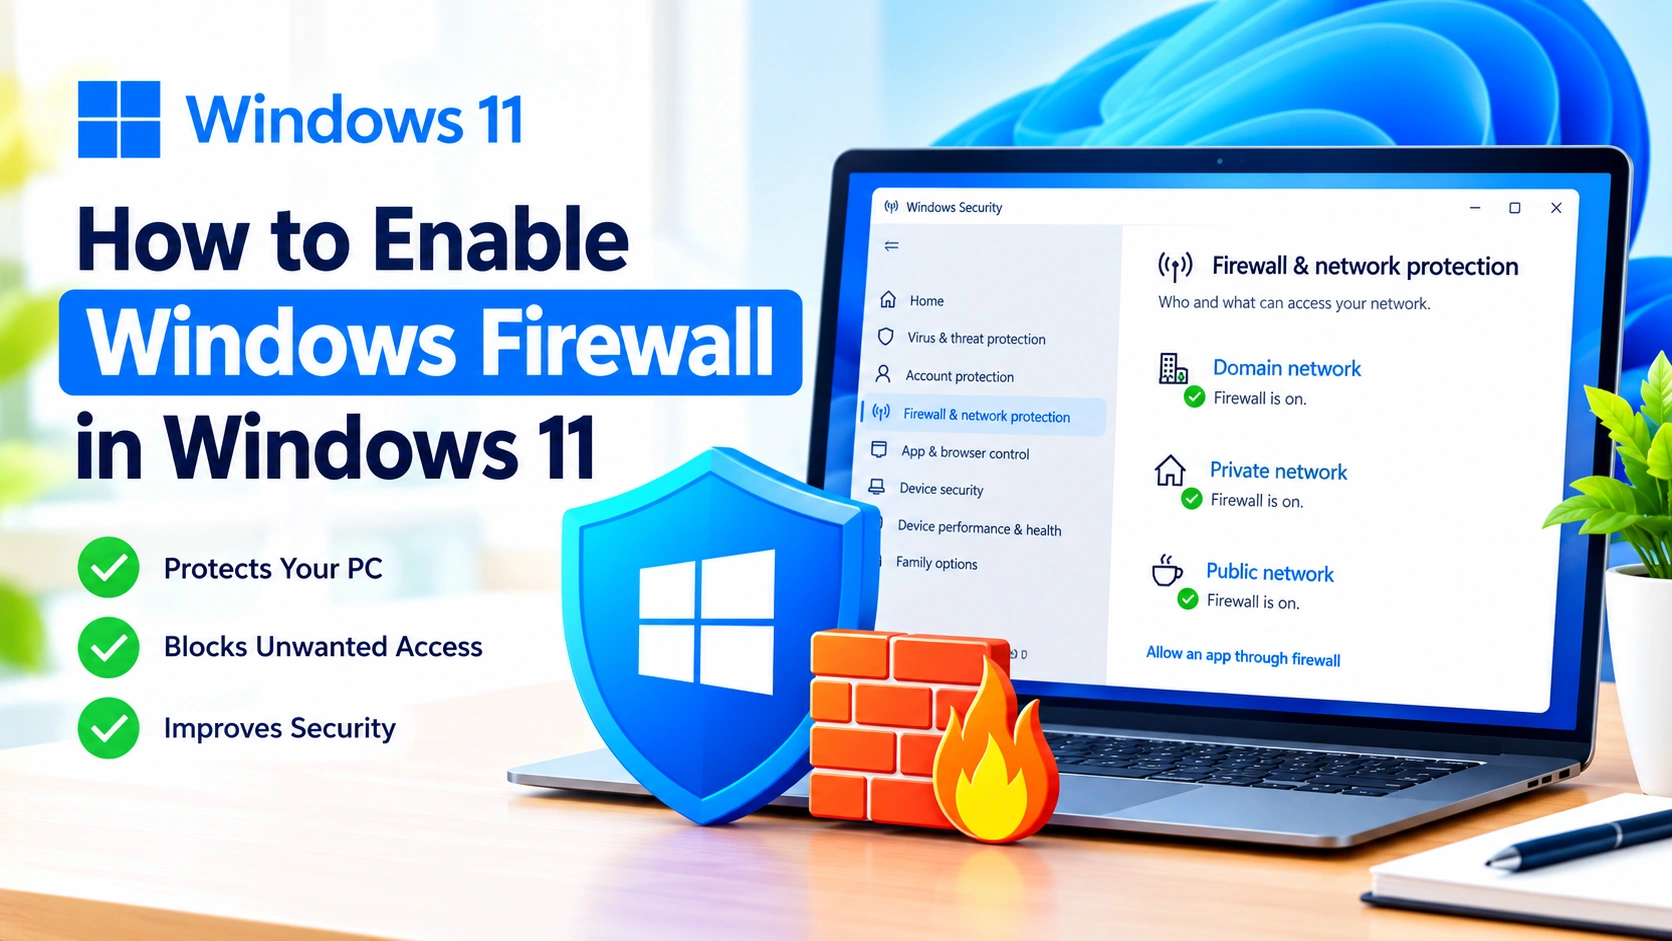
Windows Firewall is one of the most important security features included with Windows 11. It helps monitor network traffic and can block unauthorized connections that may put your computer or personal data at risk.
If Windows Firewall has been disabled, accidentally turned off, or stopped working after a system change, you should enable it as soon as possible. Fortunately, Windows 11 provides several simple ways to restore the firewall.
This guide explains how to enable Windows Firewall in Windows 11 using Windows Security, Control Panel, Settings, and command-line tools.
Why Should You Enable Windows Firewall in Windows 11?
The Windows Firewall works as a barrier between your computer and potentially unwanted network connections. It can help prevent unauthorized applications, services, and devices from communicating with your PC.
Keeping the firewall enabled is especially important when you use public Wi-Fi, install new applications, or frequently transfer files over a network.
A firewall does not replace antivirus protection, but it provides an additional layer of security against network-based threats.
How to Check if Windows Firewall Is Already Enabled
Before changing any settings, check the current firewall status.
- Press Windows + I to open Settings.
- Select Privacy & security.
- Click Windows Security.
- Select Firewall & network protection.
You will see the firewall status for available network profiles, such as Domain network, Private network, and Public network.
If a profile shows that the firewall is turned off, you can enable it from the same screen.
Method 1: Enable Windows Firewall Through Windows Security
The easiest way to enable Windows Firewall in Windows 11 is through the Windows Security application.
Step 1: Open Windows Security
Press the Windows key, type Windows Security, and open the application.
Step 2: Open Firewall & Network Protection
Click Firewall & network protection from the Windows Security dashboard.
Windows will display your available network profiles.
Step 3: Select Your Active Network
Choose the profile marked as active. Depending on your connection, it could be:
- Domain network
- Private network
- Public network
Step 4: Turn On Microsoft Defender Firewall
Find Microsoft Defender Firewall and switch the setting to On.
Windows should immediately activate the firewall for that network profile.
Repeat the process for other profiles if necessary.
Method 2: Enable Windows Firewall From Control Panel
Although Windows 11 places many security options in Settings, the traditional Control Panel still provides access to Windows Firewall settings.
Step 1: Open Control Panel
Press Windows + R, type:
control
Press Enter.
Step 2: Open Windows Defender Firewall
Select System and Security, then click Windows Defender Firewall.
Step 3: Select Turn Windows Defender Firewall On or Off
Click Turn Windows Defender Firewall on or off from the left-hand menu.
Step 4: Enable the Firewall
Under both Private network settings and Public network settings, select:
Turn on Windows Defender Firewall
You can also enable the option to notify you when the firewall blocks a new application.
Click OK to save the changes.
Method 3: Enable Windows Firewall Using Windows Settings
Windows 11 also provides firewall controls directly through its Settings interface.
- Press Windows + I.
- Go to Privacy & security.
- Select Windows Security.
- Click Firewall & network protection.
- Select the active network profile.
- Turn Microsoft Defender Firewall on.
This method is useful when you want to quickly check your firewall status without opening the older Control Panel interface.
Method 4: Enable Windows Firewall Using Command Prompt
Advanced users can enable Windows Firewall using Command Prompt.
Step 1: Open Command Prompt as Administrator
Press the Windows key, type Command Prompt, right-click it, and select Run as administrator.
Step 2: Enable the Firewall
Enter the following command:
netsh advfirewall set allprofiles state on
Press Enter.
If the command completes successfully, Windows Firewall will be enabled across all network profiles.
Step 3: Verify the Firewall Status
You can check the current status with:
netsh advfirewall show allprofiles
Look for the State value. An enabled firewall should show:
State ON
Method 5: Enable Windows Firewall Using PowerShell
PowerShell provides another option for administrators and advanced Windows users.
Step 1: Open PowerShell as Administrator
Right-click the Start button and select Terminal (Admin).
You can also search for Windows PowerShell and choose the administrator option.
Step 2: Enable the Firewall
Run:
Set-NetFirewallProfile -Profile Domain,Public,Private -Enabled True
This enables Microsoft Defender Firewall for the Domain, Public, and Private profiles.
Step 3: Check the Configuration
To view the current firewall status, run:
Get-NetFirewallProfile | Select Name, Enabled
The profiles should show True under the Enabled column.
What to Do If Windows Firewall Cannot Be Enabled
Sometimes Windows Firewall refuses to turn on. This can happen because of a disabled Windows service, third-party security software, corrupted system files, or incorrect firewall policies.
Try these solutions if the normal methods do not work.
Restart the Windows Defender Firewall Service
The firewall depends on the Windows Defender Firewall service.
- Press Windows + R.
- Type:
services.msc
- Press Enter.
- Find Windows Defender Firewall.
- Right-click it and select Restart.
You can also open its Properties and make sure the startup type is configured appropriately.
Remove Conflicts From Third-Party Security Software
Some third-party antivirus or security applications include their own firewall.
If another security program controls network traffic, Windows Firewall may behave differently or appear unavailable.
Check the security software installed on your computer and make sure you understand which firewall is currently managing network connections.
Avoid running multiple software firewalls with overlapping functions unless the security products are specifically designed to work together.
Reset Windows Firewall Settings
If firewall rules have become corrupted or misconfigured, resetting the firewall can help.
Open Windows Terminal (Admin) and run:
netsh advfirewall reset
Then enable the firewall again:
netsh advfirewall set allprofiles state on
Be aware that resetting the firewall removes custom firewall rules and returns its configuration to the default state.
Run System File Checker
Corrupted Windows system files can sometimes cause security components to malfunction.
Open Command Prompt as administrator and run:
sfc /scannow
Wait until the scan finishes. If Windows finds corrupted files, it will attempt to repair them.
After the process completes, restart your PC and check Windows Firewall again.
Should Windows Firewall Be Turned On for Public Networks?
Yes. Keeping the firewall enabled on public networks is particularly important.
Public Wi-Fi networks, such as those in hotels, airports, cafés, and shopping centers, can expose your computer to other devices on the same network.
Windows Firewall can help reduce unwanted inbound connections while you are connected to these networks.
When Windows asks whether a network should be treated as public or private, choose the option that accurately reflects your environment.
Private vs. Public Firewall Profiles
Windows 11 uses different firewall profiles depending on the type of network connection.
Private Network
A private network is generally used for trusted environments such as your home network.
Some network discovery and file-sharing features may be allowed when appropriate.
Public Network
A public network is intended for less-trusted environments.
Windows applies stricter network settings to help protect your computer from other devices on the network.
Domain Network
Domain profiles are commonly used by organizations where Windows computers are managed through a network domain.
The firewall configuration may be controlled by an administrator or organizational policy.
How to Allow an App Through Windows Firewall
Enabling the firewall does not necessarily mean that every application will be blocked.
If a trusted application cannot connect to the internet, you can check whether it is allowed through the firewall.
- Open Windows Security.
- Select Firewall & network protection.
- Click Allow an app through firewall.
- Select Change settings.
- Find the application in the list.
- Enable the appropriate network profile.
- Click OK.
Only allow applications that you recognize and trust.
How to Make Sure Windows Firewall Is Working
After enabling Windows Firewall, verify that it remains active.
Open:
Settings > Privacy & security > Windows Security > Firewall & network protection
Check the active network profile.
You can also use PowerShell:
Get-NetFirewallProfile | Select Name, Enabled
If the profiles show True, the firewall is enabled.
For command-line verification, use:
netsh advfirewall show allprofiles
Common Reasons Windows Firewall Gets Disabled
Understanding why the firewall was disabled can help prevent the problem from happening again.
Common causes include:
- Installing third-party security software
- Changing firewall policies
- Malware or unwanted software
- Incorrect system configuration
- Disabled Windows services
- Corrupted Windows components
- Organization-managed security policies
- Manual changes made by another user
If the firewall repeatedly turns itself off, investigate the cause rather than simply enabling it every time.
Is Windows Firewall Enough to Protect Windows 11?
Windows Firewall is an important security layer, but it should not be your only defense.
For better protection, keep Windows updated and use reputable antivirus or antimalware protection. Avoid installing software from untrusted sources and be careful when opening unexpected email attachments or links.
You should also use strong passwords, enable multifactor authentication where available, and regularly back up important files.
Security works best as a combination of multiple protective measures rather than relying on a single feature.
Frequently Asked Questions
How do I turn on Windows Firewall in Windows 11?
Open Windows Security, select Firewall & network protection, choose your active network profile, and turn Microsoft Defender Firewall on.
Is Windows Firewall automatically enabled in Windows 11?
In a normal Windows 11 installation, Microsoft Defender Firewall is generally enabled by default. However, security software, policies, or manual configuration changes can alter its status.
Can I enable Windows Firewall from Command Prompt?
Yes. Open Command Prompt as administrator and run:
netsh advfirewall set allprofiles state on
Should I leave Windows Firewall on all the time?
For most users, yes. Keeping Windows Firewall enabled provides continuous protection against unauthorized network connections.
Does enabling Windows Firewall block my internet?
Normally, no. Windows Firewall is designed to allow legitimate network traffic while blocking or controlling potentially unauthorized connections. If an application loses network access, check its firewall permissions rather than disabling the firewall completely.
Final Thoughts
Knowing how to enable Windows Firewall in Windows 11 can help protect your computer from unwanted network connections and improve your overall security.
The quickest option is usually Windows Security > Firewall & network protection, where you can enable Microsoft Defender Firewall for the active network profile. Advanced users can also use Command Prompt or PowerShell to manage firewall settings.
If Windows Firewall refuses to stay enabled, check for third-party security software, restart the firewall service, reset firewall rules, and scan Windows for corrupted system files.
Most importantly, keep the firewall enabled unless you have a specific and trusted reason to disable it. A properly configured firewall provides an important layer of protection for everyday Windows 11 use.