

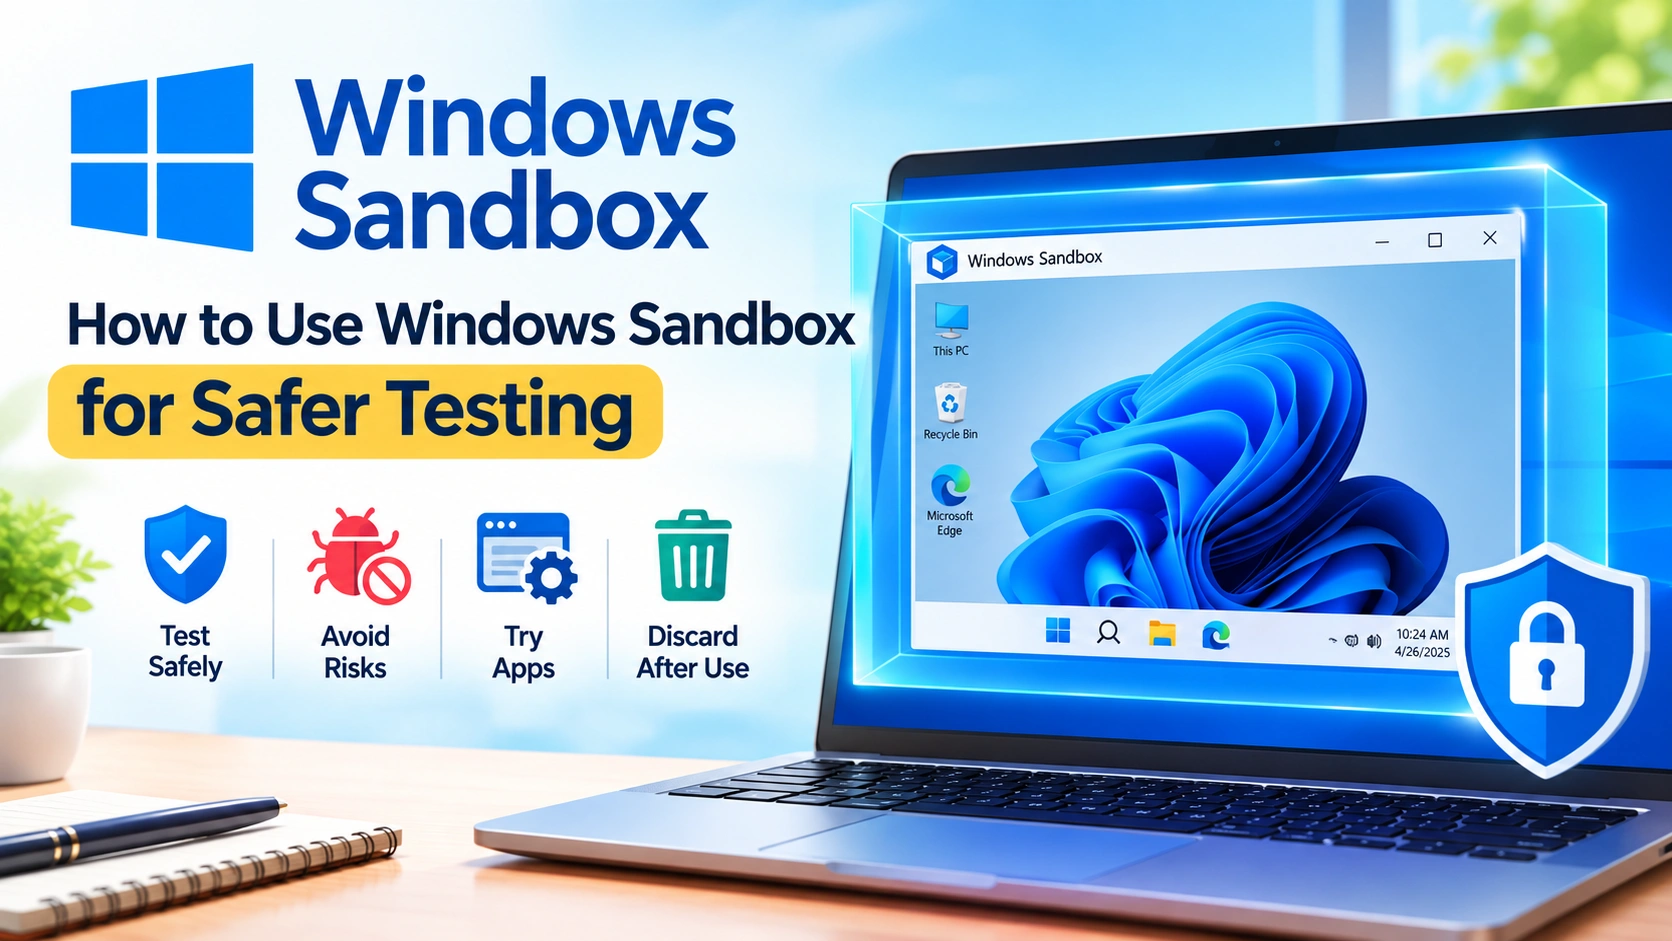
Testing unfamiliar software, opening suspicious files, or experimenting with Windows settings can expose your main computer to unnecessary risks. Fortunately, Windows includes a useful built-in feature called Windows Sandbox, which provides a temporary, isolated desktop for testing applications and files.
Windows Sandbox is particularly helpful for developers, IT professionals, security researchers, and everyday users who want to examine something without cluttering or permanently changing their primary Windows installation.
This guide explains how to use Windows Sandbox for safer testing, how it works, what you can safely test inside it, and the limitations you should understand before relying on it.
What Is Windows Sandbox?
Windows Sandbox is a lightweight, temporary Windows environment that runs separately from your main operating system.
Instead of installing an unfamiliar application directly on your computer, you can launch it inside the Sandbox and inspect its behavior in an isolated environment. When you close Windows Sandbox, its contents are discarded.
A typical Sandbox session includes:
- A fresh Windows desktop
- Temporary system files
- Access to supported hardware resources
- Networking by default
- A disposable environment that resets after closing
This makes Windows Sandbox convenient for short-term testing because you don’t have to create and maintain a separate virtual machine manually.
Why Use Windows Sandbox for Testing?
Installing unknown software on your primary Windows environment can create several problems. An application may add unwanted startup programs, modify system settings, install additional components, or leave files behind after removal.
Sandboxing provides an additional layer of separation.
For example, you might use Windows Sandbox to:
- Test software before installing it permanently
- Open an unfamiliar executable
- Examine a potentially unwanted application
- Test scripts or configuration files
- Experiment with Windows settings
- Check how an application behaves on a clean Windows installation
- Reproduce software-related problems
- Demonstrate software during training
The key advantage is disposability. Once you close the Sandbox, changes made inside the temporary environment are normally removed.
Windows Sandbox vs. a Virtual Machine
Windows Sandbox and traditional virtual machines both create isolated environments, but they serve different purposes.
A virtual machine is generally better when you need a persistent test system. You can install an operating system, configure applications, save files, and return to the same environment later.
Windows Sandbox is designed for quick, disposable sessions.
| Feature | Windows Sandbox | Traditional Virtual Machine |
|---|---|---|
| Setup | Relatively simple | Usually requires more configuration |
| Persistence | Temporary | Persistent |
| Reset | Automatic after closing | Usually manual |
| Long-term testing | Limited | Suitable |
| Quick software testing | Very useful | Useful but heavier |
| Customization | Limited | Extensive |
| Resource requirements | Generally lightweight | Can require more resources |
If your goal is simply to test an application and throw the environment away afterward, Sandbox can be more convenient.
Check Whether Your PC Supports Windows Sandbox
Before using Windows Sandbox, verify that your Windows edition and hardware support it.
Windows Sandbox is generally available on supported editions of Windows 10 and Windows 11, particularly professional and business-oriented editions. Availability can vary by Windows edition and configuration, so check Microsoft’s current Windows documentation if the feature is missing.
You should also make sure hardware virtualization is enabled.
To check virtualization support:
- Press Ctrl + Shift + Esc to open Task Manager.
- Select Performance.
- Choose CPU.
- Look for the Virtualization entry.
If it shows that virtualization is enabled, your system is ready from that perspective.
How to Enable Windows Sandbox
On a supported Windows installation, you can enable Windows Sandbox through Windows Features.
Step 1: Open Windows Features
Press Windows + R, enter:
optionalfeatures
and press Enter.
Alternatively, search Windows for Turn Windows features on or off.
Step 2: Enable Windows Sandbox
Find Windows Sandbox in the list and select its checkbox.
Click OK.
Windows may need to download or configure additional components.
Step 3: Restart if Required
If Windows asks you to restart the computer, save your work and restart.
Step 4: Launch Sandbox
After restarting, open the Start menu and search for:
Windows Sandbox
Select the application to launch a clean sandboxed Windows desktop.
How to Test an Application Safely
Once Windows Sandbox opens, you can copy an application into the environment and test it.
A simple workflow looks like this:
- Start Windows Sandbox.
- Locate the installer or test file on your host computer.
- Copy the file into Sandbox only if you understand the risks of doing so.
- Run the application inside Sandbox.
- Observe its installation process and behavior.
- Test the features you need.
- Close Windows Sandbox when finished.
- Discard the temporary environment.
When the Sandbox closes, the temporary environment is deleted.
Important: Don’t Automatically Trust the Sandbox
Windows Sandbox provides isolation, but it should not be treated as an invisible force field.
Avoid assuming that every threat becomes harmless simply because it runs inside a sandbox. Sophisticated malware can attempt to detect virtualized environments, exploit vulnerabilities, communicate over networks, or target shared resources.
For genuinely suspicious files, use appropriate security controls and malware-analysis procedures rather than relying exclusively on Windows Sandbox.
Be Careful With Shared Folders
Windows Sandbox can be configured to share folders between the host operating system and the sandbox.
This is convenient, but it can reduce isolation.
For example, if you make your entire Downloads folder available inside Sandbox, software running there may be able to interact with files you did not intend to expose.
A safer approach is to create a dedicated test folder containing only the files required for your experiment.
Avoid exposing:
- Personal documents
- Password databases
- Cryptocurrency wallets
- Browser profiles
- Business files
- Backup directories
- Other sensitive information
The principle is simple: share the minimum amount of data necessary for the test.
What About Internet Access?
Windows Sandbox can have network connectivity, which is useful when testing applications that require Internet access.
However, networking introduces another consideration.
An unknown application running inside Sandbox may attempt to contact remote servers, download additional components, or transmit information.
Before testing suspicious software, consider whether Internet access is actually necessary.
If you don’t need networking, you can configure a Windows Sandbox environment without network access using a Sandbox configuration file.
This is particularly useful when your test involves examining an application’s local behavior rather than its online functionality.
Using a Windows Sandbox Configuration File
Windows Sandbox supports configuration files with the .wsb extension.
These files allow you to customize how a Sandbox session starts.
For example, you can configure:
- Networking
- Virtual graphics
- Shared folders
- Startup commands
- Read-only folder mappings
A basic configuration might look like this:
<Configuration>
  <Networking>Disable</Networking>
</Configuration>
Save the file with a .wsb extension, such as:
OfflineTest.wsb
Double-clicking the file launches Windows Sandbox using that configuration.
Why Disable Networking?
Disabling networking can be useful when you want to test a local application without allowing it to communicate externally.
However, this changes the nature of the test. If you’re evaluating software that requires online services, disabling networking may prevent the application from functioning normally.
Choose the configuration based on what you’re trying to learn.
Create a Dedicated Testing Workflow
For repeated testing, it helps to establish a consistent process.
A practical workflow is:
Prepare → Isolate → Test → Observe → Destroy
1. Prepare
Determine what you’re testing and what resources it actually requires.
2. Isolate
Use Windows Sandbox and avoid sharing unnecessary files or host resources.
3. Test
Run the application or script and perform only the actions necessary for your experiment.
4. Observe
Pay attention to unexpected behavior such as unusual network activity, new processes, unexpected files, or system changes.
5. Destroy
Close the Sandbox when you’re finished so the temporary environment is discarded.
This approach helps prevent experimental software from becoming part of your everyday Windows installation.
Can You Test Malware in Windows Sandbox?
Technically, Windows Sandbox can be useful for certain controlled malware-analysis activities, but it is not a complete malware laboratory.
Security researchers often use more specialized environments that provide detailed monitoring, snapshots, network controls, logging, and other analysis capabilities.
If you are simply trying to determine whether an unknown executable is trustworthy, don’t execute it casually just because Windows Sandbox is available.
For higher-risk samples, consider using a dedicated malware-analysis environment and appropriate security expertise.
Windows Sandbox Security Best Practices
Follow these practices to reduce unnecessary exposure:
Keep Windows Updated
Security isolation depends partly on the underlying Windows platform. Install current security updates and firmware updates where appropriate.
Minimize Shared Resources
Only expose the files and folders necessary for the experiment.
Avoid Sensitive Data
Never place passwords, financial documents, private keys, or other confidential information inside a test environment unless there is a specific, controlled reason.
Use Offline Testing When Possible
If an application doesn’t require Internet access, disabling networking can reduce unnecessary exposure.
Don’t Disable Your Security Software Without a Good Reason
Turning off antivirus or other security protections simply to make suspicious software run defeats part of the safety strategy.
Assume the Environment Is Disposable
Don’t use Sandbox as a permanent workspace. Save only the results you actually need outside the environment.
Common Windows Sandbox Problems
Windows Sandbox Doesn’t Appear
Check your Windows edition and make sure the Windows Sandbox feature is available for your installation.
Sandbox Won’t Start
Verify that hardware virtualization is enabled and that your system meets Microsoft’s requirements.
An Application Doesn’t Work
The application may require components that aren’t present in the clean environment. It may also depend on specific drivers, services, permissions, or persistent configuration.
Files Disappear
This is expected behavior. Windows Sandbox is designed to be temporary.
Copy any legitimate test results you need to keep before closing the environment.
When Windows Sandbox Isn’t the Right Tool
Windows Sandbox is excellent for short-lived experiments, but it isn’t suitable for every testing scenario.
Consider a full virtual machine when you need:
- Persistent configurations
- Multiple snapshots
- A specific Windows version
- Long-running tests
- Complex networking
- Multiple virtual machines
- Detailed forensic analysis
- Specialized security tooling
Sandbox is best viewed as a convenient disposable testing environment rather than a replacement for every virtualization or security-analysis solution.
Final Thoughts
Windows Sandbox makes it much easier to experiment with software without permanently filling your main Windows installation with test applications and configuration changes.
Its biggest advantage is simplicity: start a clean environment, perform your test, and discard it when you’re finished.
For safer testing, combine Windows Sandbox with sensible security practices. Limit shared folders, avoid exposing sensitive data, disable networking when appropriate, keep Windows updated, and remember that sandboxing is an additional security layer—not a guarantee that malicious software cannot cause harm.
Used thoughtfully, Windows Sandbox can become a valuable tool for software testing, troubleshooting, development experiments, and controlled security research.