

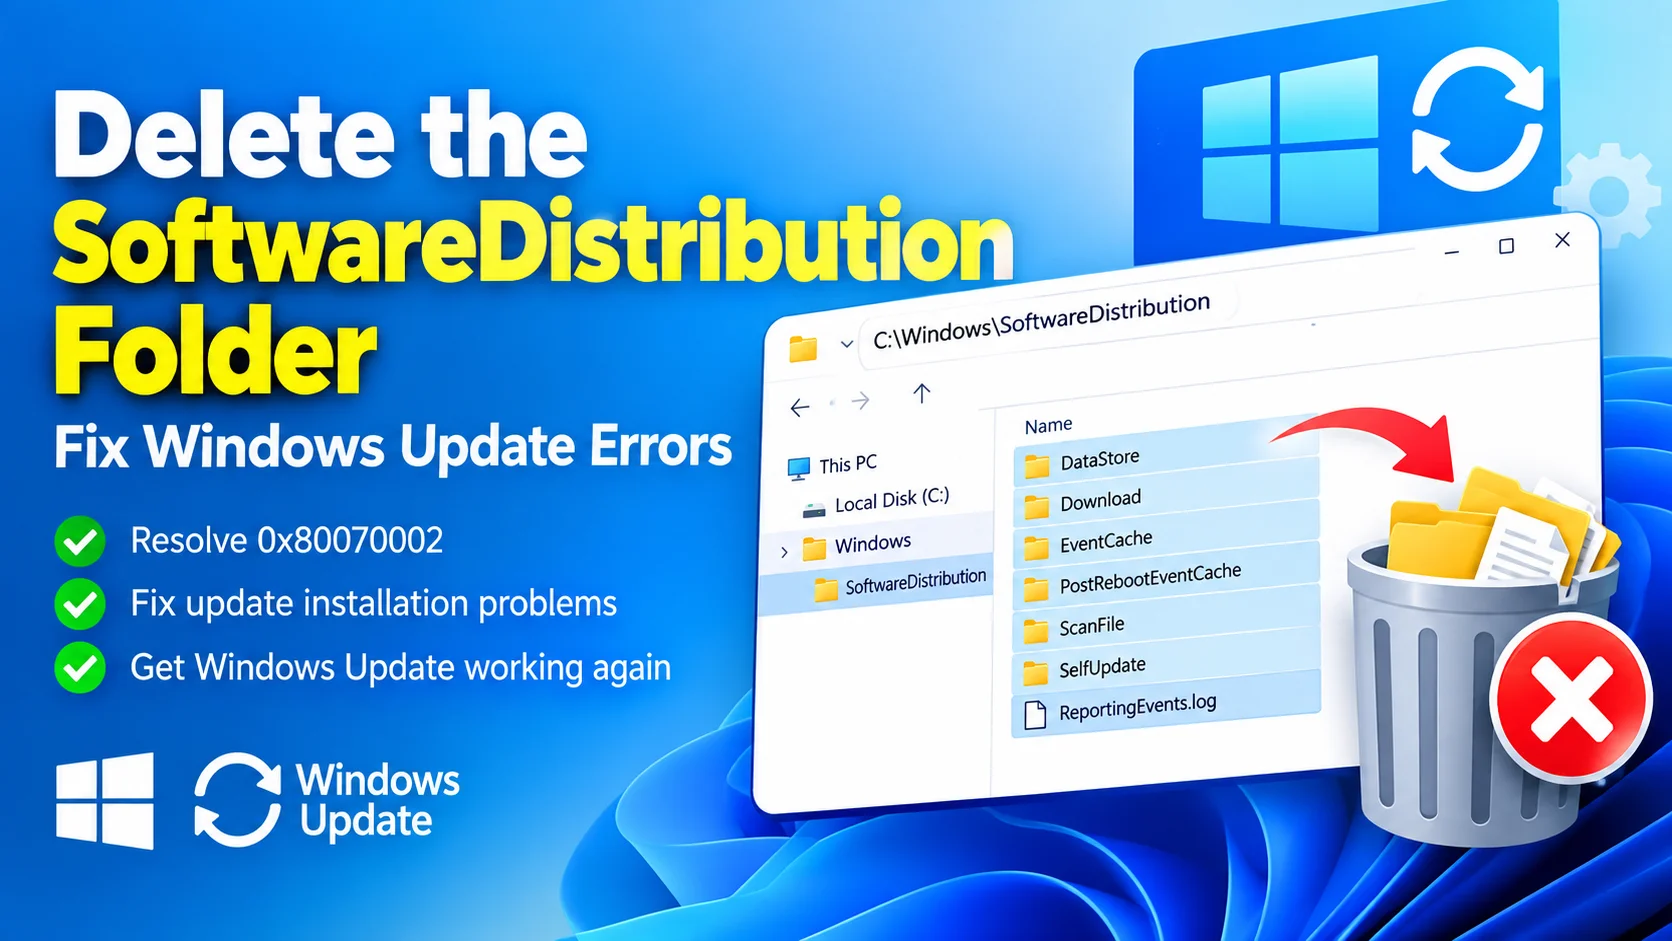
Delete the SoftwareDistribution folder when Windows Update repeatedly fails, gets stuck, or displays errors such as 0x80070002. The SoftwareDistribution folder contains temporary files and update data used by Windows Update. If these files become corrupted or incomplete, clearing the folder can help Windows rebuild the required update files.
This guide explains how to safely Delete the SoftwareDistribution folder in Windows 11 and Windows 10 using File Explorer and Command Prompt.
What Is the SoftwareDistribution Folder?
The SoftwareDistribution folder is a system folder located at:
C:\Windows\SoftwareDistribution
Windows uses this folder to temporarily store downloaded Windows Update files, update history information, and other data required during the update process.
Normally, Windows manages these files automatically. However, corrupted downloads or interrupted updates can sometimes cause Windows Update problems.
Why Delete the SoftwareDistribution Folder?
Clearing the contents of the SoftwareDistribution folder can help resolve problems such as:
- Windows Update installation failures
- Error 0x80070002
- Updates stuck at a certain percentage
- Windows Update repeatedly downloading the same update
- Corrupted update downloads
- Windows Update getting stuck on “Checking for updates”
- Failed updates after an interrupted installation
Deleting the folder’s contents does not permanently remove Windows Update from your computer. Windows can recreate the necessary folder and files automatically.
Before You Delete the SoftwareDistribution Folder
Before clearing the folder, close Windows Settings and other applications that may be using Windows Update.
You also need administrator access because some files inside the folder are protected while Windows Update services are running.
If Windows Update is currently installing an update, allow the process to finish first whenever possible.
Method 1: Delete SoftwareDistribution Contents Manually
The simplest method is to stop the Windows Update service, remove the temporary files, and start the service again.
Step 1: Open Command Prompt as Administrator
Press Windows + S and search for:
Command Prompt
Right-click Command Prompt and select Run as administrator.
Click Yes if User Account Control asks for permission.
Step 2: Stop Windows Update
Enter the following command:
net stop wuauserv
Press Enter.
You should see a message indicating that the Windows Update service has stopped.
Step 3: Stop the Background Intelligent Transfer Service
Run:
net stop bits
This stops BITS, which Windows uses to transfer update files in the background.
Step 4: Open the SoftwareDistribution Folder
Open File Explorer and go to:
C:\Windows\SoftwareDistribution
You will see several folders and files inside it.
Step 5: Delete the Contents
Select everything inside the SoftwareDistribution folder and press Delete.
You do not need to delete the SoftwareDistribution folder itself.
If Windows reports that a file is currently being used, make sure the Windows Update and BITS services have been stopped.
Step 6: Start Windows Update Again
Return to the elevated Command Prompt and run:
net start wuauserv
Then run:
net start bits
Windows Update can now recreate the temporary files it needs.
Step 7: Check for Updates
Open:
Settings > Windows Update
Select Check for updates and allow Windows to download the update again.
Method 2: Reset SoftwareDistribution Using Command Prompt
If you cannot delete the contents manually, you can rename the folder instead. This is often useful when troubleshooting Windows Update because Windows creates a new SoftwareDistribution folder automatically.
Open Command Prompt as administrator and enter:
net stop wuauserv
net stop bits
ren C:\Windows\SoftwareDistribution SoftwareDistribution.old
net start wuauserv
net start bits
After running these commands, restart your computer and check Windows Update again.
The old folder remains as SoftwareDistribution.old until you remove it.
What If You Get “Access Denied”?
An Access Denied message usually means that a Windows service is still using one or more files.
First, stop the related services:
net stop wuauserv
net stop bits
You can also stop the Windows Cryptographic service:
net stop cryptsvc
Then try deleting the contents again.
Afterward, restart the services:
net start cryptsvc
net start bits
net start wuauserv
If a file is still locked, restart Windows and try the process again before opening Windows Update.
Advanced Windows Update Reset Commands
If clearing SoftwareDistribution does not solve the problem, you can perform a more comprehensive Windows Update reset.
Open Command Prompt as administrator and run:
net stop wuauserv
net stop bits
net stop cryptsvc
net stop msiserver
Then rename the update-related folders:
ren C:\Windows\SoftwareDistribution SoftwareDistribution.old
ren C:\Windows\System32\catroot2 catroot2.old
Restart the services:
net start msiserver
net start cryptsvc
net start bits
net start wuauserv
Restart Windows and try Windows Update again.
Important: Do not delete or rename unrelated Windows system folders. These commands are specifically intended for resetting Windows Update components.
Fix Error 0x80070002 After Clearing SoftwareDistribution
If you are troubleshooting Windows Update error 0x80070002, clearing the SoftwareDistribution contents is one possible step.
If the error remains, run System File Checker:
sfc /scannow
Wait for the scan to complete.
Then run DISM:
DISM /Online /Cleanup-Image /RestoreHealth
After DISM finishes, restart your computer and run Windows Update again.
For additional troubleshooting, you can also run:
DISM /Online /Cleanup-Image /ScanHealth
These tools can identify and repair Windows component-store or system-file problems that may interfere with updates.
Should You Delete the Entire SoftwareDistribution Folder?
In most cases, there is no need to delete the entire folder manually.
A safer approach is to:
- Stop Windows Update.
- Stop BITS.
- Delete the contents of SoftwareDistribution.
- Start the services again.
- Check for updates.
Alternatively, rename the folder to SoftwareDistribution.old and let Windows create a fresh folder.
Does Deleting SoftwareDistribution Remove Installed Updates?
No. Clearing the SoftwareDistribution folder does not normally uninstall Windows updates that are already installed.
It primarily removes temporary Windows Update data and downloaded update files. Windows may need to download update packages again after the cache is cleared.
Frequently Asked Questions
What is the SoftwareDistribution folder?
SoftwareDistribution is a Windows system folder used by Windows Update to store temporary update files and related information.
Can I safely delete SoftwareDistribution?
You can clear its contents after stopping the Windows Update-related services. Windows can recreate the required files when the services start again.
Does deleting SoftwareDistribution fix error 0x80070002?
It can help when the error is caused by corrupted or incomplete Windows Update files, but error 0x80070002 can have other causes as well.
Should I delete SoftwareDistribution or rename it?
Renaming the folder is often a convenient troubleshooting method because it preserves the old folder temporarily while Windows creates a fresh one.
Why can’t I delete SoftwareDistribution?
Windows Update or another related service may still be using the files. Stop Windows Update and BITS before trying again.
Will Windows recreate SoftwareDistribution?
Yes. Windows can automatically create a new SoftwareDistribution folder when Windows Update needs it.
Final Thoughts
Delete the SoftwareDistribution folder contents when Windows Update is experiencing corrupted downloads, repeated installation failures, or errors such as 0x80070002. The safest approach is to stop the Windows Update services first, clear the cached files, restart the services, and then check for updates again.
If the problem continues, use SFC and DISM to check for damaged Windows system files and component-store issues. Renaming SoftwareDistribution instead of deleting it completely is another practical troubleshooting option.