

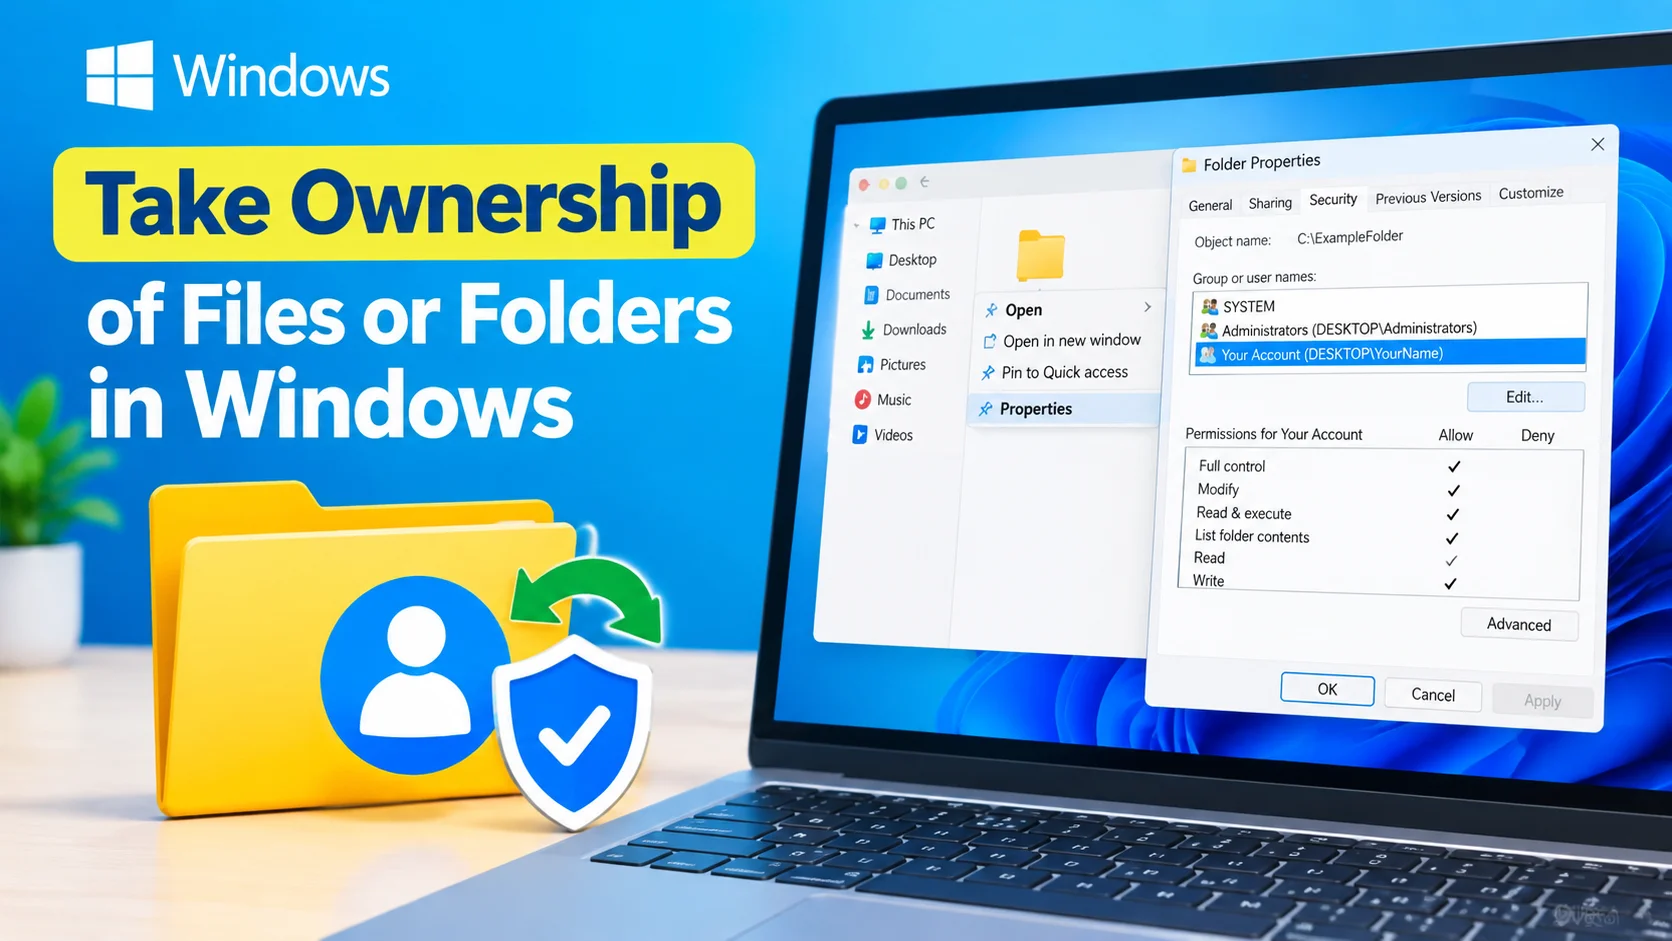
Take Ownership of Files or Folders in Windows when you cannot open, modify, rename, move, or delete an item because your user account does not have the required permissions. Windows uses file and folder permissions to protect system data and prevent unauthorized changes.
Ownership and permissions are different. The owner controls who can access an item and what permissions users receive. If another account or system component owns a folder, you may need to change its ownership before you can modify its permissions.
Why Take Ownership of a File or Folder?
You may encounter ownership-related problems when:
- Accessing files from another Windows installation
- Recovering data from an old hard drive
- Moving files between user accounts
- Removing folders created by another account
- Changing protected file permissions
- Managing files after reinstalling Windows
A common message is “You need permission to perform this action” or “Access is denied.” Taking ownership can help resolve these problems when your account legitimately needs access.
Take Ownership Using File Explorer
Windows provides a graphical method for changing ownership through the folder’s security settings.
- Right-click the file or folder.
- Select Properties.
- Open the Security tab.
- Click Advanced.
- Find the Owner field near the top of the window.
- Click Change.
- Enter your Windows username.
- Select Check Names to verify the account.
- Click OK.
- If available, enable Replace owner on subcontainers and objects when you need ownership of the contents as well.
- Click Apply and then OK.
You may need to close and reopen the Properties window before the new ownership information appears.
Grant Yourself Full Access
Changing ownership does not automatically give your account every permission. You may also need to modify the access control permissions.
- Right-click the file or folder and choose Properties.
- Select Security.
- Click Advanced.
- Select your user account.
- Choose Change permissions if the option is available.
- Grant the required permissions, such as Modify or Full control.
- Apply the changes.
Only grant the permissions you actually need. Excessive permissions can reduce Windows security.
Take Ownership Using Command Prompt
Advanced users can use Command Prompt to take ownership from the command line.
Open Command Prompt as administrator, then use the takeown command.
For example:
takeown /F "C:\ExampleFolder" /R /D Y
The /F option specifies the file or folder. The /R option processes files and subfolders recursively.
After taking ownership, you may need to grant your account access with the icacls command:
icacls "C:\ExampleFolder" /grant %USERNAME%:F /T
The /T option applies the permission change to files and subfolders.
Be careful when running permission commands. Applying them to the wrong directory can make sensitive files accessible or interfere with Windows components.
Use PowerShell for Advanced Management
PowerShell provides additional ways to inspect and manage Windows file permissions. You can use commands such as Get-Acl to examine the current access control list.
For example:
Get-Acl "C:\ExampleFolder"
This displays information about the owner and permissions associated with the specified folder.
PowerShell is particularly useful when managing many files or folders, but command-line permission changes should be used carefully.
What If You Still Cannot Access the Folder?
If taking ownership does not solve the problem, check the following:
- Make sure you are using an administrator account.
- Verify that the file or folder actually exists.
- Check whether the storage drive has errors.
- Review the folder’s permissions after changing ownership.
- Make sure the file is not being used by another application.
- Check whether encryption is preventing access.
- Avoid changing permissions on protected Windows system folders unnecessarily.
Some files are protected by Windows security mechanisms even when you have administrative privileges.
Be Careful With System Files
Taking ownership is useful, but it should not be used casually on Windows system files. Important folders can contain files required for Windows to start or operate correctly.
Before changing ownership, consider creating a backup or restore point. If you only need to access personal data, avoid modifying permissions on system directories.
Ownership vs. Permissions
It is important to understand the difference:
Ownership determines which account or security principal controls the file or folder’s permissions.
Permissions determine what users and groups can actually do with the item, such as read, write, modify, or delete it.
Changing ownership may allow you to change permissions, but it does not necessarily provide access by itself.
Fix Access Denied errors in Windows with simple troubleshooting steps, including permissions, administrator access, ownership, and security settings.
Final Thoughts
Taking ownership can resolve many Access Denied problems in Windows, especially when files belong to another user account or an old Windows installation. File Explorer provides an easy graphical method, while Command Prompt and PowerShell offer more advanced options.
Use these tools carefully and change permissions only when necessary. For personal files, taking ownership can restore access without requiring you to reinstall Windows or modify unrelated system settings.