

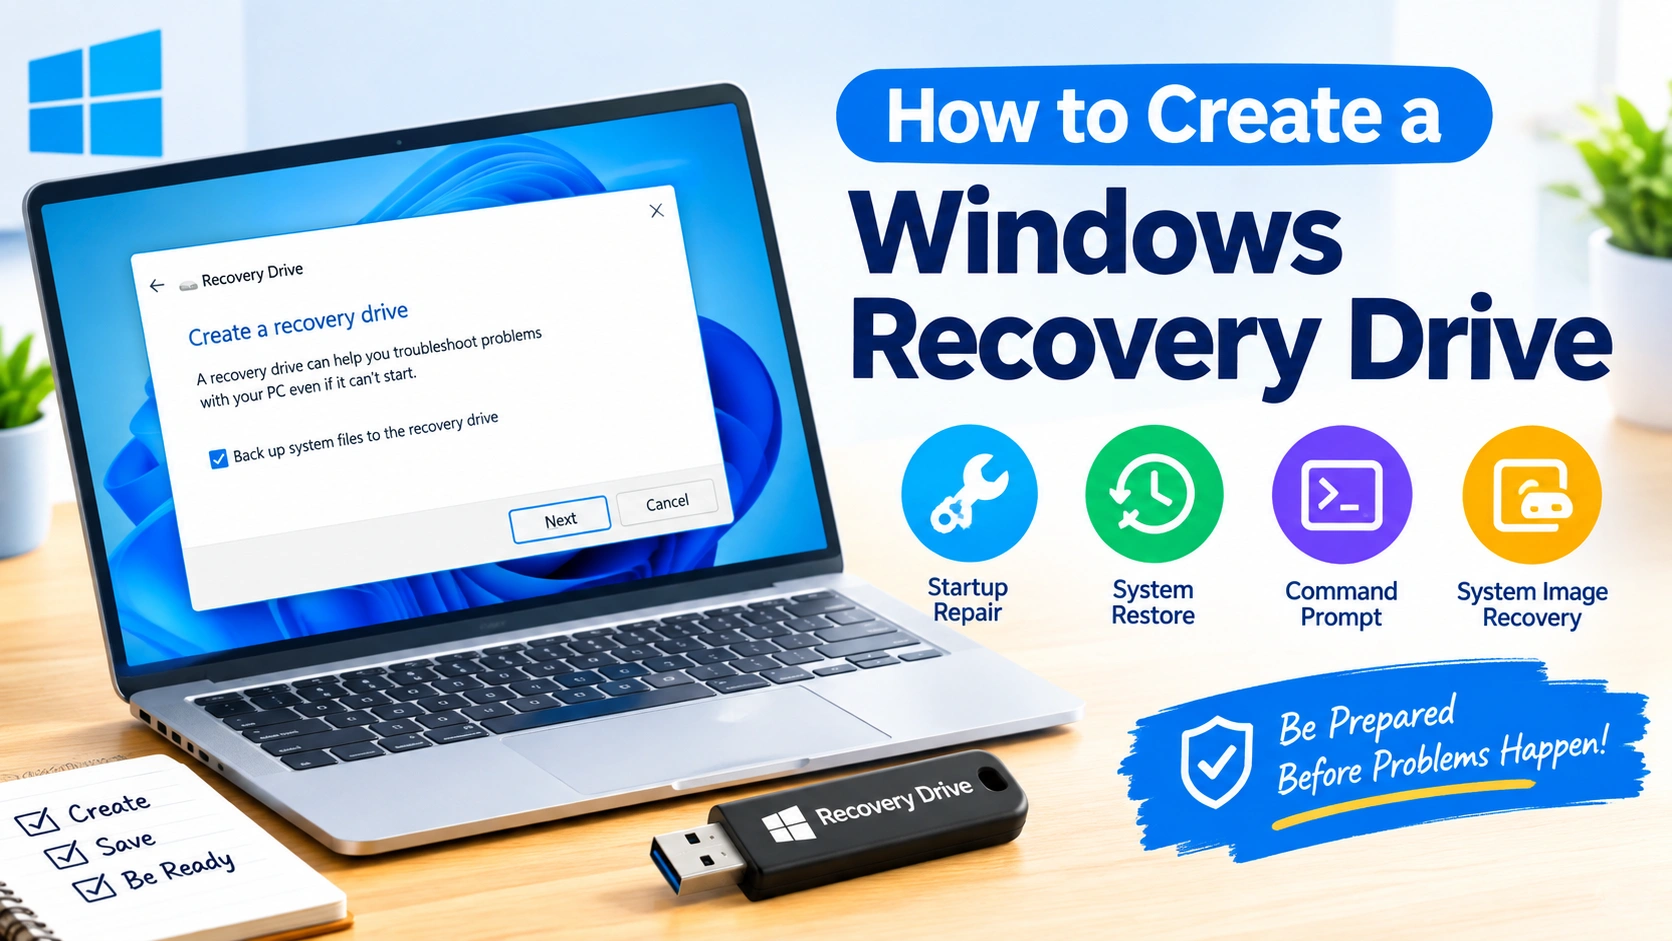
When Windows starts experiencing serious problems, having a recovery option ready can save hours of troubleshooting. A Windows Recovery Drive is a bootable USB drive that can help you access recovery tools when Windows cannot start normally.
Creating a recovery drive is particularly useful before installing major updates, changing system settings, replacing hardware, or troubleshooting recurring startup problems. This guide explains how to create a Windows Recovery Drive and how to use it safely when something goes wrong.
What Is a Windows Recovery Drive?
A Windows Recovery Drive is a USB flash drive containing Windows recovery tools and, depending on the options selected, system files that can help you troubleshoot or reinstall Windows.
It can provide access to tools such as:
- Startup Repair
- System Restore
- Command Prompt
- System Image Recovery
- Reset or reinstall options
- Advanced startup and troubleshooting tools
A recovery drive is different from a normal backup. It is primarily designed to help you repair or recover a Windows installation, while a backup protects your personal files and data.
Why Should You Create a Recovery Drive?
Windows can become difficult to access after a failed update, corrupted system files, driver problems, malware infections, or unexpected hardware issues.
A recovery drive gives you another way to access troubleshooting tools if Windows will not boot.
Creating one in advance can be useful because:
- Windows may not start: You can boot from the USB drive and access recovery options.
- Startup problems can be diagnosed: Startup Repair and other tools may help resolve boot failures.
- You can access advanced tools: Command Prompt and System Restore are available through the recovery environment.
- You can prepare for emergencies: The drive is created before a problem occurs rather than afterward.
- Recovery can be easier: You don’t have to depend entirely on the affected Windows installation.
What You Need Before Creating a Windows Recovery Drive
Before starting, prepare the following:
A USB Flash Drive
Use a USB flash drive with sufficient capacity for the recovery-drive process. Windows will warn you if the selected drive is too small.
Important: Creating a recovery drive can erase the contents of the USB drive. Back up anything important stored on it first.
A Working Windows PC
Ideally, create the recovery drive while Windows is working normally. If the computer is already unable to start, you may need another compatible Windows PC or Windows installation media instead.
Administrative Access
Windows generally requires administrator permission to create a recovery drive.
How to Create a Windows Recovery Drive
The process is built into Windows, so you usually don’t need third-party recovery software.
Step 1: Connect the USB Drive
Insert your USB flash drive into the computer.
Make sure there is nothing important on the drive because the recovery-drive process may format it.
Step 2: Open Recovery Drive
Press the Windows key and search for:
Recovery Drive
Select Create a recovery drive from the search results.
If Windows asks for administrator permission, select Yes.
Step 3: Choose Whether to Include System Files
The Recovery Drive wizard may display an option similar to:
Back up system files to the recovery drive
Leaving this option enabled can make the recovery drive more useful for certain recovery and reinstall scenarios, but it also requires more storage space.
Follow the recommendation shown by your version of Windows.
Select Next.
Step 4: Select Your USB Drive
Windows will scan for available removable drives.
Select the USB flash drive you want to use and click Next.
Double-check the drive letter and capacity before continuing.
Step 5: Confirm the USB Drive
Windows will display a warning that the contents of the selected drive will be deleted.
If you have already backed up the USB drive, confirm that you want to proceed.
Step 6: Create the Recovery Drive
Select Create.
Windows will format the USB drive and copy the necessary recovery files.
The process can take some time depending on the USB drive and whether system files are included.
When Windows reports that the recovery drive is ready, select Finish.
How to Boot From a Windows Recovery Drive
Creating the drive is only half the process. It’s also useful to know how to access it if Windows stops working.
Step 1: Insert the Recovery USB
Connect the recovery drive to the affected PC.
Step 2: Restart the Computer
Restart the PC.
Depending on the manufacturer, you may need to press a boot-menu key during startup. Common keys include F12, F11, F9, Esc, or a manufacturer-specific key.
The exact procedure varies between computers.
Step 3: Select the USB Drive
From the boot menu, select the USB storage device.
Windows should start from the recovery environment rather than the installed Windows system.
Step 4: Open the Available Recovery Tools
Once the recovery environment loads, select the appropriate troubleshooting or recovery option.
Available choices can vary depending on your Windows installation and the recovery media.
Useful Windows Recovery Options
A recovery drive can provide access to several useful tools.
Startup Repair
Startup Repair attempts to identify and correct certain problems that prevent Windows from starting correctly.
It is worth trying when the PC repeatedly fails to boot.
System Restore
System Restore can return Windows system settings and certain system files to an earlier restore point.
It can be particularly useful after a problematic driver, application, or system change.
However, System Restore is not a replacement for a personal data backup.
Command Prompt
Advanced users can use Command Prompt to perform troubleshooting tasks manually.
For example, recovery environments can be useful when Windows itself cannot start and you need to diagnose disk or system-file problems.
Be careful when running commands from the recovery environment because incorrect commands can modify or delete data.
System Image Recovery
If you previously created a compatible system image, you may be able to use recovery tools to restore the computer from that image.
A system image is different from a recovery drive because it can contain a snapshot of the Windows installation, applications, settings, and other data.
Recovery Drive vs. Windows Installation Media
These two tools are related but serve different purposes.
| Feature | Recovery Drive | Windows Installation Media |
|---|---|---|
| Designed for recovery | Yes | Yes |
| Access to troubleshooting tools | Yes | Yes |
| Created from an existing Windows PC | Yes | Not necessarily |
| Intended for reinstalling Windows | Depending on configuration | Yes |
| Useful for startup troubleshooting | Yes | Yes |
| Can contain personal files | No | No |
For many users, keeping both a recovery drive and a separate backup strategy provides greater flexibility.
Does a Recovery Drive Back Up Your Personal Files?
No.
A Windows Recovery Drive should not be considered a replacement for backing up documents, photos, videos, and other personal files.
If your computer has a serious hardware failure, ransomware infection, or damaged storage drive, a recovery drive may help you repair or reinstall Windows, but it cannot guarantee recovery of your personal data.
For important files, maintain a separate backup using an external drive or another appropriate backup solution.
Tips for Creating a Reliable Recovery Drive
Follow these practices to make your recovery preparation more useful.
Use a Dedicated USB Drive
Consider labeling the drive clearly, such as Windows Recovery, so it isn’t accidentally reused for another purpose.
Keep It Somewhere Safe
Store the recovery drive somewhere you can access it if your computer fails.
Avoid leaving it permanently connected to the computer.
Create a New One After Major Changes
If you significantly change your Windows installation, hardware configuration, or recovery setup, consider creating an updated recovery drive.
Keep Your Files Backed Up Separately
A recovery drive and a data backup serve different purposes. Use both when your data is important.
Test Your Recovery Plan
You don’t necessarily need to perform a full recovery just to test the drive. However, knowing how to access your computer’s boot menu and recovery environment can make an emergency less stressful.
What If Windows Cannot Create the Recovery Drive?
Several issues can prevent the Recovery Drive wizard from completing successfully.
Try these troubleshooting steps:
- Use another USB drive if the current one is defective.
- Make sure the USB drive has enough capacity.
- Run Windows with administrator privileges.
- Install pending Windows updates and restart the computer.
- Check for corrupted Windows system files using appropriate Windows repair tools.
- Disconnect unnecessary USB devices while creating the recovery drive.
- Try a different USB port, particularly if the current port is not detecting the drive correctly.
If the problem continues, Windows installation media may provide an alternative way to access recovery and installation tools.
Common Mistakes to Avoid
Creating a recovery drive is straightforward, but a few mistakes can reduce its usefulness.
Don’t Store Important Files on It
The recovery-drive process can erase the USB drive, and you may need to reformat it later.
Don’t Assume It Is a Backup
The recovery drive helps you recover Windows. It isn’t designed to preserve all your personal documents.
Don’t Wait Until Windows Fails
Creating recovery media after a serious Windows failure can be more difficult. Prepare it while your PC is working correctly.
Don’t Randomly Delete Recovery Partitions
Windows recovery components may be useful when troubleshooting. Removing partitions without understanding their purpose can make future recovery more difficult.
Frequently Asked Questions
How large should a Windows Recovery Drive be?
The required capacity depends on the Windows version and whether system files are included. Windows will check the available USB drive and tell you if it has enough space.
Will creating a recovery drive erase my USB drive?
Yes, the process can erase the USB drive. Always copy important files somewhere else before creating the recovery drive.
Can I use a recovery drive on another computer?
A recovery drive is generally intended for the Windows installation and system configuration from which it was created. Compatibility with another PC is not guaranteed.
Does a recovery drive contain my Windows product key?
The recovery drive is not intended to function as a product-key backup. Windows activation information is handled separately by the operating system and Microsoft’s activation mechanisms.
Can a recovery drive recover deleted files?
Not necessarily. A recovery drive is primarily designed for Windows troubleshooting and recovery, not undeleting personal files. For deleted-file recovery, use an appropriate file-recovery or backup solution.
Should I create a recovery drive before updating Windows?
It can be a sensible precaution, especially before major system changes. You should also maintain current backups of important personal files.
Final Thoughts
Knowing how to create a Windows Recovery Drive is a simple but valuable part of Windows maintenance. By preparing a bootable recovery USB while your computer is working properly, you can have access to important troubleshooting tools when Windows refuses to start.
Remember that a recovery drive is not a substitute for a backup. For the best protection, combine recovery media with regular backups of your important files. Keep the USB drive safely stored, label it clearly, and make sure you know how to access your computer’s boot menu before an emergency happens.