

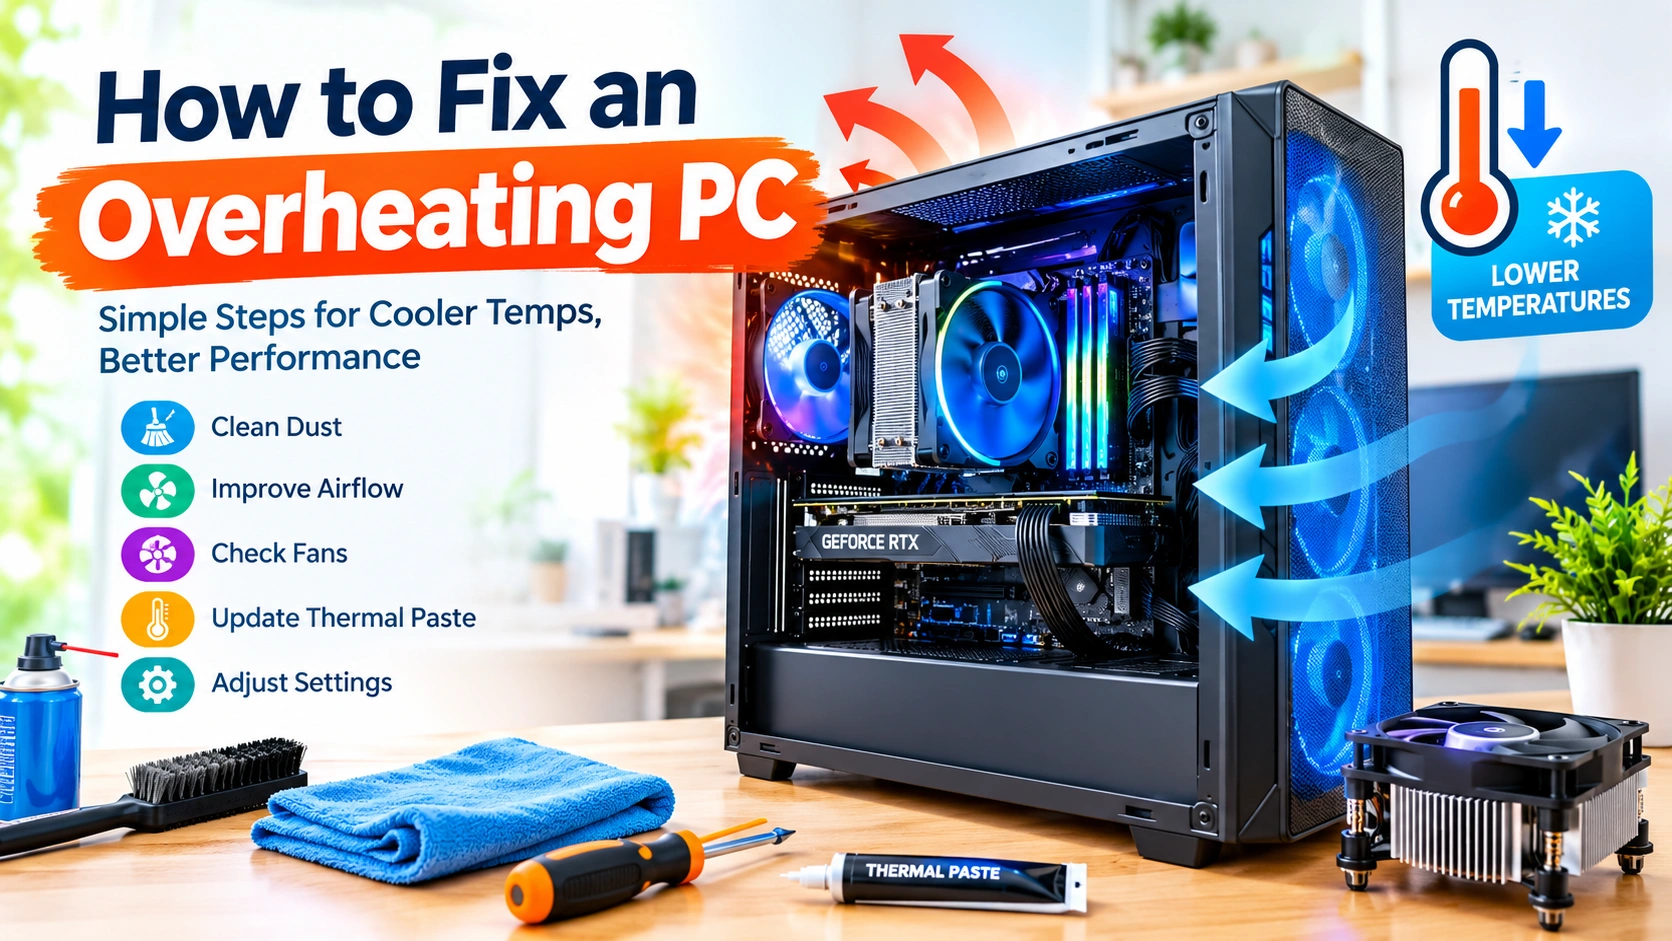
An overheating PC can cause more than annoying fan noise. Excessive heat may lead to sudden shutdowns, system instability, reduced performance, and, over time, damage to components. Whether your computer becomes hot during gaming, video editing, or ordinary everyday use, identifying the cause early can help keep your system reliable.
The good news is that many PC overheating problems can be fixed without replacing expensive hardware. Cleaning dust, improving airflow, adjusting fan settings, and checking the CPU cooler are often enough to bring temperatures back under control.
This guide explains how to fix an overheating PC, what causes excessive heat, and how to prevent the problem from returning.
What Causes a PC to Overheat?
Before fixing the problem, it helps to understand why your computer is getting too hot. Common causes include:
- Dust blocking fans and air vents
- Poor airflow inside the case
- A malfunctioning or slow fan
- An improperly installed CPU cooler
- Old or poorly applied thermal paste
- High CPU or GPU usage
- Aggressive overclocking
- A hot room or poor PC placement
- Too many background applications
- Incorrect fan-control settings
Different components can overheat independently. A high CPU temperature does not necessarily mean the graphics card is the problem, so monitoring individual component temperatures is important.
1. Check Your CPU and GPU Temperatures
The first step is determining whether your PC is actually overheating.
Use a reputable hardware-monitoring application to check temperatures while the computer is idle and under load. Pay particular attention to the CPU and GPU.
There isn’t one universal temperature that applies to every processor or graphics card. Hardware manufacturers specify different operating limits, and temperatures also vary depending on workload, cooler, case, and ambient room temperature.
Look for warning signs such as:
- Temperatures rapidly climbing under moderate workloads
- Performance suddenly dropping during demanding tasks
- Fans running at maximum speed frequently
- Unexpected restarts or shutdowns
- Thermal-throttling warnings
- The system becoming extremely hot shortly after startup
If temperatures are unusually high, continue with the following troubleshooting steps.
2. Clean Dust From Your PC
Dust is one of the simplest causes of overheating.
Over time, dust can accumulate on:
- CPU heatsinks
- GPU heatsinks
- Case fans
- Front intake filters
- Power supply vents
- Radiator fins
- Internal air vents
A thick layer of dust restricts airflow and prevents heatsinks from effectively releasing heat.
How to clean your PC safely
- Shut down the computer completely.
- Unplug the power cable.
- Move the PC to a well-ventilated area.
- Remove the appropriate side panel.
- Use compressed air to remove dust from fans and heatsinks.
- Hold fan blades in place while cleaning them.
- Clean removable dust filters.
- Make sure vents are not blocked.
- Reassemble the computer before powering it on.
Avoid using a household vacuum directly on sensitive components because static electricity can potentially damage electronics.
3. Improve Case Airflow
A clean PC can still overheat if air isn’t moving through the case properly.
Most desktop cases use a combination of intake and exhaust fans. Ideally, cool air should enter through intake vents while warm air is pushed out through exhaust fans.
Check that:
- Front or bottom intake fans can draw in air freely.
- Rear and top exhaust fans can expel hot air.
- Cables aren’t blocking major airflow paths.
- Dust filters aren’t clogged.
- The computer isn’t pushed tightly against a wall.
- Fans are installed in the correct orientation.
If your PC has several fans but temperatures remain high, check the direction each fan is moving air. Adding more fans isn’t always the solution if airflow is poorly arranged.
4. Check Whether Your Fans Are Working
A failed or slow fan can quickly cause temperatures to rise.
Listen for unusual noises such as:
- Grinding
- Clicking
- Rattling
- Intermittent spinning
- Sudden changes in fan speed
You can also visually inspect the fans while the PC is running. Case fans, CPU cooler fans, and GPU fans should behave normally according to their respective fan-control settings.
If a fan isn’t spinning when it should, check its power connection and fan-control settings. A defective fan may need to be replaced.
5. Check the CPU Cooler
The CPU cooler plays a major role in controlling processor temperature.
If the cooler isn’t making proper contact with the CPU, heat may not transfer efficiently from the processor to the heatsink.
This can happen if:
- The cooler is loose.
- Mounting hardware is incorrectly installed.
- Thermal paste has deteriorated or was applied incorrectly.
- The cooler is too small for the processor.
- A liquid cooler has a pump or radiator problem.
If you’re comfortable working inside your PC, inspect the cooler mounting. Otherwise, consider having a qualified technician check it.
6. Replace the Thermal Paste if Necessary
Thermal paste helps transfer heat between the CPU’s integrated heat spreader and the cooler.
Over time, thermal paste can dry out or lose effectiveness, although replacement isn’t necessarily required on a fixed schedule.
Consider replacing it if you’ve removed and reinstalled the CPU cooler, or if there is evidence that the existing thermal interface is no longer working properly.
Basic thermal paste replacement process
- Shut down and unplug the PC.
- Remove the CPU cooler.
- Clean old thermal paste from the CPU and cooler using an appropriate electronics-safe cleaning method.
- Apply a suitable amount of new thermal compound.
- Reinstall the cooler evenly.
- Verify that the mounting pressure is correct.
- Monitor temperatures afterward.
Don’t apply an excessive amount of thermal paste. The goal is to create a thin, consistent thermal interface rather than a thick layer.
7. Reduce Heavy CPU and GPU Usage
Sometimes the cooling system is functioning normally but the computer is simply working extremely hard.
Demanding activities such as gaming, 3D rendering, video encoding, and AI workloads can generate substantial heat.
Open your operating system’s task manager or system monitor and check which applications are consuming CPU and GPU resources.
Close unnecessary applications and investigate programs that unexpectedly consume large amounts of processing power.
If one application consistently pushes the CPU or GPU to very high usage, check whether an update or configuration change is available.
8. Check for Background Processes
Some overheating problems are caused by software running in the background.
Potential causes include:
- Software updates
- Cloud synchronization
- Malware
- Cryptocurrency-mining software
- Browser processes
- Unnecessary startup applications
- Resource-intensive utilities
Check your system’s task manager to identify processes consuming unusual amounts of CPU or GPU resources.
If you see an unfamiliar process using significant resources, research the process before terminating or uninstalling anything.
9. Review Overclocking Settings
Overclocking increases the performance of a processor or graphics card by operating it beyond its standard configuration. Depending on the settings, it can also significantly increase power consumption and heat output.
If your PC began overheating after changing BIOS, CPU, GPU, or memory settings, consider returning the system to its default configuration.
Also review:
- CPU voltage
- CPU multiplier
- GPU clock speeds
- GPU voltage
- Power limits
- Fan curves
Restoring default settings is a useful troubleshooting step when temperature problems appear after performance tuning.
10. Improve Your PC’s Physical Location
Where you place your computer can have a surprisingly large impact on cooling.
Avoid placing a desktop:
- Inside a tightly enclosed cabinet
- Directly against a wall
- Next to a strong heat source
- On a surface that blocks bottom ventilation
- In an area with poor air circulation
Give the PC enough space around its intake and exhaust vents.
The room temperature also matters. A computer operating in a very warm environment has less opportunity to dissipate heat effectively.
11. Adjust Your Fan Curve
Modern PCs can automatically control fan speeds according to component temperatures.
If your system stays too quiet while temperatures climb, the fan curve may be too conservative.
Depending on your motherboard or GPU software, you may be able to configure fans to increase speed as temperatures rise.
A more aggressive fan curve can improve cooling, although it may also make the computer louder.
The best setting is a balance between temperature, noise, and performance.
12. Check Your Power Supply
The power supply unit isn’t usually the first thing to investigate when a PC overheats, but it still deserves attention.
Make sure the PSU has adequate ventilation and that its intake isn’t blocked by dust or the way the computer is positioned.
Do not open the power supply itself. Internal PSU components can retain dangerous electrical charges even when the computer is switched off.
If the PSU is producing unusual noises, excessive heat, burning smells, or causing instability, have it inspected or replaced by a qualified professional.
13. Consider Upgrading the Cooling System
If you’ve cleaned the PC, improved airflow, checked the fans, and confirmed the cooler is properly installed but temperatures remain excessive, the cooling system may simply be insufficient.
Possible upgrades include:
- A larger CPU air cooler
- A higher-performance CPU cooler
- Additional case fans
- A better-ventilated case
- A larger liquid-cooling radiator where appropriate
Choose cooling hardware that is compatible with your CPU, motherboard, case, and overall system configuration.
More expensive cooling isn’t automatically better if the underlying problem is dust, poor airflow, or incorrect installation.
How to Prevent PC Overheating
Once you’ve fixed the problem, a few maintenance habits can help prevent it from returning.
Keep your PC clean
Inspect dust filters and ventilation areas regularly. How often you need to clean the system depends on the environment, but dusty rooms and pets may require more frequent cleaning.
Monitor temperatures
Occasionally check CPU and GPU temperatures, especially after installing new hardware or changing performance settings.
Keep software updated
Operating system, chipset, motherboard, and GPU updates can sometimes address performance or power-management issues.
Don’t block ventilation
Make sure intake and exhaust areas remain unobstructed.
Avoid unnecessary overclocking
If temperatures are already high, increasing CPU or GPU power limits may make the situation worse.
When Should You Stop Using an Overheating PC?
If the computer becomes extremely hot, repeatedly shuts down, produces a burning smell, shows signs of electrical damage, or behaves abnormally, turn it off and disconnect the power.
Don’t continue running a system that appears to have a serious hardware or electrical fault simply to diagnose it.
For persistent overheating that doesn’t improve after basic cleaning and airflow checks, professional hardware inspection may be the safest option.
Final Thoughts
Learning how to fix an overheating PC starts with identifying the source of the heat rather than immediately replacing hardware. Cleaning dust, checking fans, improving airflow, inspecting the CPU cooler, monitoring temperatures, and reducing unnecessary system load can resolve many common overheating problems.
If those steps don’t help, investigate cooling capacity, BIOS settings, overclocking, and potentially faulty hardware. Regular cleaning and temperature monitoring can also help you catch cooling problems before they cause serious performance or stability issues.
A cool PC isn’t just quieter—it can also provide more consistent performance and a more reliable computing experience.