

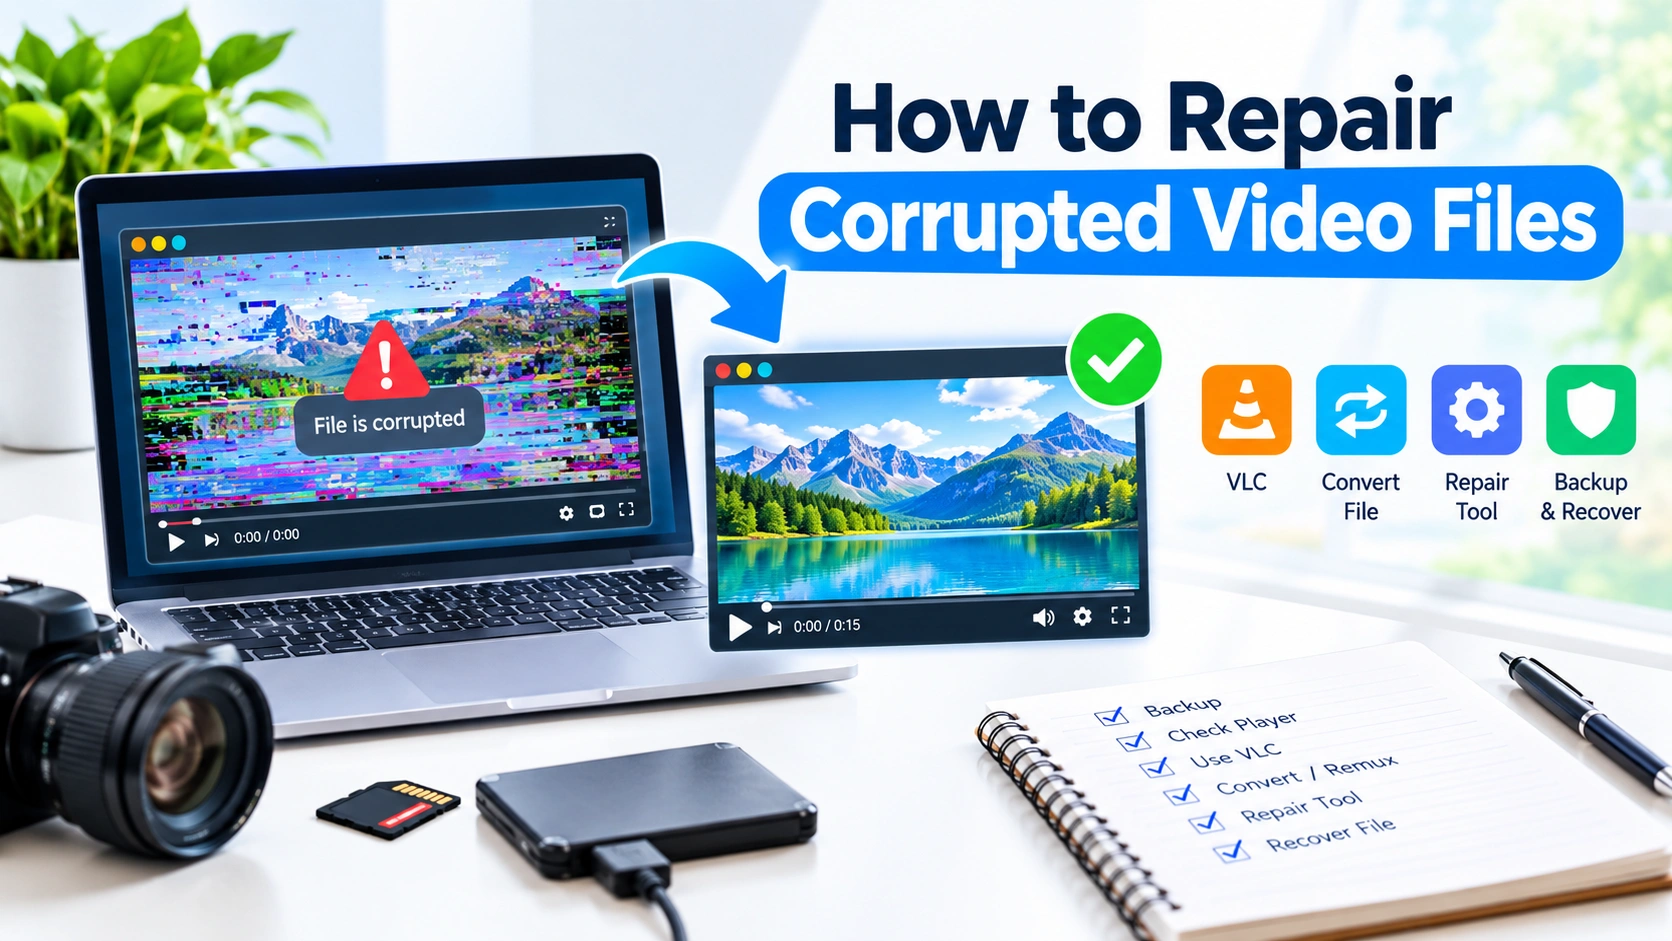
Corrupted video files can be frustrating, especially when an important recording suddenly refuses to play, freezes during playback, shows a black screen, or produces distorted audio and images. Fortunately, a damaged video is not always permanently lost. Depending on the cause and file format, several methods can help repair corrupted video files and recover playable footage.
In this guide, you’ll learn how to repair corrupted video files on Windows, identify common causes of video corruption, and choose the safest recovery method without unnecessarily damaging the original file.
Why Do Video Files Become Corrupted?
Before trying to repair a damaged video, it helps to understand what caused the problem. Video corruption can occur for several reasons.
Common causes include:
- Interrupted file transfers
- Sudden computer shutdowns
- Removing an SD card while recording or transferring files
- Failing hard drives or SSDs
- Damaged memory cards
- Incomplete downloads
- Software crashes while recording
- Unsupported codecs or containers
- Malware or file-system errors
- Problems during video editing or exporting
- Insufficient storage space while recording
For example, a camera may save a video incorrectly if its battery dies before the recording process is finalized. The resulting MP4 file may exist on the storage device but fail to play normally.
1. Make a Backup of the Corrupted Video
Before attempting any repair, create a copy of the damaged video.
This is one of the most important steps because some repair procedures can modify the original file. If something goes wrong, you can return to the untouched copy.
Right-click the video and select Copy, then paste it into another folder or storage device.
For example:
Original Video
    ↓
Create Backup
    ↓
Work With Copy
Avoid repeatedly opening, editing, converting, or moving a video directly from a failing storage device.
If the video is stored on an SD card or failing drive and other files are also becoming unreadable, consider copying important files first.
2. Check Whether the Video Plays in Another Media Player
Sometimes a video isn’t actually corrupted. The problem may be caused by a missing codec or an incompatibility with the media player.
Try opening the file with another media player.
For example, you can test the video using:
- VLC Media Player
- Windows Media Player
- Another compatible video player
If the video works correctly in another application, the file itself may be fine.
This is especially useful when you encounter messages such as:
- “Can’t play this file”
- “Unsupported video format”
- “The codec is not supported”
- Black screen with audio
- Audio without video
Testing another player is a quick way to determine whether you’re dealing with genuine corruption or a playback compatibility problem.
3. Try VLC’s Built-In Repair Feature
VLC Media Player includes an option that can attempt to repair certain damaged AVI files.
Open VLC and go to:
Tools → Preferences → Input / Codecs
Look for the Damaged or incomplete AVI file option.
Depending on the VLC version, you can select an option that tells VLC to repair the file automatically.
Save the settings and try playing the damaged AVI file again.
This method is primarily useful for AVI files. It should not be expected to repair every corrupted MP4, MOV, MKV, or other video format.
4. Convert the Video to Another Format
If a video can partially open but doesn’t play correctly, converting it to another format may rebuild portions of the video structure.
For example, an MP4 file could potentially be converted into another MP4 container or another compatible format.
If you’re using VLC:
- Open VLC.
- Select Media.
- Choose Convert / Save.
- Add the damaged video.
- Click Convert / Save.
- Select an output profile.
- Choose a destination file.
- Start the conversion.
If VLC cannot read any usable portion of the file, conversion will not necessarily work. However, it is worth trying when the video is partially playable.
5. Repair the Video Using FFmpeg
Advanced users can try FFmpeg, a powerful multimedia command-line tool.
If the video container is damaged but the underlying video and audio streams are still readable, FFmpeg may be able to create a new container.
A basic example is:
ffmpeg -i corrupted.mp4 -c copy repaired.mp4This attempts to copy the existing streams without re-encoding them.
The advantage is that the process can be relatively fast and does not introduce another generation of video compression.
However, FFmpeg cannot magically reconstruct missing video data. If substantial portions of the actual video stream are damaged, simply rebuilding the container may not be enough.
6. Try a Professional Video Repair Tool
Dedicated video repair software can sometimes recover footage that ordinary media players cannot open.
These applications typically analyze the damaged file and attempt to reconstruct its container structure, metadata, indexes, or other information required for playback.
Some repair tools work particularly well when you have a healthy reference video recorded using the same:
- Camera
- Smartphone
- Resolution
- Frame rate
- Codec
- Recording settings
A reference file can help repair software determine what the damaged video’s original structure should look like.
Before purchasing a repair application, check whether it supports your exact file extension and camera or recording device.
7. Use a Reference Video From the Same Device
A reference video can be extremely useful when dealing with severely corrupted camera footage.
For example, suppose your camera created:
VIDEO001.MP4but that recording became corrupted.
Record a new short video using the same camera and settings:
REFERENCE.MP4Some specialized repair tools can use the healthy file to understand the structure of the damaged recording.
The closer the reference file is to the corrupted video, the more useful it may be.
Ideally, use the same:
- Device
- Recording mode
- Resolution
- Frame rate
- Codec
- Storage configuration
Do not overwrite the original damaged recording while creating the reference file.
8. Check the Storage Device for Errors
If multiple videos stored on the same drive or memory card are becoming corrupted, the storage device itself may be the underlying problem.
For a Windows drive, you can use CHKDSK to check the file system.
Open Command Prompt as Administrator and run:
chkdsk C: /scanReplace C: with the appropriate drive letter.
For example:
chkdsk E: /scanThe /scan option performs an online scan of the NTFS file system.
Be careful with repair operations on failing storage devices. If the drive is physically deteriorating, your priority should be recovering important data rather than repeatedly writing to the device.
9. Recover the Video From a Backup
Sometimes repairing the corrupted file isn’t the best approach.
Check whether an undamaged copy exists elsewhere.
Potential locations include:
- External hard drives
- USB drives
- Another computer
- OneDrive
- Google Drive
- Dropbox
- NAS devices
- Camera backups
- Windows backup systems
- Previous project folders
If a healthy copy exists, restoring it is generally preferable to attempting increasingly aggressive repairs on a damaged file.
10. Recover the Original File From the Storage Device
If the video became corrupted because of accidental deletion, file-system damage, or storage problems, data recovery may be more appropriate than video repair.
For example, if a camera’s memory card was accidentally formatted, avoid saving new files to that card.
Writing new data can overwrite sectors containing the deleted video.
A typical recovery workflow is:
- Stop using the affected storage device.
- Connect it to a reliable computer.
- Create a disk image when appropriate.
- Scan the storage device with reputable recovery software.
- Recover files to a different drive.
- Test the recovered videos.
- Repair the recovered copies if necessary.
Remember that file recovery and video repair are different processes.
Recovery attempts to retrieve the underlying file, while repair attempts to make a damaged video playable.
How to Repair a Corrupted MP4 File
MP4 is one of the most common video formats, but it can still become corrupted.
If an MP4 won’t open, try these steps in order:
- Make a backup copy.
- Test it with another media player.
- Try opening it with VLC.
- Try remuxing it with FFmpeg.
- Try a dedicated MP4 repair tool.
- Use a reference video if the repair application supports one.
- Check the storage device for problems.
- Recover the original file if the storage device is damaged.
If the MP4 is completely empty or the actual video data has been overwritten, software cannot reliably recreate the missing footage.
How to Repair a Corrupted MOV File
MOV files are commonly associated with Apple devices, cameras, and professional video workflows.
If a MOV file is damaged, start by determining whether the problem is with the container or the underlying video stream.
Try:
- Opening the file with VLC
- Converting the file
- Remuxing it with FFmpeg
- Using dedicated video repair software
- Finding a matching reference video
- Recovering an earlier copy from backup
If the file was created by a camera or smartphone, a reference recording from the same device can be particularly useful for specialized repair software.
What to Do When a Video Has No Sound
A corrupted video does not necessarily mean that both video and audio streams are damaged.
If the picture works but there is no sound, check:
- Whether another media player produces audio.
- Whether the system volume is working.
- Whether the correct audio device is selected.
- Whether the video contains an audio stream.
- Whether converting or remuxing the file restores the audio track.
If the audio stream itself is missing or severely damaged, a repair application may not be able to reconstruct the original sound.
What to Do When a Video Freezes
If a video starts normally but freezes at a particular point, the problem may involve damaged frames or a corrupted index.
Try creating a new copy through conversion or remuxing.
For example, FFmpeg can attempt to process the readable portions:
ffmpeg -i damaged.mp4 -c:v libx264 -c:a aac recovered.mp4This re-encodes the video and audio, so it takes longer than stream copying and may reduce quality.
However, it can sometimes produce a playable file when the original container has problems.
When Video Repair Software Cannot Help
Video repair software has limitations.
A repair tool may fail when:
- The file contains almost no usable video data.
- The file has been overwritten.
- The storage device has severe physical damage.
- The recording was never properly finalized.
- Critical video frames are missing.
- The file is actually a zero-byte file.
- The damaged sections contain essential metadata or stream information.
No software can reliably restore data that no longer exists.
If the footage is extremely important and the storage device is physically failing, professional data recovery may be safer than repeatedly experimenting with repair tools.
How to Prevent Video File Corruption
Prevention is easier than repairing damaged footage.
Keep Enough Free Storage
Avoid recording when a memory card, SSD, or hard drive is nearly full.
Safely Eject External Storage
Don’t immediately remove an SD card, USB drive, or external SSD while files are being written.
Keep Devices Powered
For long recordings, ensure the camera, laptop, or smartphone has enough battery power.
Maintain Multiple Backups
Important videos should ideally exist in more than one location.
A simple backup strategy could be:
Camera
   ↓
Computer
   ↓
External Drive
   ↓
Cloud Backup
Monitor Storage Health
If videos repeatedly become corrupted, investigate the storage device instead of treating every damaged file as an isolated problem.
Final Thoughts
Learning how to repair corrupted video files can help recover recordings that appear unusable. Start with the safest methods: make a backup, test another media player, and try a simple conversion or remuxing process. For more serious corruption, specialized video repair software or professional data recovery may be necessary.
Most importantly, never work directly on the only copy of an important video. Preserve the original file and storage device whenever possible. If the underlying video data still exists, the right repair technique may be able to restore a playable recording.