

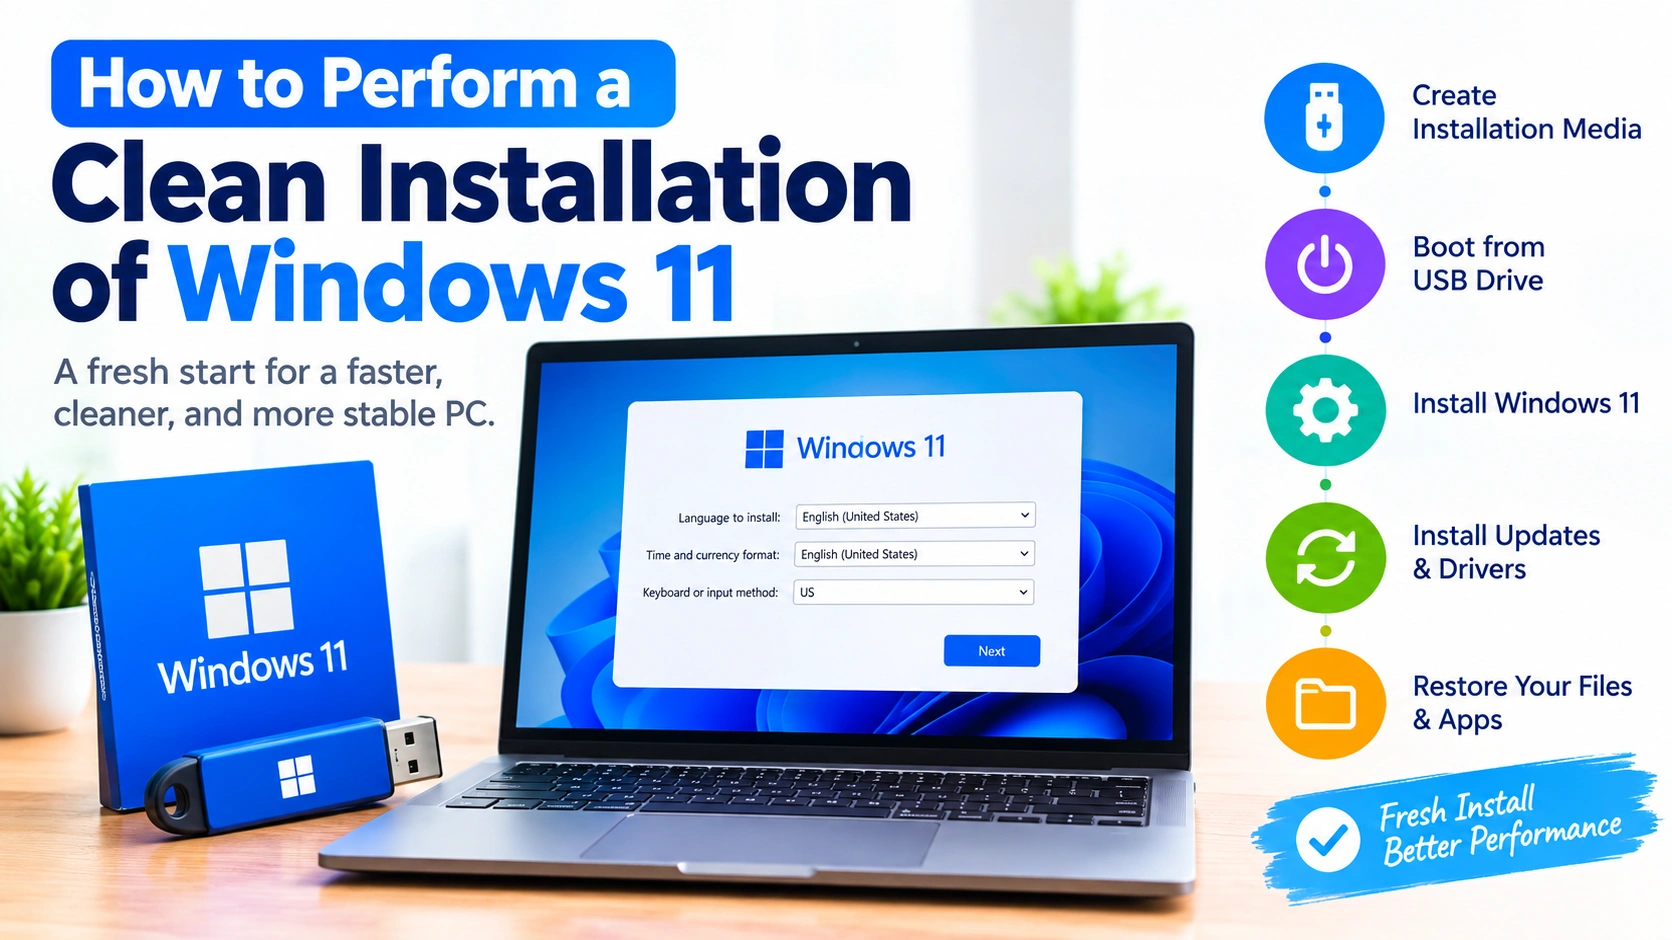
A clean installation of Windows 11 can give your PC a fresh start by removing the existing Windows installation and installing a new copy of the operating system. This can be useful when you’re dealing with persistent system problems, preparing a computer for a new user, or replacing an old Windows installation.
Unlike a standard upgrade, a clean installation can remove installed applications, personal files, settings, and data from the Windows drive. For that reason, proper preparation and a reliable backup are essential before you begin.
This guide explains how to perform a clean installation of Windows 11 safely, from creating installation media to completing the initial setup.
What Is a Clean Installation of Windows 11?
A clean installation installs Windows 11 onto a selected drive or partition after removing the existing Windows installation. The process typically starts the PC from a bootable USB flash drive rather than the current Windows environment.
A clean install can help when:
- Windows has serious or persistent software problems.
- The system contains unnecessary applications and old settings.
- You are replacing or upgrading a storage drive.
- You want to start with a fresh Windows environment.
- You are preparing a PC for another user.
- Normal Windows repair or reset options have not solved the problem.
Keep in mind that a clean installation is different from an in-place upgrade. An upgrade attempts to preserve applications, files, and settings, while a clean installation is designed to start over.
Before You Install Windows 11
Preparation is one of the most important parts of a clean installation. Once you delete partitions or format a drive, recovering data can become significantly more difficult.
1. Back Up Your Personal Files
Copy important documents, photos, videos, downloads, browser data, project files, and other valuable information to an external drive or trusted cloud storage service.
Do not assume that files stored on the Desktop or in the Documents folder will survive a clean installation.
2. Make Sure You Have Your Application Information
Create a list of programs you currently use. For paid applications, make sure you have the necessary licenses, activation information, or account credentials.
You may also want to export settings or data from applications such as email clients, password managers, and specialized business software.
3. Check Your Windows Activation
If Windows is already activated, check its activation status before reinstalling. A digital license may allow Windows to reactivate automatically after installation when you connect to the internet.
If your Windows edition changes during installation, however, activation may not work as expected. Make sure you know whether your current installation uses Windows 11 Home or Pro.
4. Download Important Drivers
Windows 11 can install many drivers automatically, but it is useful to download critical drivers beforehand, especially the network adapter driver.
This is particularly important if your PC requires a manufacturer-specific Wi-Fi or Ethernet driver to connect to the internet.
5. Connect the PC to Reliable Power
If you are installing Windows 11 on a desktop, use a stable power connection. For a laptop, connect the AC adapter throughout the installation.
An unexpected shutdown during installation can cause unnecessary problems.
What You Need for a Clean Installation
Before starting, prepare:
- A Windows 11-compatible PC
- A USB flash drive with sufficient storage capacity
- A reliable internet connection
- A second device if you need to download installation files or troubleshooting information
- A backup of important personal data
- Your Windows license information if required
The USB drive used to create installation media will normally be erased during the creation process, so move any important files from it first.
Step 1: Create a Windows 11 Installation USB
Download the official Windows 11 installation media from Microsoft’s Windows 11 download page.
You can use Microsoft’s Media Creation Tool to create a bootable USB installation drive.
Connect your USB flash drive to the PC and follow the installation-media creation wizard. Select the appropriate Windows 11 edition and USB drive when prompted.
Allow the tool to finish. When complete, the USB drive can be used to start the Windows 11 installation process.
Step 2: Insert the USB Drive Into the Target PC
Insert the bootable Windows 11 USB drive into the computer where you want to perform the clean installation.
Restart the computer and open its boot menu. The key varies between manufacturers and models. Common boot-menu keys include F12, F11, F9, Esc, or another manufacturer-specific key.
Select the USB storage device from the boot menu.
If the USB drive does not appear, enter the system’s UEFI/BIOS settings and check the boot configuration.
Step 3: Start Windows 11 Setup
After successfully booting from the USB drive, Windows Setup should appear.
Choose your:
- Language to install
- Time and currency format
- Keyboard or input method
Select Next, then choose Install now.
Windows Setup will begin preparing the installation.
Step 4: Enter Your Product Key
Windows Setup may ask for a product key.
If you have a valid product key, enter it when prompted.
If the computer already has a digital Windows license, you may be able to select I don’t have a product key and continue. Windows can potentially reactivate after installation when the PC is connected to the internet.
Make sure you install the same Windows edition associated with your license, such as Home or Pro.
Step 5: Choose the Correct Windows Edition
If Windows Setup asks you to select an edition, choose the edition that matches your license.
For example:
- Windows 11 Home
- Windows 11 Pro
Choosing the wrong edition can create activation problems later.
Step 6: Select the Custom Installation Option
When Windows Setup asks which type of installation you want, select:
Custom: Install Windows only (advanced)
This option allows you to choose the destination drive and partitions for the new installation.
Be especially careful at this stage because deleting or formatting the wrong partition can result in permanent data loss.
Step 7: Select the Windows Installation Drive
Windows Setup will display the available drives and partitions.
If you have already backed up everything and want to completely replace the existing Windows installation, identify the partitions belonging to the old Windows installation.
On a typical single-drive system, you may see several partitions, including recovery, system, reserved, and primary partitions.
Do not delete partitions unless you are certain they belong to the drive you intend to erase.
Once the correct target drive has been identified, follow the Windows Setup instructions to remove the old installation and install Windows 11 into the resulting unallocated space.
Important: If multiple physical drives are connected, double-check their sizes and labels before deleting anything. For maximum safety, consider disconnecting secondary storage drives that are not needed during installation.
Step 8: Install Windows 11
After selecting the destination, click Next.
Windows will copy the installation files and install the operating system. The computer may restart several times during the process.
Do not remove the USB drive too early. If the computer repeatedly starts the installation process from the USB after restarting, remove the USB when appropriate or select the internal drive from the boot menu.
The installation time depends on the computer’s hardware and storage speed.
Step 9: Complete the Initial Windows Setup
After installation finishes, Windows 11 will guide you through its initial configuration.
Depending on your system and Windows configuration, you may need to:
- Select your region
- Choose a keyboard layout
- Connect to a network
- Sign in with a Microsoft account
- Configure privacy settings
- Set up Windows Hello
- Give the PC a name
- Restore files or settings if applicable
Follow the on-screen instructions until you reach the Windows 11 desktop.
Step 10: Run Windows Update
Once Windows 11 is running, connect to the internet and open:
Settings > Windows Update
Select Check for updates.
Install available Windows updates and restart the computer when required.
Windows Update may also install hardware drivers automatically.
Step 11: Install Essential Drivers
Check Device Manager to see whether any devices are missing drivers.
Pay particular attention to:
- Chipset
- Graphics
- Network adapters
- Audio
- Bluetooth
- Storage controllers
For the best compatibility, obtain specialized drivers from your PC or hardware manufacturer’s official website when necessary.
Step 12: Reinstall Your Applications
After Windows is fully updated, reinstall the applications you actually need.
Start with essential software such as:
- Web browsers
- Office applications
- Security software
- Communication tools
- Media applications
- Development tools
- Productivity software
Avoid reinstalling everything at once. Installing programs gradually makes it easier to identify software that may cause compatibility or performance problems.
Step 13: Restore Your Personal Files
Finally, copy your backed-up files back to the appropriate folders.
Before restoring everything, verify that the backup is complete and readable.
For important data, maintaining more than one backup is recommended.
Common Problems After a Clean Installation
Windows Cannot Connect to Wi-Fi
If Windows does not detect your wireless adapter, install the appropriate network driver from your computer manufacturer’s website.
If necessary, temporarily use Ethernet or another available connection to download updates.
Windows Is Not Activated
Open Settings > System > Activation and check the activation status.
Make sure you installed the correct Windows edition and that the computer is connected to the internet.
If activation still fails, verify your Microsoft account and license information.
A Device Is Missing From Device Manager
A missing device may require a manufacturer-specific driver.
Check the hardware manufacturer’s support page for the exact PC or component model.
The PC Keeps Booting From the USB Drive
Remove the installation USB after Windows has begun booting from the internal drive, or use the UEFI boot menu to select the internal Windows drive.
You may also need to adjust the boot order in UEFI settings.
Windows Runs Slowly After Installation
A newly installed Windows system may perform background tasks such as updates, driver installation, indexing, and application setup.
Give the system some time to finish these tasks, then restart the PC.
If performance remains poor, check Task Manager for applications or processes consuming excessive CPU, memory, disk, or network resources.
Tips for a Safer Windows 11 Clean Install
A few precautions can make the process considerably safer:
- Back up before deleting anything.
- Verify the target drive carefully.
- Disconnect unnecessary external storage devices.
- Keep your laptop connected to power.
- Download critical network drivers beforehand.
- Use official Windows installation media.
- Install the correct Windows edition.
- Run Windows Update immediately after installation.
- Check Device Manager for driver problems.
- Create a new backup after restoring your system.
Clean Install vs. Windows Reset
Windows 11 also provides a built-in Reset this PC feature. Resetting Windows can be more convenient because it does not always require creating external installation media.
However, a clean installation from USB gives you more direct control over the installation drive and partitions.
A reset may be appropriate when you want to troubleshoot Windows without manually creating installation media. A clean installation is generally used when you specifically want to replace the existing Windows installation with a fresh one.
Frequently Asked Questions
Will a clean installation delete my files?
It can. A clean installation can remove files, applications, settings, and partitions from the selected drive. Always create a verified backup before starting.
Do I need a product key to install Windows 11?
Depending on your licensing situation, you may be able to install Windows without entering a product key during Setup and activate Windows later using a digital license.
How long does a Windows 11 clean installation take?
The installation itself can often be completed within an hour, but the total time varies depending on the PC, USB drive, internet connection, updates, and number of applications you need to reinstall.
Can I clean install Windows 11 on an SSD?
Yes. A clean installation can be performed on an SSD as long as the computer meets Windows 11’s hardware and system requirements.
Should I disconnect other drives before installing Windows 11?
Disconnecting unnecessary secondary drives can reduce the risk of accidentally selecting or modifying the wrong drive during partition management.
Final Thoughts
Performing a clean installation of Windows 11 is a practical way to start with a fresh operating system. The process involves creating official installation media, booting the computer from USB, selecting the correct installation drive, completing Windows Setup, installing updates and drivers, and restoring your applications and files.
The most important part is preparation. Back up your data, verify the correct drive before deleting partitions, and make sure you have the drivers and account information you need. With these precautions, you can complete a Windows 11 clean installation while minimizing the risk of losing important data or encountering avoidable setup problems.