

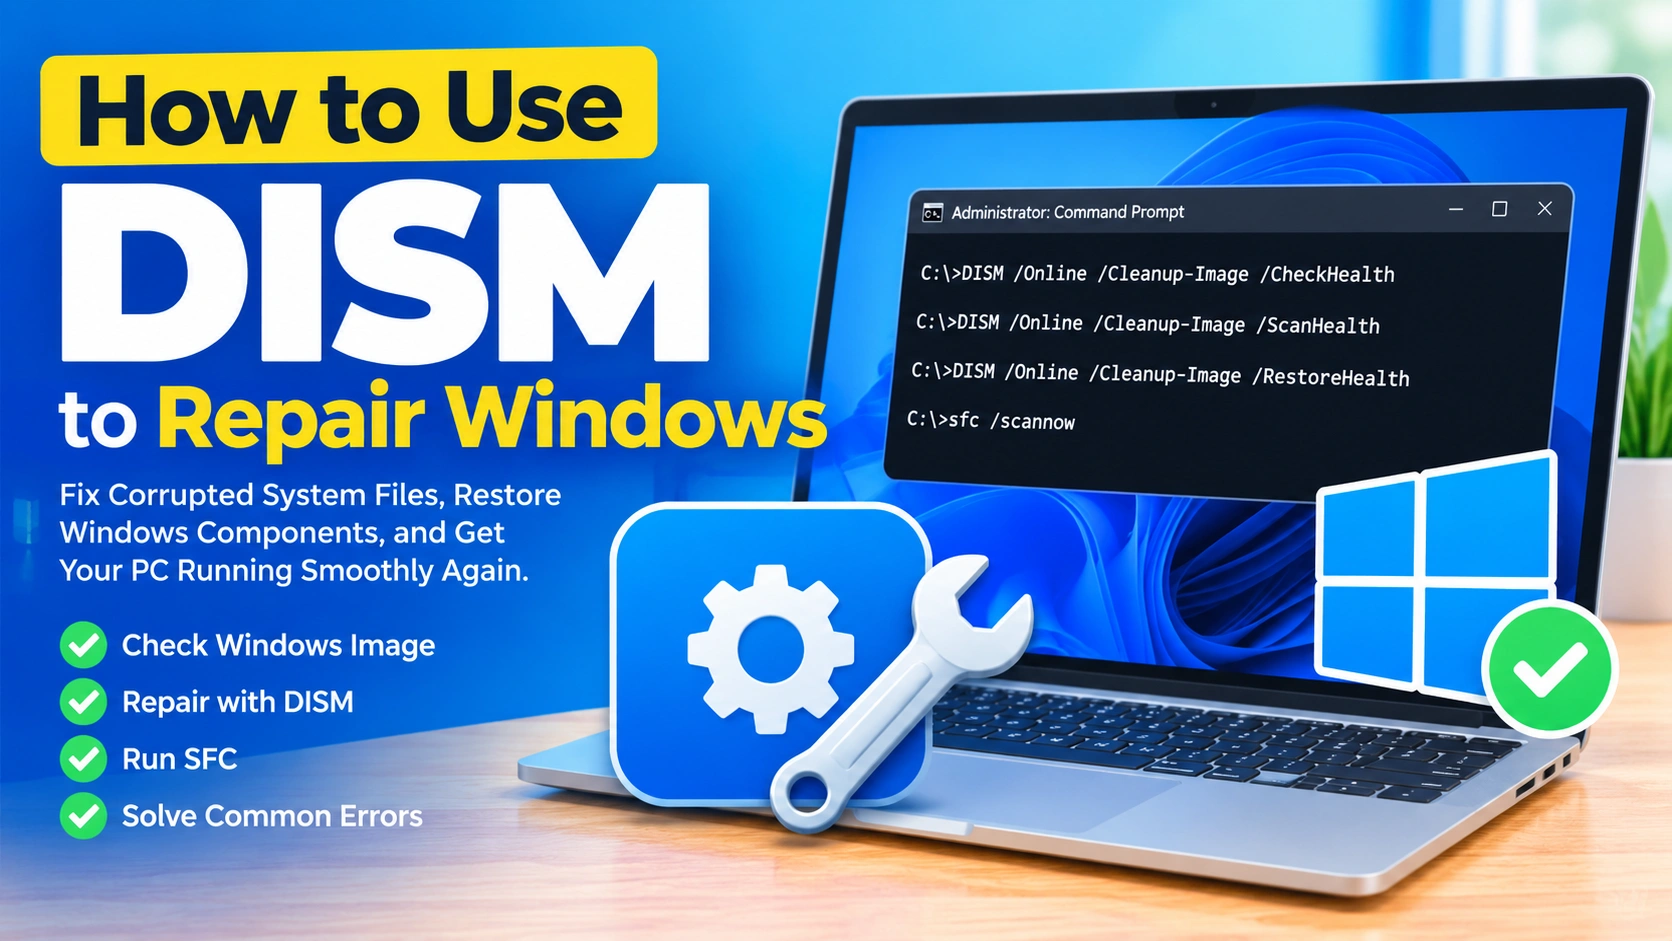
Windows includes several built-in tools that can repair damaged system components without requiring a complete reinstall. One of the most useful is DISM, short for Deployment Image Servicing and Management.
If Windows is experiencing system errors, corrupted components, failed updates, missing features, or problems that System File Checker (SFC) cannot fix, DISM can often repair the underlying Windows image.
In this guide, you’ll learn how to use DISM to repair Windows, which commands to run, how to check the health of the Windows image, and what to do when DISM reports an error.
What Is DISM in Windows?
DISM is a command-line utility built into Windows. It is primarily designed to service and repair Windows images, including the operating system image currently installed on your computer.
Unlike SFC, which checks protected system files, DISM can repair the component store that Windows uses as a source for system files.
This makes DISM particularly useful when:
- Windows system files are corrupted
- Windows Update is not working correctly
- SFC reports that it cannot repair some files
- Windows features fail to install
- System components are missing or damaged
- Windows displays unexpected system errors
- A previous update caused system problems
DISM is available in modern versions of Windows, including Windows 10 and Windows 11.
DISM vs. SFC: What’s the Difference?
DISM and SFC are often used together, but they perform different jobs.
DISM repairs the Windows component store or system image.
SFC checks protected Windows system files and replaces corrupted files with healthy copies.
A common troubleshooting sequence is:
- Run DISM to repair the Windows image.
- Run SFC to repair protected system files.
- Restart Windows.
- Check whether the original problem has been resolved.
If SFC reports that it cannot repair certain files, running DISM first can sometimes resolve the problem.
Before Running DISM
DISM commands normally require administrator privileges.
Before starting, save your work and close applications that you do not need.
If you are using the /RestoreHealth command without specifying another repair source, Windows may use Windows Update to obtain replacement components. Therefore, an active internet connection can be helpful.
You should also avoid shutting down the computer while DISM is performing a repair.
How to Open Command Prompt as Administrator
The easiest way to run DISM is through an elevated Command Prompt.
Method 1: Windows Search
- Press Windows + S.
- Type Command Prompt.
- Right-click Command Prompt.
- Select Run as administrator.
- Click Yes if User Account Control appears.
You should now see a Command Prompt window with administrator privileges.
Method 2: Windows Terminal
You can also use Windows Terminal.
- Right-click the Start button.
- Select Terminal (Admin).
- Confirm the User Account Control prompt.
DISM commands can be run from Command Prompt, Windows Terminal, or PowerShell when they have the required administrator privileges.
Step 1: Check the Windows Image for Problems
Before attempting a repair, you can check whether Windows believes the component store has been corrupted.
Run:
DISM /Online /Cleanup-Image /CheckHealth
Press Enter.
The /Online option tells DISM to work with the currently running Windows installation.
The /Cleanup-Image option tells DISM that you want to service the Windows image.
The /CheckHealth option performs a quick check for previously detected corruption.
This command is useful as an initial diagnostic step.
What Does CheckHealth Tell You?
Depending on the condition of the Windows image, DISM may report that:
- No component store corruption was detected
- The component store is repairable
- The component store is corrupted
Keep in mind that /CheckHealth is a relatively quick check. It is not the same as performing a full scan.
Step 2: Scan the Windows Image
For a more detailed examination, run:
DISM /Online /Cleanup-Image /ScanHealth
Press Enter and allow the scan to finish.
/ScanHealth performs a more extensive check of the Windows component store than /CheckHealth.
The scan can take several minutes, and the amount of time required depends on the computer and the condition of the Windows installation.
Do not close the Command Prompt window while the operation is running.
Step 3: Repair Windows With DISM
If corruption is detected, the most commonly used repair command is:
DISM /Online /Cleanup-Image /RestoreHealth
Press Enter.
DISM will attempt to repair the Windows component store.
Depending on your system, the process may take some time. The progress percentage may also appear to remain at a particular value for a while.
Do Not Interrupt the Repair
It is normal for DISM to take several minutes.
Avoid:
- Closing the terminal
- Restarting the computer
- Disconnecting the computer from power unnecessarily
- Forcing Windows to shut down
Wait until DISM reports that the operation has completed.
A successful repair commonly ends with a message indicating that the restore operation completed successfully and the operation completed successfully.
Step 4: Run SFC After DISM
After DISM finishes successfully, run System File Checker.
Enter:
sfc /scannow
Press Enter.
SFC scans protected Windows system files and attempts to replace corrupted files with healthy versions.
Running SFC after DISM is useful because DISM repairs the component source that SFC may rely on when replacing damaged system files.
When SFC reaches 100 percent, it will display a result explaining whether it found and repaired corrupted files.
Step 5: Restart Windows
Once DISM and SFC have completed, restart your computer.
Click:
Start → Power → Restart
After Windows starts again, test the problem that originally led you to use DISM.
For example, check whether:
- Windows Update works
- A Windows feature can be installed
- System errors have disappeared
- Applications are launching normally
- Windows is behaving more reliably
The Recommended DISM Repair Sequence
For general Windows component corruption, you can use the following sequence:
DISM /Online /Cleanup-Image /CheckHealth
Then:
DISM /Online /Cleanup-Image /ScanHealth
Then, if repair is needed:
DISM /Online /Cleanup-Image /RestoreHealth
Finally:
sfc /scannow
Restart Windows after completing the repairs.
You do not necessarily need to run every diagnostic command every time. If your goal is simply to attempt a standard Windows image repair, /RestoreHealth is the command most commonly used.
How to Use DISM When Windows Update Is Broken
One of the challenges with /RestoreHealth is that DISM may need a healthy repair source.
If Windows Update is damaged or unavailable, DISM may be unable to obtain the files it needs.
In that situation, you can provide a separate Windows installation source.
A Windows installation ISO or installation media that matches your installed Windows version can be used as a repair source.
For example, if your installation media is mounted as drive D: and contains the appropriate Windows image, the repair command may look similar to:
DISM /Online /Cleanup-Image /RestoreHealth /Source:D:\sources\install.wim /LimitAccess
The exact source path depends on the installation media.
What Does /LimitAccess Do?
The /LimitAccess parameter prevents DISM from attempting to contact Windows Update as a repair source.
This can be useful when Windows Update itself is part of the problem.
However, the repair source must contain compatible Windows components.
WIM and ESD Installation Files
Windows installation media may contain either:
install.wim
or:
install.esd
You should check the sources folder on the installation media before constructing your command.
If the media contains an ESD file, the source syntax is different. For example:
DISM /Online /Cleanup-Image /RestoreHealth /Source:ESD:D:\sources\install.esd:1 /LimitAccess
The index number must correspond to the correct Windows edition contained in the installation image.
Using the wrong edition or an incompatible source can cause the repair to fail.
How to Find the Windows Image Index
If you need to identify the correct image index, you can inspect the installation file.
For a WIM file:
DISM /Get-WimInfo /WimFile:D:\sources\install.wim
For an ESD file:
DISM /Get-WimInfo /WimFile:D:\sources\install.esd
DISM will display information about the Windows editions contained in the image.
Choose the index corresponding to the edition installed on your computer.
For example, the media might contain multiple editions such as Home and Pro. The correct index matters when using the installation media as a repair source.
Common DISM Errors and Solutions
DISM does not always complete successfully. Several errors are relatively common.
DISM Error 87
You may see an error such as:
Error: 87
The cleanup-image option is unknown.
This can happen because of an incorrectly typed command.
Check the command carefully.
The standard repair command is:
DISM /Online /Cleanup-Image /RestoreHealth
Make sure there are spaces between the parameters and that each option is spelled correctly.
Also make sure Command Prompt or Terminal is running with administrator privileges.
DISM Error 0x800f081f
This error generally indicates that DISM could not find the source files required to repair the component store.
Possible causes include:
- Missing repair files
- An unavailable Windows Update source
- An incompatible installation image
- A mismatched Windows version or build
Using compatible Windows installation media as a repair source may resolve the issue.
DISM Gets Stuck at a Percentage
It is possible for DISM to appear stuck at a particular percentage for an extended period.
Do not immediately assume that the process has frozen.
DISM may spend considerable time processing files or components without showing obvious progress.
Give the operation sufficient time to complete before terminating it.
If it repeatedly fails at the same point, restart Windows and try again. If the problem continues, investigate the specific error code displayed by DISM.
DISM Says the Source Files Could Not Be Found
If you receive a message that the source files could not be found, Windows could not locate the components needed for the repair.
You can try:
- Checking your internet connection.
- Running Windows Update.
- Restarting Windows.
- Running DISM again.
- Using compatible Windows installation media.
- Specifying the correct
/Sourcelocation.
The repair source should correspond closely to your installed Windows version and edition.
How to Check the DISM Log
When troubleshooting a failed DISM operation, the DISM log can provide additional information.
The primary DISM log is usually located at:
C:\Windows\Logs\DISM\dism.log
You can open it with Notepad:
notepad C:\Windows\Logs\DISM\dism.log
This can be useful when a repair repeatedly fails and the Command Prompt output does not provide enough information.
Can DISM Fix Windows Without Reinstalling?
In many cases, DISM can repair damaged Windows components without requiring a complete operating system reinstall.
However, DISM is not a universal solution.
It may not fix problems caused by:
- Failing hardware
- Malware that continues modifying system files
- Severe filesystem corruption
- Incorrect third-party software
- User-profile problems
- Hardware driver failures
- Physical disk damage
If the underlying problem is hardware-related, repairing Windows system components will not solve the hardware fault.
DISM and Windows Update Problems
DISM can sometimes help when Windows Update is behaving unexpectedly because Windows Update relies on Windows system components and the component store.
If Windows Update repeatedly fails, a useful troubleshooting sequence is:
DISM /Online /Cleanup-Image /RestoreHealth
followed by:
sfc /scannow
Then restart Windows and check Windows Update again.
If the problem continues, investigate the specific Windows Update error code rather than repeatedly running DISM.
Should You Run DISM Regularly?
There is generally no need to run DISM on a fixed schedule when Windows is functioning normally.
DISM is primarily a troubleshooting and servicing utility.
Running repair commands when you have no symptoms is usually unnecessary.
Instead, consider DISM when you encounter problems that suggest Windows component corruption, particularly when SFC reports that it cannot repair files.
DISM Command Cheat Sheet
Here are the most useful commands in one place.
Check for Previously Detected Corruption
DISM /Online /Cleanup-Image /CheckHealth
Perform a Detailed Health Scan
DISM /Online /Cleanup-Image /ScanHealth
Repair the Windows Image
DISM /Online /Cleanup-Image /RestoreHealth
Run System File Checker
sfc /scannow
View WIM Image Information
DISM /Get-WimInfo /WimFile:D:\sources\install.wim
Open the DISM Log
notepad C:\Windows\Logs\DISM\dism.log
Frequently Asked Questions
Does DISM delete personal files?
The standard /Online /Cleanup-Image /RestoreHealth command is designed to repair Windows components. It is not a command for deleting your personal documents, photos, or other user files.
Nevertheless, always maintain current backups of important data before performing significant system troubleshooting.
Should I run DISM or SFC first?
If you suspect Windows component corruption, a common approach is to run DISM first and then sfc /scannow.
DISM repairs the Windows image, while SFC checks protected system files.
How long does DISM RestoreHealth take?
The duration varies depending on the computer, Windows installation, available repair source, and amount of corruption.
A repair can take several minutes or longer. Avoid interrupting it simply because the progress percentage has not changed for a while.
Can DISM repair Windows 11?
Yes. DISM is included with Windows 11 and can be used to service and repair the Windows image.
Does DISM require an internet connection?
Not always. The default /RestoreHealth operation may use Windows Update as a repair source, so internet access can be useful. If you provide a compatible local installation source, DISM can use that source instead.
Is DISM safe to use?
The standard DISM repair commands are built-in Windows servicing commands. They are intended to diagnose and repair Windows components.
The most important requirement is to use the correct command and compatible repair source when specifying /Source.
Final Thoughts
Learning how to use DISM to repair Windows gives you a powerful way to troubleshoot damaged Windows components without immediately resorting to a complete reinstall.
For most situations, start with:
DISM /Online /Cleanup-Image /RestoreHealth
After DISM completes, run:
sfc /scannow
Restart the computer and test Windows again.
If DISM cannot find the required repair files, a compatible Windows installation image can be provided with the /Source parameter. When troubleshooting persistent failures, the DISM error code and log file can help identify the underlying problem.
Using DISM together with SFC is one of the most useful built-in approaches for repairing Windows system corruption while preserving your existing installation.